How to Shoot Professional Videos on Your iPhone
Get nine easy tips for capturing great footage with the phone in your pocket.
September 17, 2025
Topic tags
Think you need professional equipment to make high-quality videos? Think again. You can do it all with your iPhone: shoot 4K videos, capture great audio, and frame your shots perfectly.
That’s right; the phone you keep in your pocket has so much to offer. We’ve rounded up nine tips for unlocking its full potential as a video camera.
1. Use a tripod
The newest iPhones have built-in optical image stabilization, which makes shooting decent handheld footage fairly easy. But no matter how steady your hands are, nothing beats using a tripod and phone mount.
All the tripods and mounts pretty much work the same, so pick whichever one catches your eye and fits your budget.
If you need to move around a lot while you’re shooting, consider investing in a gimbal, too. It’ll make your footage buttery smooth!
If you have to shoot handheld, try these tips to stabilize your shot:
- Keep the phone close to your body.
- Rest your elbows on a sturdy object.
- Use your body to absorb bounces and shakes.
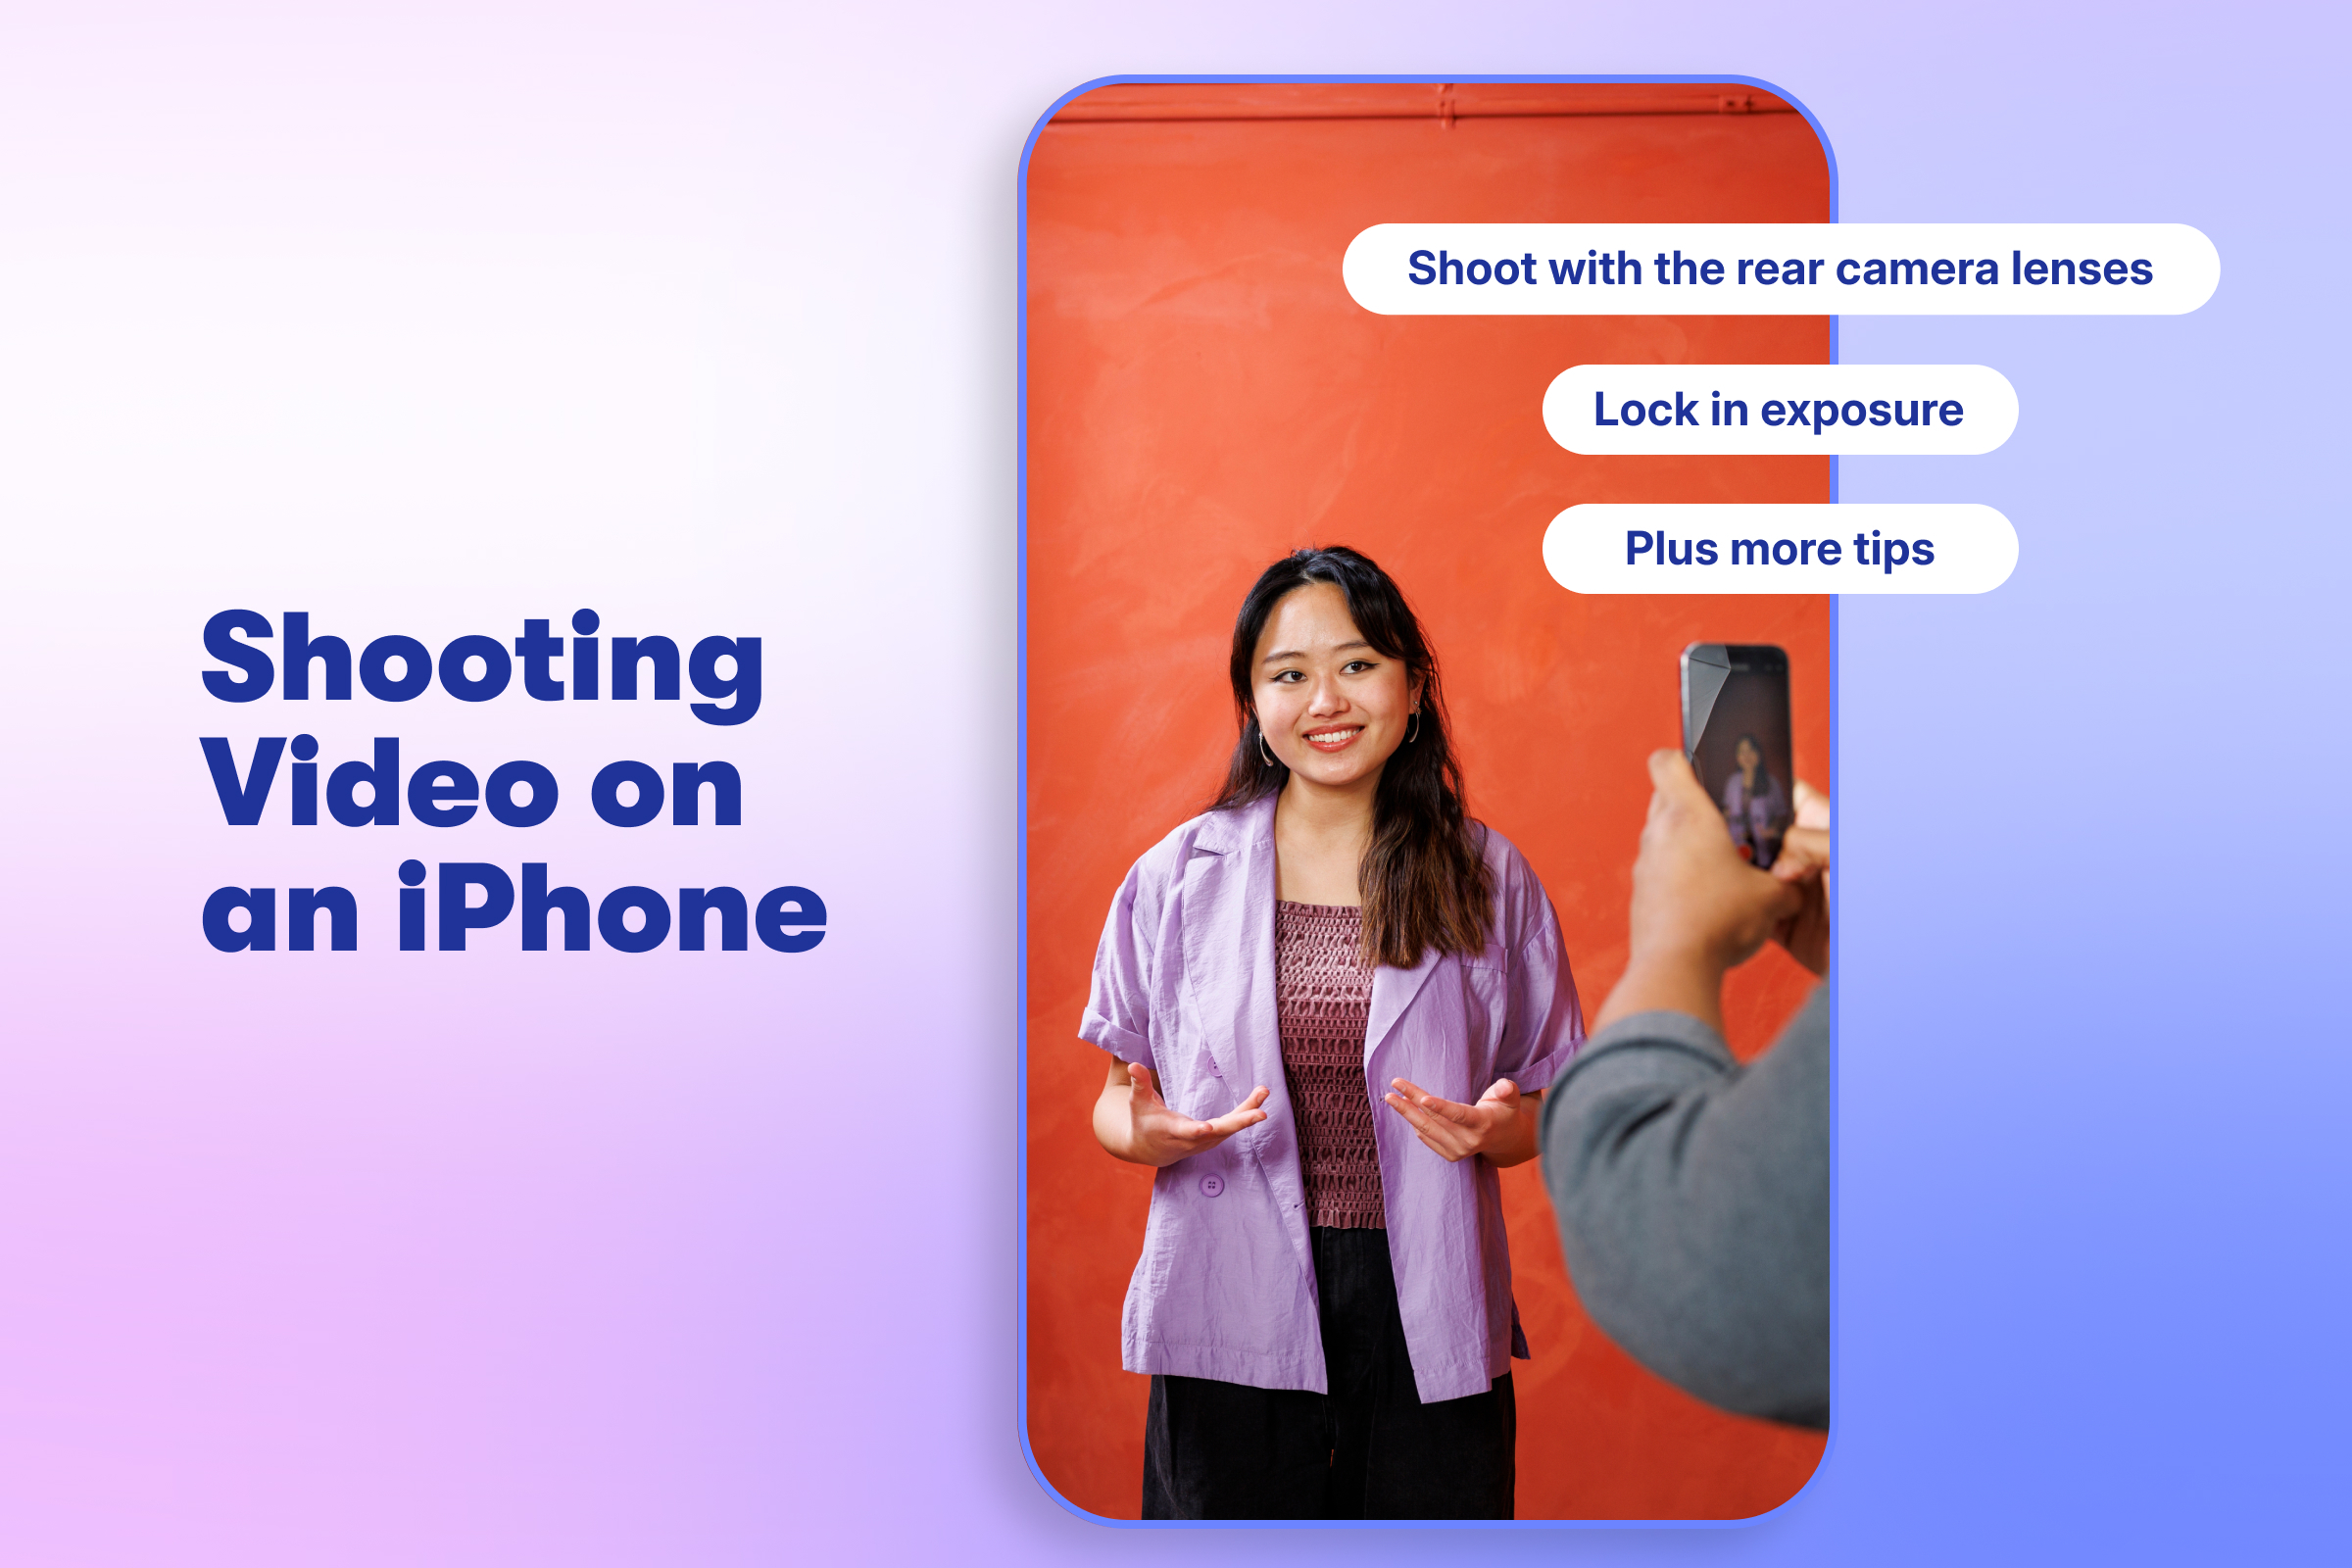
2. Shoot with the rear camera lenses
The selfie camera may be handy for filming yourself, but the rear camera gives you more filming modes and higher-quality footage.
Here’s the selfie camera:
And here’s the rear camera:
Looks way better, doesn’t it?
3. Move your phone closer instead of pinching to zoom
It’s always better to zoom in the old-fashioned way: moving your phone closer to the subject. This way, you’re using the iPhone’s native lens instead of relying on digital zoom, which enlarges the image digitally and ushers you into the world of unsightly pixelation.
If you can’t physically move closer, newer iPhones (especially the Pro versions) offer optical zoom options that still maintain video quality. Open the camera app and look for numbers like 1x, 2x, 5x, or 8x at the bottom of your screen.
And if the back of your iPhone looks like a high-tech fidget spinner, it’s because of the variety of lenses it comes with. The ultra-wide or telephoto lenses will come in handy. However, if you’re shooting in lower-light situations, the standard 1x lens will always perform the best.
All-in-one Video Platform
Create, Edit, And Host Videos
4. Use your iPhone’s built-in grid
If you’re not sure how to compose a nice shot, use your iPhone’s built-in grid and frame the shot using the rule of thirds.
Go to Settings > Camera > and then toggle “Grid” to turn it on.
Now, line up your subject so they fall neatly on an intersecting line.
When filming a talking head video, make sure your subject’s eyes intersect with the top line. This will create a more balanced and pleasing composition for the viewer.
5. Use your Apple Watch as a preview window
Set up your iPhone so that it’s facing you, and then open the Camera app on your Apple Watch and use it as a preview window to help you frame up your shot. This is super handy if you’re shooting by yourself!
No Apple Watch? No problem. You can also AirPlay your phone to your MacBook and use it as a preview monitor.
6. Lock in exposure
iPhones automatically focus and set the exposure of your shot. This can be great for quick photos, but it can complicate things when you’re shooting a video of a moving subject.
The iPhone tends to keep adjusting and refocusing based on the frame. This can lead to jittery-looking footage, as well as lighting changes throughout your shot. That’s why we highly recommend using the exposure/focus lock feature to keep things constant while you’re filming.
Tap on your screen to focus, and then drag the sun slider up or down to expose the shot. Once you’ve found the perfect look, tap and hold the focus and exposure box to lock it in.
There’s also a neat exposure dial if you want to lock in exposure but not focus. Tap the carrot > exposure icon > and slide left and right.
7. Use another iPhone as a microphone
A general rule for clear audio is to get your microphone as close to your subject as possible. If you can’t do that with the iPhone that’s filming, borrow another one and use it as a microphone.
Creating a simple voice memo will do the trick! Open up the Voice Memos app and then either hide the phone upside down in a shirt pocket or place it just out of the frame of your shot, right above your subject’s head. Then in post-production, sync the audio with the video from the other iPhone.
8. Use the iPhone’s different shooting modes
Now it’s time to get creative! The iPhone has some handy shooting modes that will really elevate your video. To find the modes available on your phone, or to tweak some options, go to Settings > Camera.
Cinematic mode (iPhone 13 and newer)
This mode lets you create a pro movie look using shallow depth of field — something usually only possible with high-end cinema cameras. It’s great for hero shots or storytelling moments where focus matters most.
Just tap on your screen while recording to shift focus between subjects in real time. The best part? You can adjust the focus after filming. Tap the Edit button (the one with three horizontal lines) and fine-tune the focus wherever you want it.
Slow-motion mode (all iPhone models)
With this mode, you can make even the dullest moments look epic. Shoot in 120 fps for standard slo-mo, or 240 fps for extra mega slooooo-mooooo.
Time-lapse mode (all iPhone models)
This mode can illustrate how something comes together over an extended period of time , like setting up a video shoot or documenting a sunset.
Make sure your iPhone is in a stable position (like on a tripod) where it won’t be disturbed for the duration of the video.
Action mode (iPhone 14 and up)
With this mode, you can capture incredibly smooth footage while the subject is moving — even running.
The iPhone crops in on the video to give the software extra room to adjust each frame. This will result in a slight loss of video quality, but give you the kind of footage you could previously only achieve with a handheld gimbal.
ProRes mode (iPhone 13 Pro and up)
This is a super high-quality video recording format designed to capture more image data with less compression. This gives you better detail, more accurate colors, and flexibility while editing.
The trade-off is massive file sizes (one minute of 4K ProRes video can take several gigabytes). This is a game-changing tool for anyone using the iPhone to create professional videos, but it’s probably overkill for everyday use.
9. Use AirDrop when transferring footage
Texting or emailing videos might be easy, but it’s a surefire way to get the lowest quality footage.
Videos are compressed when sent via text or email. A crisp 50MB file can shrink to just 3MB, leaving you with blurry, pixelated footage — not ideal for editing.
AirDrop is the easiest way to avoid that. It transfers your videos wirelessly between Apple devices with no compression, and it’s fast.
Just open the Photos app, pick your videos, tap the Share button (the square with the arrow), and choose AirDrop. Nearby Apple devices with AirDrop enabled will automatically show up if they’re on the same Wi-Fi network or within range.
If you need another option, you can connect your phone with a cable and use Image Capture, or store your videos in Dropbox, Google Drive, or Wistia.
