
Ask any filmmaker, and they'll tell you that good lighting is one of the keys to creating high-quality videos. Here's a secret, though: Good lighting doesn't have to be expensive or complicated.
If you follow some basic lighting principles, you can get impressive results from even the cheapest lighting kit—or a DIY one. This is great news for businesses with smaller budgets or folks just starting out with video.
As an experiment, we went to Home Depot and built a lighting kit with clothespins, clip lights, and LED bulbs for under $150. The result? A pretty decent lighting setup that gets the job done! Before we show you how to rig this DIY setup, let’s talk a bit about what goes into a typical video lighting kit.
What’s in a video lighting kit?
The best way to get perfect lighting for a video shoot is to use a three-point lighting setup. Three (or four) lights are strategically placed around the camera and the subject to achieve optimal lighting. This setup requires a lighting kit that contains all the parts you need to make the magic happen. You would find the following parts in a typical kit:
- Key light: The biggest or strongest light source that shines directly on the subject
- Fill light: A smaller light source that fills in the rest of the subject’s face with softer light
- Backlight: A smaller light source—usually the same as the fill light—that lights up the background
- Light reflector: A reflective surface—usually an umbrella or a round plate—that redirects existing light to help soften the shadows
- Grip gear: The critical parts your lights will sit on like basic light stands, C-stands, A-clamps, extension cords, gaff tape, and sandbags
- Light modifiers: A roll of black plastic that helps block unwanted light, modify a light, or control light spill
Sounds pretty fancy, huh? The thing is, a video lighting kit can set you back hundreds or even thousands of dollars. That’s why we conducted the Home Depot experiment. We wanted to see if it’s possible to put together a practical lighting kit with household items—and it definitely is! You can build almost an entire DIY lighting kit with items found at any hardware store. Places like Home Depot, Lowes, and Ace Hardware should have everything you’ll need in stock.
While our DIY kit is not the be-all, end-all lighting kit, it is an attainable and reusable setup that will keep your subject looking sharp and well-lit on camera.
Without further ado, please allow us to introduce Wistia’s down and dirty DIY lighting kit—all for under $150.
Our trip to Home Depot
We set out to Home Depot with one goal in mind: to gather the best parts for assembling an effective lighting kit without having to use any tools. After browsing the aisles and evaluating different products for what felt like hours, we came up with a winning list of parts. Guess what? We paid only $137 for everything! Not bad for a three-point lighting setup, huh?
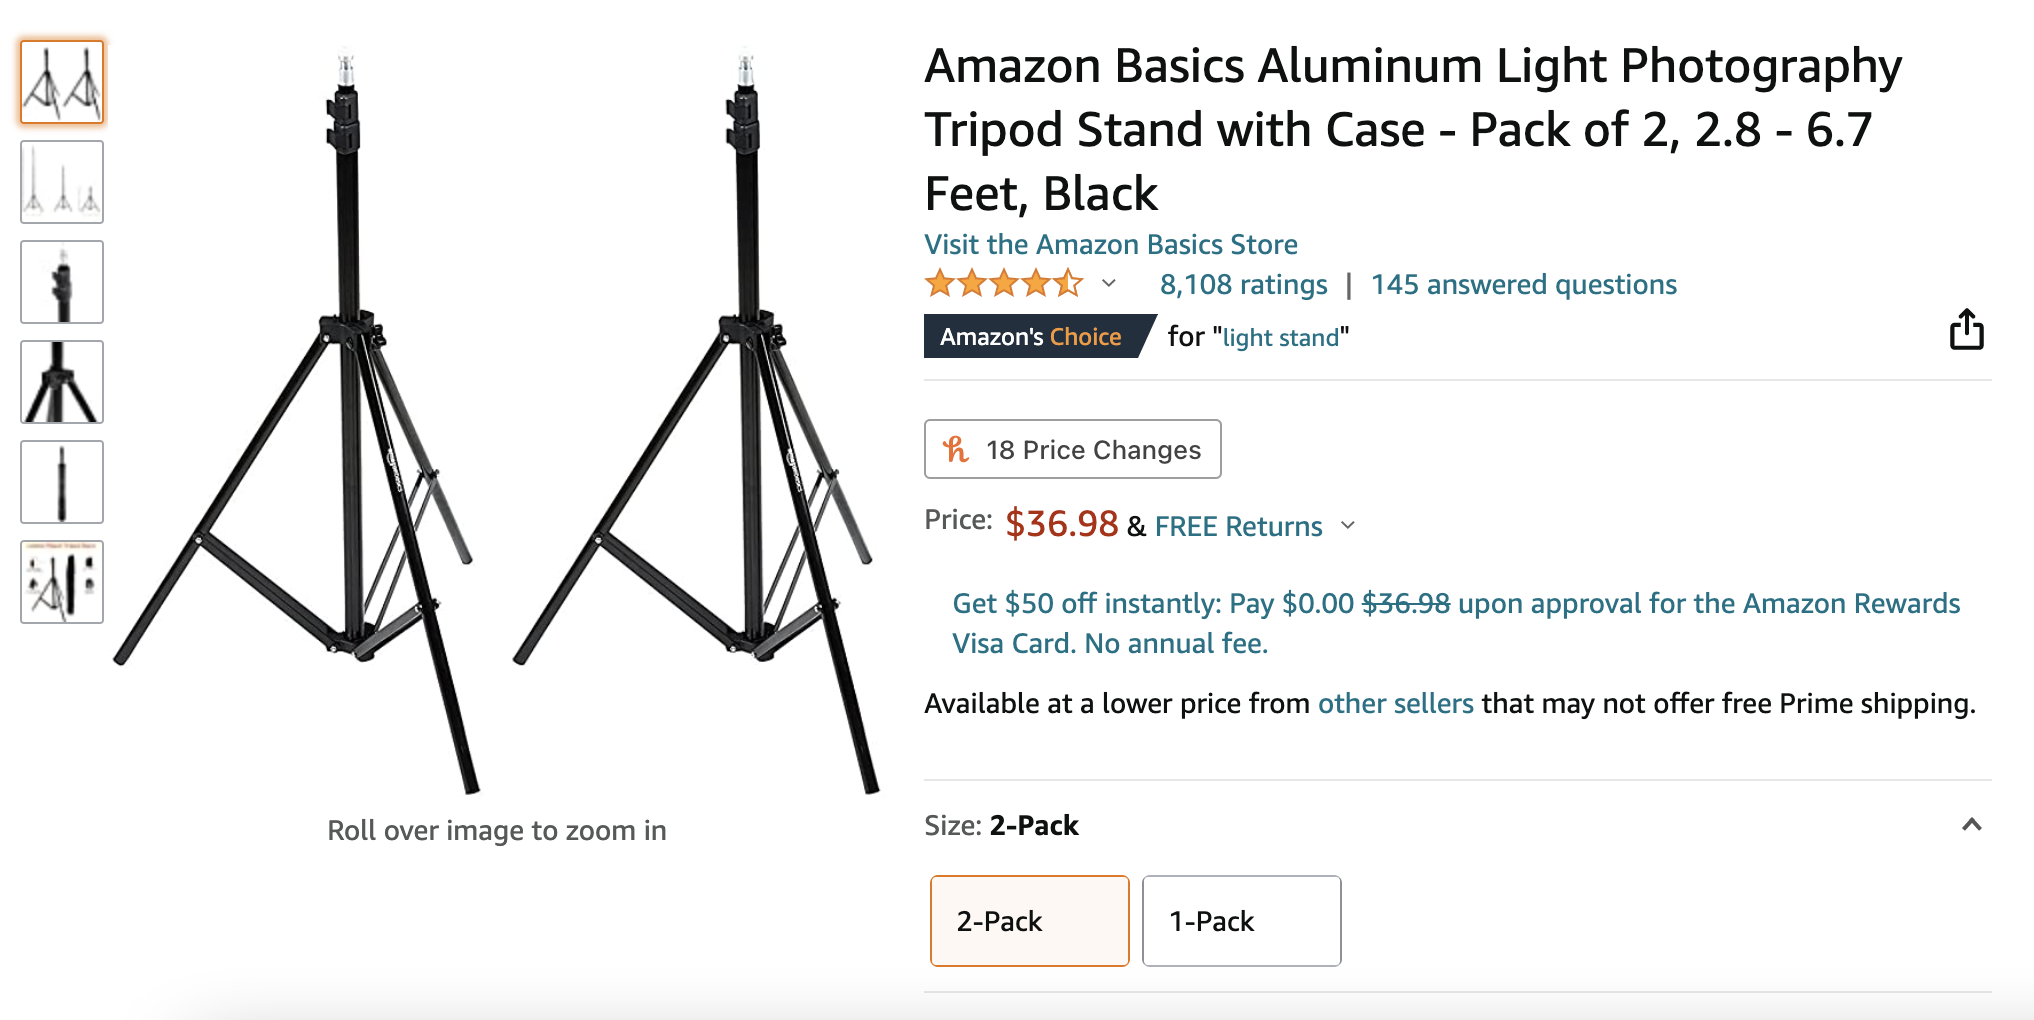
It’s important to mention that the grand total doesn’t include light stands because they’re the only thing you won’t find at Home Depot (or any other hardware store). We recommend ordering some inexpensive stands on Amazon.
Here’s the shopping list that ran us about $137 at Home Depot:
- (x3) Clamp lights - $14.99 ea.
- (x3) High-wattage dimmable LED bulbs (1600 Lumens or more) - $8.78 ea.
- (x3) Spring clips - $1 ea.
- (x3) 12 ft. extension cords - $2.97 ea.
- (x1) Package of clothespins - $2.74 ea.
- (x1) Medium gauge shower curtain - $9 ea.
- (3x) Dimmers - $13.80 ea.
If you want to save a trip to Home Depot, here are Amazon alternatives:
- (x3) Light stands - $20 ea.
- (x3) Scoop lights - $10 ea.
- (x3) High-wattage dimmable LED bulbs (1600 Lumens or more) - $8.78 ea.
- (x3) Spring clips - $1 ea.
- (x3) 12 ft. extension cords - $7 ea.
- (x1) Package of clothespins - $4 ea.
- (x1) Shower curtain - $9 ea.
- (3x) Dimmers - $13.80 ea.
Your DIY kit is only as good as your light bulbs, so it’s important to use high-quality bulbs. The good news is that high-wattage LED bulbs will do the trick, and they’re pretty cheap!
So what kind of high-wattage LED bulbs should you get? Look for daylight-balanced bulbs with a high CRI (color rendering index). This will help produce the highest quality and most flattering light possible. Also, make sure you purchase bulbs that are dimmable. We’ll explain more about this later.
All-in-one Video Platform
Create, Edit, And Host Videos
Learn moreSetting up your lighting kit
At this point, you might be wondering how it’s even possible to put together a lighting kit with clothespins, a shower curtain, and other household items. It will make sense when it all comes together. We promise. Let’s take a look at our DIY lighting setup:
Putting it together is super easy. Start by clipping the clamp lights to the top of your light stands.
The awesome thing about using clamp lights is that they can mount just about anywhere. The built-in clips aren’t super strong, but you can use the spring clips to secure everything.
Take the shower curtain and cut out two 12-inch squares. Next, use the clothespins to attach the squares to the front of two of your lights. This will help create a softer, more flattering light on your subject’s face. In the industry, this effect is called “light diffusion”. These two lights will be your key lights. The third light—the one without light diffusion—will be your backlight.
Last, but not least, plug in the lights. That’s all!
Lights, camera, and subject placement
Now that your lights are ready to go, it’s time to figure out where to put them. The goal is to eliminate shadows and create soft, flat lighting on your subject’s face. Here’s a diagram to help you set up your shot:
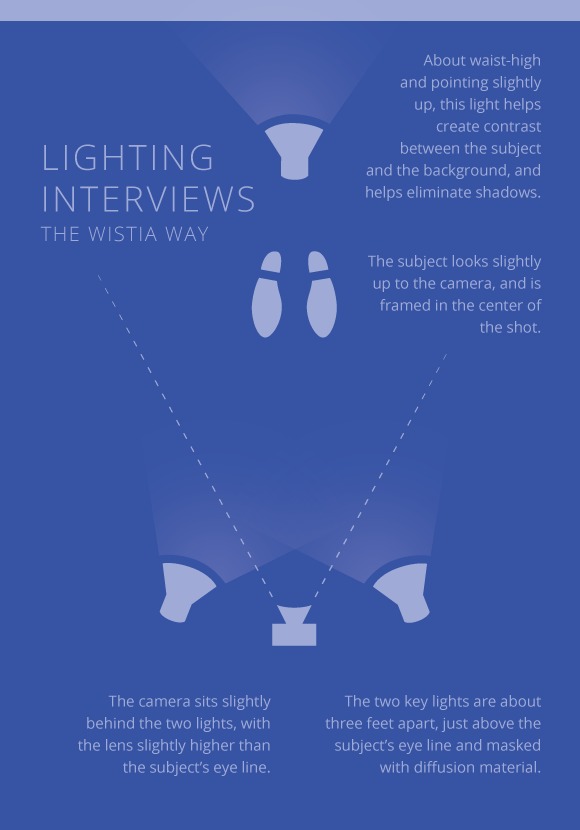
Place the two key lights slightly above your subject’s eye line, about three to four feet apart from each other. Place the backlight behind the subject, and then point it at the background. It will help create contrast and hide the subject’s shadow.
Don't forget the dimmer
If you're using 100W bulbs, chances are that the lights are going to be a wee bit too bright. That's where a lamp dimmer comes in handy!
Start by double checking that you have purchased dimmable LED bulbs, or else the bulbs will flicker as you dim them down. Plug each light into its own dimmer, and then use the dimmer to dial in the brightness to complement your shot. For example, if you want one key light and one fill light (instead of two key lights), you can dim down one of the key lights.
Want to learn more about the three-point lighting method?
We briefly touched on how to set up your shot, but if you want to learn even more about the industry standard three-point lighting method, check out our comprehensive Wistia Guide to Lighting Show Talent: A Step-by-Step Tutorial. From picking a location to putting your lighting setups into action, our guide will teach you how to shine the perfect light on your talent.
Get Into Show Business
Learn how to create binge-worthy episodic content with our 20-episode crash course. Watch for free!
Let’s go →