
Are you making Instagram stories using only the Instagram app? If so, a magical world of production potential awaits you! By leveling up your stories with these fresh tips for shooting and editing, you'll stand out from the rest of the feed and give your followers something to talk about.
Vertical video
First and foremost, Instagram stories are consumed vertically. The aspect ratio in the app is 9x16—a perfect 90-degree flip of normal widescreen video. So wherever your mind takes you during brainstorming, consider this simple constraint, and turn that camera.
Flip! (pause) That! (pause) Camera! (pause)
15-second vs. long-form
When you start thinking about crafting an Instagram story, there are a few different directions to consider.
You could think of it like a Vine (RIP Vine) and create interesting 15-second edits, you could think of it like a 15-second teaser or preview for something you're releasing, or you could make a series of 15-second video chunks and tell more of a long-form story.
This last option is especially great for step-by-step processes, where the content can be chopped up into 15-second videos and intercut with title slides.
Shooting with your phone's native camera
If you're searching for an easy way to make your Instagram stories look more professional, start shooting your video outside of the Instagram app. Using your native camera app, you can better control exposure and focus to really dial in your shots.
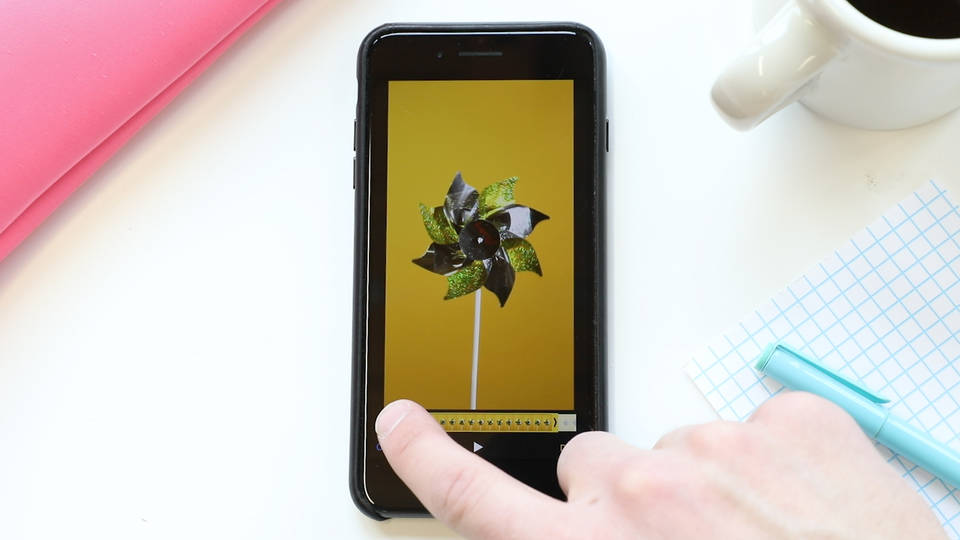
Plus, having the ability to trim your clips to fit the 15-second window before uploading to Instagram allows you to do multiple takes without worrying about getting it right the first time. Phew!
With better slow motion and timelapse features in your native camera, you can create some slick shots that you wouldn't be able to get by shooting within the Instagram app. Who doesn't want to look slick?
Shooting with your phone and some gear
Taking it one step further, you can use your phone in addition to some gear. Have a tripod, lights, or audio equipment? Use 'em! Put your phone on a tripod, turn on some lights, and hook up an external microphone to really improve the quality of the video! From there, it's just as easy to trim and upload your video to Instagram.
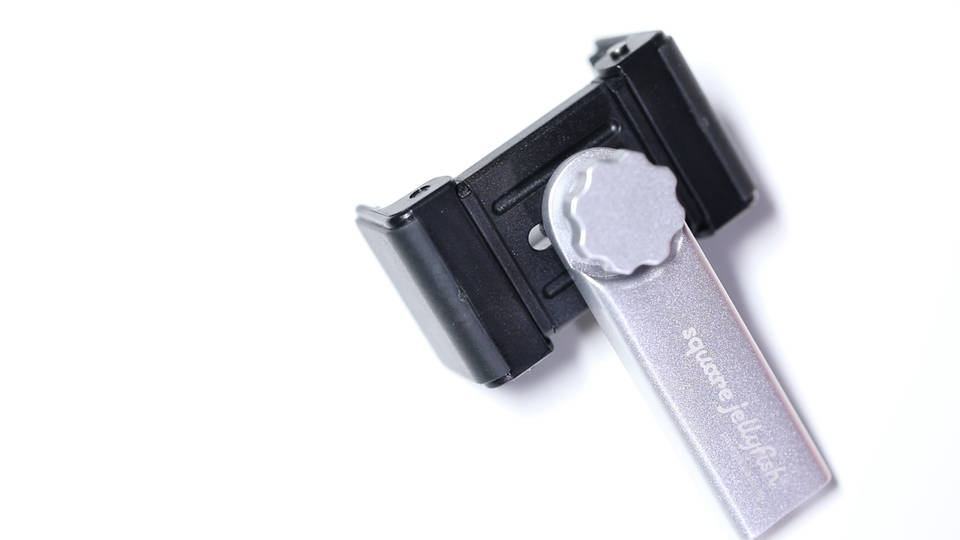
If you're looking for a good mount to use for vertical video, check out this Square Jellyfish mount. It's spring-loaded to fit any phone, it can be oriented to shoot vertically or horizontally, it's got a ¼"-20 thread to fit directly into any tripod, and it can cook up a pizza in 30 seconds flat. Kidding about that last one, but seriously, it's super versatile and practical.
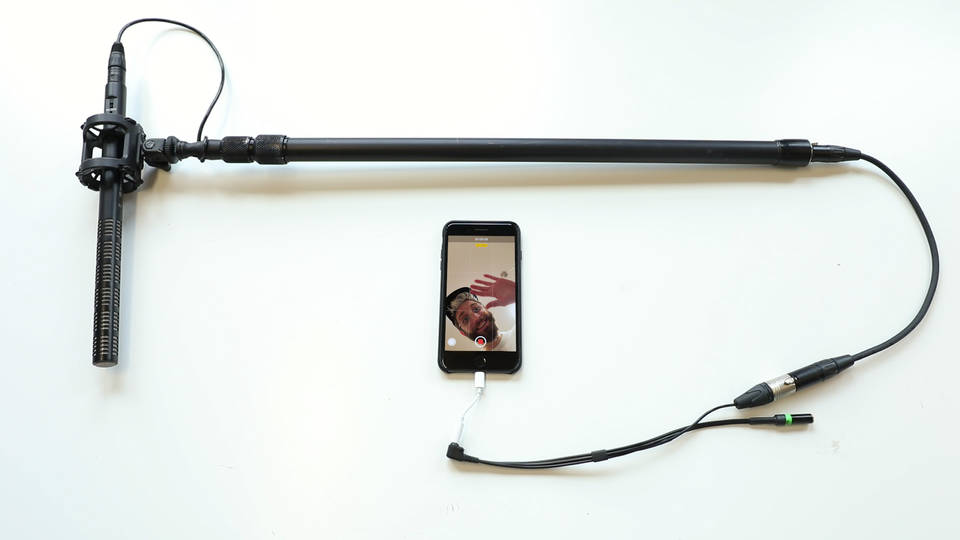
Have an audio recording setup for shooting with your DSLR? Use it! If you have a phone that doesn't have a headphone jack, you can still get clean audio with a 1/8-inch adapter and an XLR microphone adapter.
Plug your mic into an XLR microphone adapter, connect that to a 1/8-inch adapter, then plug that directly into your phone. Then just open up your camera app, and start shooting.
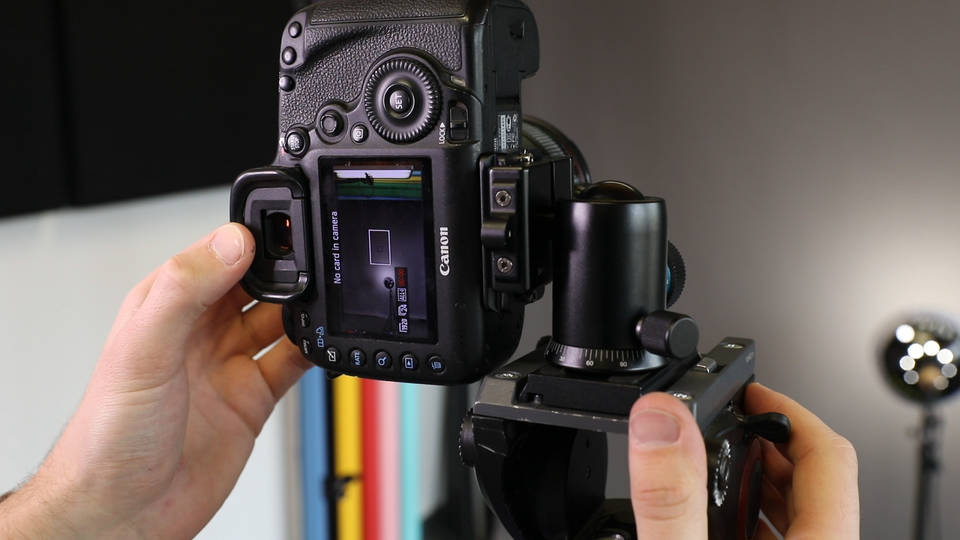
Shooting with a DSLR
If you're really looking to level up your Instagram story game, consider using the DSLR you already have. It may seem ridiculous to shoot an Instagram story with your DSLR, knowing that it'll disappear in 24 hours, but the workflow can actually be quick and easy.
Think about it this way: You post videos to social media that you've shot with a DSLR... so why not take the time to apply that polish to your stories? Your followers will notice, and they might just tell their friends.
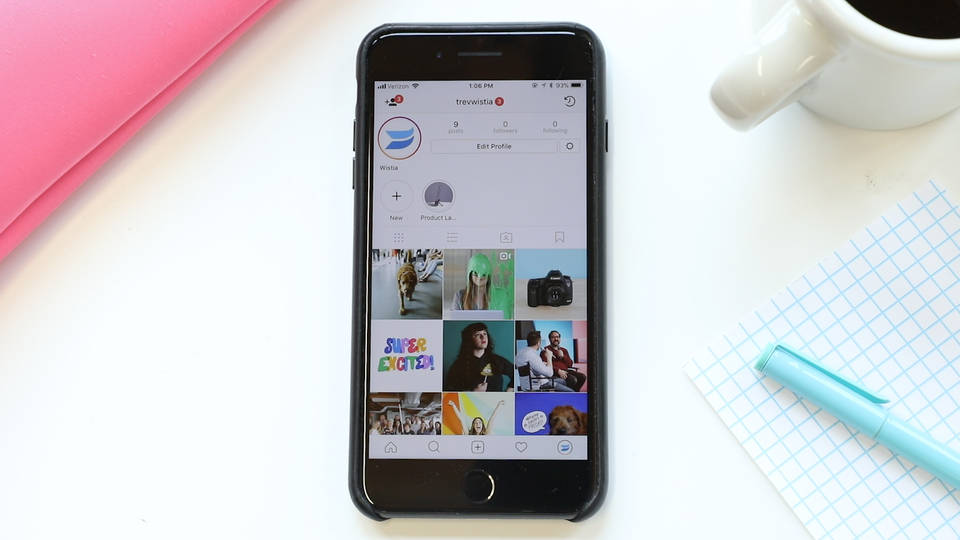
Also, now that you can pin your favorite stories to your profile, there's even more reason to shoot something that stands out. It's an opportunity to highlight anything you want in a creative, digestible way.
As I mentioned earlier, when you're going about shooting and editing, you need to remember to shoot for the vertical format. Flip that camera, and flip that image in post!
Wondering how to easily shoot vertical video with a DSLR? Say hello to our little friend: the ball tripod head. If you have a ball head laying around, mount it to a tripod plate, clip the tripod plate into your tripod, and then mount your DSLR to the ball head. This way, you'll still have the ability to pan and tilt the way you would regularly, but everything will be shot at 9:16.
If you don't have a ball head, and you're looking to buy one specifically for this purpose, check out the Oben BE-117 Ball Head. It clocks in at 85 bucks, and it's a solid tripod head to add to your gear bag.
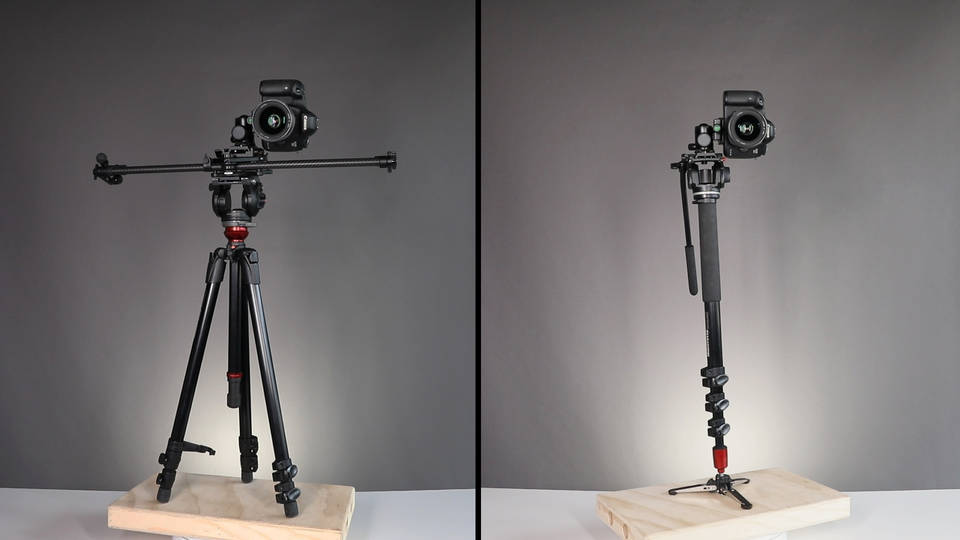
The ball head and tripod plate duo will allow you to use your DSLR with all the other gear you might have, like a monopod, a slider or even a camera stabilizer! So get crazy!
From here, the sky's the limit! Use lights, use audio equipment, or anything else that will help you achieve the concept of your video.
Editing for Instagram stories
Your editing workflow is going to be the same. You'll bring your footage in and edit just like you would with any other video… except this time you'll be editing vertical footage.
In order to create a 9:16 sequence in Adobe Premiere, you'll head over to the Settings tab. From there, choose Custom, then set your dimensions to 1080x1920.
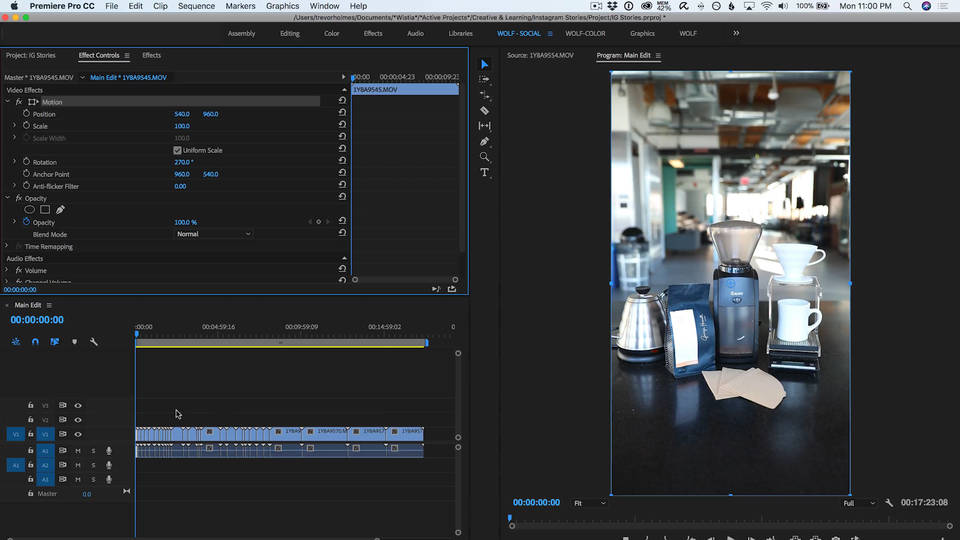
Next, drag your footage over to the timeline. Premiere will ask if you want to change or keep your sequence settings. This is because your original footage is still 1920x1080, even though you shot it vertically. Unfortunately, there is no camera setting to shoot vertical video on a DSLR… yet!
So what you'll want to do is keep the sequence settings, and then bring your footage into the timeline. From here, you'll have to rotate each clip to be oriented properly. Head to the clip's rotation settings, and set it to either +90 or -90, depending on how you shot it.

Edit your video how you like, whether you're doing a 15-second edit, or a longer-form multiple video story. Just remember: The limit is 15 seconds per video!
Exporting for Instagram
Once you've got a video or multiple videos that are ready to export, double-check that each video is under 15 seconds. Then export the way you normally would with any video in Premiere or media encoder, but using the 9:16 settings.
From here, if you're on an iPhone, you can AirDrop your videos to your phone, and start uploading them to your Instagram story!
The main takeaway here is to be more purposeful with shooting for Instagram stories. You could just shoot in the app and make it more of a casual, "slice of life" at your company, but you're a video marketer! This is a great opportunity to stand out from the crowd and experiment with a different video format. So have fun! And share your stories with us. We'd love to see them!
Best Practices for Instagram Video
Thinking about using Instagram to market your business? Read this post first.
Let’s go →