
So you want to make a marketing video for your business. First off, great idea! If you’ve never produced video content before, you might be wondering where to begin.
In a nutshell, video production encompasses the entire video creation process from brainstorming to release and promotion. Just about every step used in creating movies and TV shows also applies to making marketing videos for your business. Even a five-minute online video for your business needs a script, on-screen talent, editing, a smart distribution strategy, and so on.
Even if you've never dabbled in video production, you can still create high-quality and engaging content in-house with the right tools and guidance—and we’re here to provide just that.
Let’s dive in!
The 5 stages of online video production
Video production is so much more than just showing up with a camera and pressing record. It’s about following a multi-step process that brings results and minimizes fire drills and headaches.
After making quite a few videos here at Wistia over the years, we’ve developed what we like to call the five Ps of the video production process. Well, we don’t actually call it that, but who doesn’t like a catchy framework, ya know?
In this video production guide, we’ll walk you through how to make a video for your business from the ground up. We’ll also link to resources that will give you a deeper dive into the nitty gritty.
Planning
Every great video has to start somewhere. Most of the time, that “somewhere” is getting your ideas together and bringing the rest of your team on board.
Let’s start with coming up with video ideas. Every video should address a business challenge, talk to a specific audience, and have a clear goal. Let's go over a few situations where a video can nail a particular goal while also speaking to a target audience:
- Your brand is expanding into a new market. You can build awareness in this new market with video content that demonstrates thought leadership. E.g., discussing current trends in the commercial real estate industry and their impact.
- Your company is struggling to build market share over competitors. You can reach new customers with video content that showcases specific benefits of your product. E.g., showing how your brand’s luggage makes unpacking faster.
- Your customer support team keeps getting the same questions. You can reduce their workload with video content that answers frequently asked questions. E.g., providing a walkthrough of a complicated feature or workflow in your software.
It's a good idea to think about your company’s mission, who your customers are, and how you're approaching video marketing. This will help you decide what topics and ideas you want to pursue with video at this stage.
Once you have your idea—complete with a tangible business challenge, target audience, and goal—write down a list of key stakeholders who should be kept in the loop. The whole marketing video production process relies on good communication, so it’s important to get others in the company on board right from the start and then keep that communication going throughout the entire process.
While we’re sure your memory is great, the details about your upcoming video shouldn’t live in your head. Write them down. Even better, put it down in a project brief—we just so happen to have an interactive template for one!
Pre-production
The video production process has a lot of moving parts: the script, the equipment, the talent, etc. Pre-production is when you gather all the things you'll need for the actual shoot. This way, you won't be scrambling during filming.
Scripting and storyboarding
Your video can’t exist without a script—even candid videos like customer testimonials need some kind of visual framework like a storyboard.
Writing a video script
For your first videos, we recommend writing a simple one-or two-person video script for your talent to follow word-for-word.
When it comes to actually writing your script, we’d like to borrow an idiom from the pop music industry: “Don’t bore us. Get to the chorus.” In other words, give your viewers a reason to watch from the very start of the video, stay focused on the point throughout, and don’t overcomplicate anything.
For example, if your video’s goal is to show how your product solves common pain points, start off by acknowledging the problem itself and its causes. Next, introduce your product as a good solution and then showcase how it works. Keep it snappy and relatable. Remember, you’re writing a script for a video—unlike college essays, you don’t have a minimum word count.
Storyboarding and table reading
Once you've got your script down, storyboarding and a table read will help you get a sense of how your final video will turn out.
Storyboarding is where you illustrate different parts of your video in relation to the script. For example, a how-to video about your software may pan between your talent speaking in front of the camera and your software in use. Meanwhile, a table reading, where talent reads the script out loud, will help you catch redundancies or awkward turns of phrase before filming.
The video equipment you need
You can’t film a professional-looking video without the proper equipment. Every video set should at the very least have one camera, solid lighting, and a microphone. Our guide to video gear gives examples of three different setups based on budget, but you may be surprised by how good a video can look with just a smartphone, a desk lamp, and a USB microphone.
Choosing the camera
When it comes to cameras, you can go big or go phone. And the truth is, a smartphone is probably all you need if you’re just starting out (with the right settings, of course). The past few generations of iPhones have been able to capture stunning 4K video and they’re easier to get the hang of than a traditional DSLR camera.
A webcam is another budget option for early videos. While the visual quality may not compare to the other two cameras, you can easily elevate your on-camera look with a few tips and tricks.
Now, let’s talk about the number of cameras you’ll need. If you’re just filming a talking head video (where one person speaks to the camera), you may only need a smartphone and a microphone. However, if your talent is going to be gesturing to a physical product, a second camera zoomed on your product is a good idea. Even if your video is one person talking, a second angle will create more visual interest that can keep viewers engaged.
If you’re married to the idea of using a DSLR camera, we salute you. But first, we recommend checking out our video workshop that’s all about how to shoot video with a DSLR camera.
All-in-one Video Platform
Create, Edit, And Host Videos
Learn moreAudio equipment
Video may seem like it’s all about the, well, video. But the truth is that audio quality is just as important. A study by University of Southern California and the Australian National University showed that viewers are less likely to trust the content of a video if the audio is poor quality.
Most cameras and webcams have a built-in microphone. It’s fine for filming your niece’s birthday party or popping into a Zoom call, but do not use your camera’s built-in mic for professional videos. Instead, invest in a wireless lavalier microphone or a directional shotgun mic.
A lavalier mic—a small mic that clips on or near your on-screen talent’s collar—gets up close and personal for clear, focused audio. However, sometimes it can be bass-heavy and it can catch noises from shifting clothes. Just be sure to use the often-included windscreen and remind your talent to avoid touching the microphone at all costs.
Ready for more information and a few advanced techniques? Check out these resources:
- Recording Audio for Business Video Guide: Learn how to pick the perfect microphone, set the right gain level, figure out those sweet placement angles, and a bunch of other must-know techniques.
- How to Reduce Echo in Your Video: Even the best quality mic won’t sound its best in an echo-prone room. Learn how to dial down echo in your videos.
Lighting equipment
Literally at the flip of a switch, lighting can take your video from looking flat and low-resolution to defined and inviting. To quote our own Director of Production Chris Lavigne’s four simple rules for lighting:
- Make the shot (and the people in it) look pretty.
- Kill any and all shadows on faces.
- Don’t intimidate the person on camera (in other words, don’t make it look like an interrogation).
- Use the most convenient lighting option (it’s often best).
If you’re interested in investing in a real-deal lighting rig, the three-point lighting setup is the industry standard. You can learn more about setting up three-point lighting in our Guide to Lighting Show Talent. You can also build your own DIY lighting kit for under $150.
It’s important to test your lighting before heading into your video shoot. Experiment with a few different placements until you find a setup that works for you. Once you settle on a lighting scheme, draw up a quick diagram and, if you can, mark where the different lights should go with spike tape.
Background design
The background may not seem all that important, but it actually sets your video’s tone. Our personal favorite background is a single-color, seamless paper backdrop. It’s clean and straightforward, but it still offers room for some visual flair. Other easy choices are at your desk (make sure to clean up first!) or in front of a bookshelf.
When it comes to where you film, it'll be great if you can set up a permanent mini video studio that’s always ready to go. Think about designating a corner in your office space. If that isn’t an option for you, we have good news: After a few videos, setup and teardown will be a breeze!
Talent
Your on-screen talent does a lot of the heavy lifting when it comes to the flow of your video. A great actor can hide the flaws in a so-so script while an awkward actor can tank the best dialogue.
While you don’t need to be a card-carrying member of the Screen Actors Guild to do well on camera, you’ll still need some practice. Talking to the camera is a super specific skill. It can take a while to understand what to do with your hands, where to look, how to speak, and so on.
Ultimately, you’ll want someone who can match your brand personality, whether it’s fun and quirky or authoritative but friendly. That can be a tough role to fill, which is why plenty of brands hire actors or influencers in their industry to be their on-screen talent. If you’re going with someone who is used to following a script and being on camera, you’ll likely save time in production and post-production.
If you’re putting a non-actor in front of the camera, brush up on our tips for directing non-actors and ask them to read our guide to being on camera before filming.
Production schedule
By now, you might’ve noticed that we’re big fans of planning. So, naturally, we strongly recommend putting together a production schedule. It’ll keep you and your crew on the same page, and it’ll save you a ton of time and stress during the rest of the production process. Your production schedule should have these things for each scene:
- Name of scene or shot
- Date and time of shoot
- Filming location
- Equipment checklist
- Names of on-screen talent
- Contact information for everyone involved in the shoot
Production
When we say “production,” we’re talking about the actual day (or days) of the video shoot and everything that entails. It can get a bit hectic, but all of your ironclad planning and prep will pay off!
Directing
As the director, your job is to control the overall vision for the video and guide your crew and on-screen talent.
Your early videos will probably be small productions. You might find yourself acting as the writer, on-screen talent, and film crew all at once. As your productions grow, you’ll need to master the art of working with other people and delegating while overseeing the production as a whole.
Directors are responsible for:
- Interpreting the script
- Setting up shots
- Troubleshooting gear
- Capturing everything in the shot list
- Guiding on-screen talent to get the best possible takes
- Keeping to the schedule
- Setting the tone and energy for the crew
Shooting
Shooting footage is “the big show” of the company video production cycle. It’s when you capture each shot that you’ll piece together for your final video.
We recommend “shooting for the edit.” Whatever you do now will impact your workload in post-production, so it’s a good idea to take extra steps in this stage. Remember, while you can fix some things in post-production—such as cleaning up noisy dialogue—it often ends up taking longer than it should. So here are some things you can do:
- Rehearse shots before recording. Be sure to pay attention to what the talent is doing with their hands.
- Triple-check audio levels, framing, focus, white balance, and exposure before hitting “record.”
- Put “buffers” at the beginning and end of shots so you have breathing room for edits. Three seconds of silence is more than enough.
- Film multiple takes and mark good ones in real time, like a hand gesture to the camera.
- Shoot plenty of B-roll footage that you can use in editing (an alternative angle, a close-up on a speaker’s hands, etc.).
- Break up the script based on cuts or edit points.
Post-production
Nice work on a successful shoot! Now comes the last big hurdle: Creating a cut of your video. The term “post-production” broadly covers everything you do between filming and publishing your video, including organizing and editing your files.
Editing software
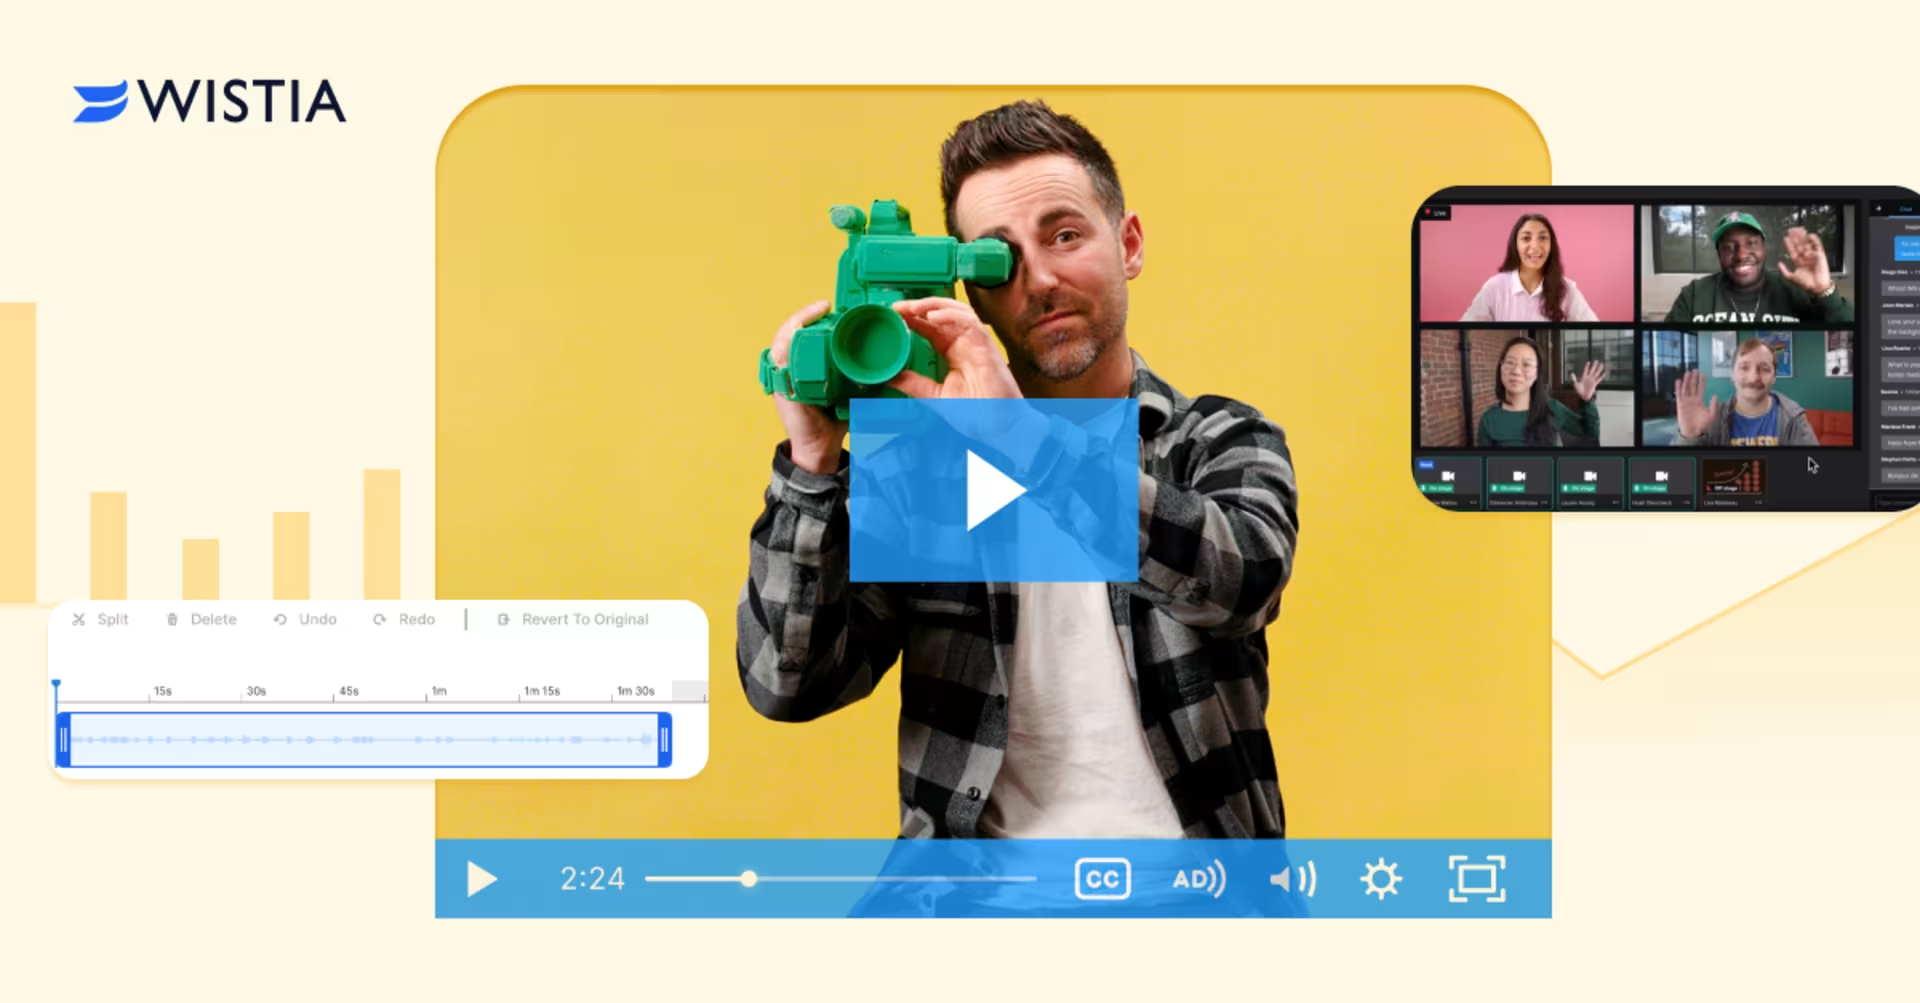
Call us biased, but we think that Wistia is a great place for anyone to create simple and professional video clips. With our editing tool, you can trim, split, and delete shots without leaving your browser tab. It’s great for quickly cleaning up live streams or webinars, trimming any tangents, and creating shorter clips for social media.
For more advanced editing, we recommend Adobe Premiere Pro. Not only is it a robust video editing suite, but it also has a host of tutorials—both official and unofficial—to help you accomplish anything you need for your videos.
Organization
Be honest: Are you still saving files with naming conventions like “video_final,” “video_final_final,” and “video_final_final2”? It’s time to put an end to that absolute nightmare of a practice. Instead, you should name and organize your video and audio files in a way that makes it easy to understand what you’re working with and, most importantly, find what you need when you need it.
A while ago, we shared five simple tips for creating efficient video workflows. Here’s a rundown:
- Establish a standard naming convention (e.g. “ProductVideo_Scene1_Camera1”) across all of your files.
- Keep your project tidy—subfolders are great for this.
- Back up your files in at least two places.
Editing and color grading
There are a lot of different things to try out and use when it comes to editing and color grading, both of which are more “art” than “science.”
We’ve offered a lot of helpful techniques over the years:
- Editing Basics for Business Video: Learn everything you need to know about editing a video from choosing software to exporting a draft.
- 25 Adobe Premiere Shortcuts in Under 60 Seconds: Go through this short list of some of our favorite Adobe Premiere hacks faster than the time it takes to brew a cup of coffee.
- 5 Ways to Fix Your Shot in Post-Production Mistakes are bound to happen even with the most well-planned shoots, which is why these tricks might come in handy.
- 7 Adobe Premiere Lessons From Editing My First Video: Former Wistian Margot Mazur shares her experience with getting the hang of Adobe Premiere for her first video project.
- Getting Started with Color Grading: If you’re experimenting with color grading for the first time, this is the perfect guide for you.
- Wistia’s Guide to Easily Color Match Your Video Backdrops: We’re fans of simple, solid-color backdrops for videos, but sometimes color matching them can be tricky. Here’s how we do it.
- What is a LUT? How to Use LUTs for Color Grading: If you’re working with raw video files, LUTs are your friend in post-production. Get some tips on using LUTs to get the perfect look for your video.
Background music
Tossing in the perfect background music is an easy way to set the mood and bring your video together.
Like with editing and color grading, choosing the right background music for your video is more of an art than a science. Here are the big things to remember:
- Decide in advance what emotion you want to evoke.
- Choose a track with natural-sounding instruments. Anything that sounds too artificial could be distracting.
- Edit the music with the flow of your video in mind. You don’t want any awkward starts, stops, or transitions. Looping certain sections is usually a good way to keep the flow smooth.
- Keep background music in the background. The volume should be low, but still audible enough to not steal attention from your message.
Opting for royalty-free music is hands down the smartest move for your background beats. Just dive into a dedicated royalty-free music database, select your tracks, and snag the license that matches your needs. You can even grab royalty-free music straight from Wistia!
Exporting
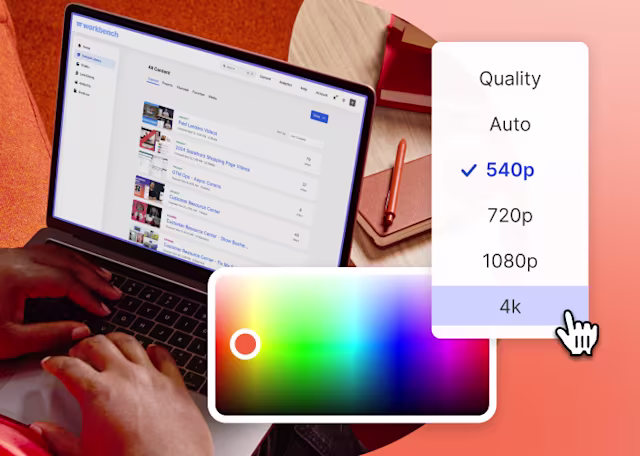
Exporting your video is a pretty straightforward process, but there are a few things to keep in mind like aspect ratio, file format, and audio bitrate. If you’re not sure which settings to use, our official exporting guide can help you out.
Publishing
The publishing, distribution, and promotion stage is where marketing meets video. Your video is all set for the world to enjoy, and if you do things right, it can help bring in new customers and increase brand awareness.
How you promote and distribute your video hinges on what you want to achieve with it. Some common places to place and promote business videos are:
- Your brand’s website, including the blog and help pages/knowledge base where applicable
- E-commerce pages and marketplace product listings (e.g., Amazon)
- Social and pay-per-click (PPC) ads
- Organic social posts (ideally less than 60 seconds)
At this point, you're also making sure your video is accessible and you’re taking steps to boost its visibility and search ranking. If you’re a first-timer, dealing with complicated marketing stuff like video SEO, keywords, and thumbnails can be pretty daunting.
But don't worry; this is where Wistia comes in! We’ve got a bunch of tools that help boost your video’s visibility and search ranking, including closed captioning, a video thumbnail editor, and embed codes that automatically boost your SEO.
That’s not all, though. Once your video is out in the wild, you can easily track viewer analytics on Wistia to see how your viewers engage with your content—and then use that information to improve your next video.
Go forth and create your first business video
Congratulations on making it to the end of the video production process! We know that was a lot to take in, but now you’re prepared to produce incredible video content for your business, soup to nuts.
At the end of the day, the best way to learn how to make videos is to do it. Try out new techniques, roll with the punches, and don’t be afraid to challenge yourself. Every video you make will be better than the last one as long as you keep at it.
Not sure which type of video to start with? We rounded up three of the best, most impactful videos you can create to kick off your video strategy. Check ‘em out!
The first video every small business should make
Now that you know how to make a great video, discover all the types of videos you should start making for your business right away.
Let’s go →