The Best iPhone Camera Settings for Video in 2025
Walk through all the settings to adjust on your iPhone to get high-quality footage.
September 19, 2025
Topic tags
Did you know that by changing a few default camera settings, you can shoot even better-looking videos with your iPhone?
In this quick guide, we’ll show you which settings to adjust.
Grab your phone, open the “Settings” app, scroll down to “Camera,” and let’s dive in!
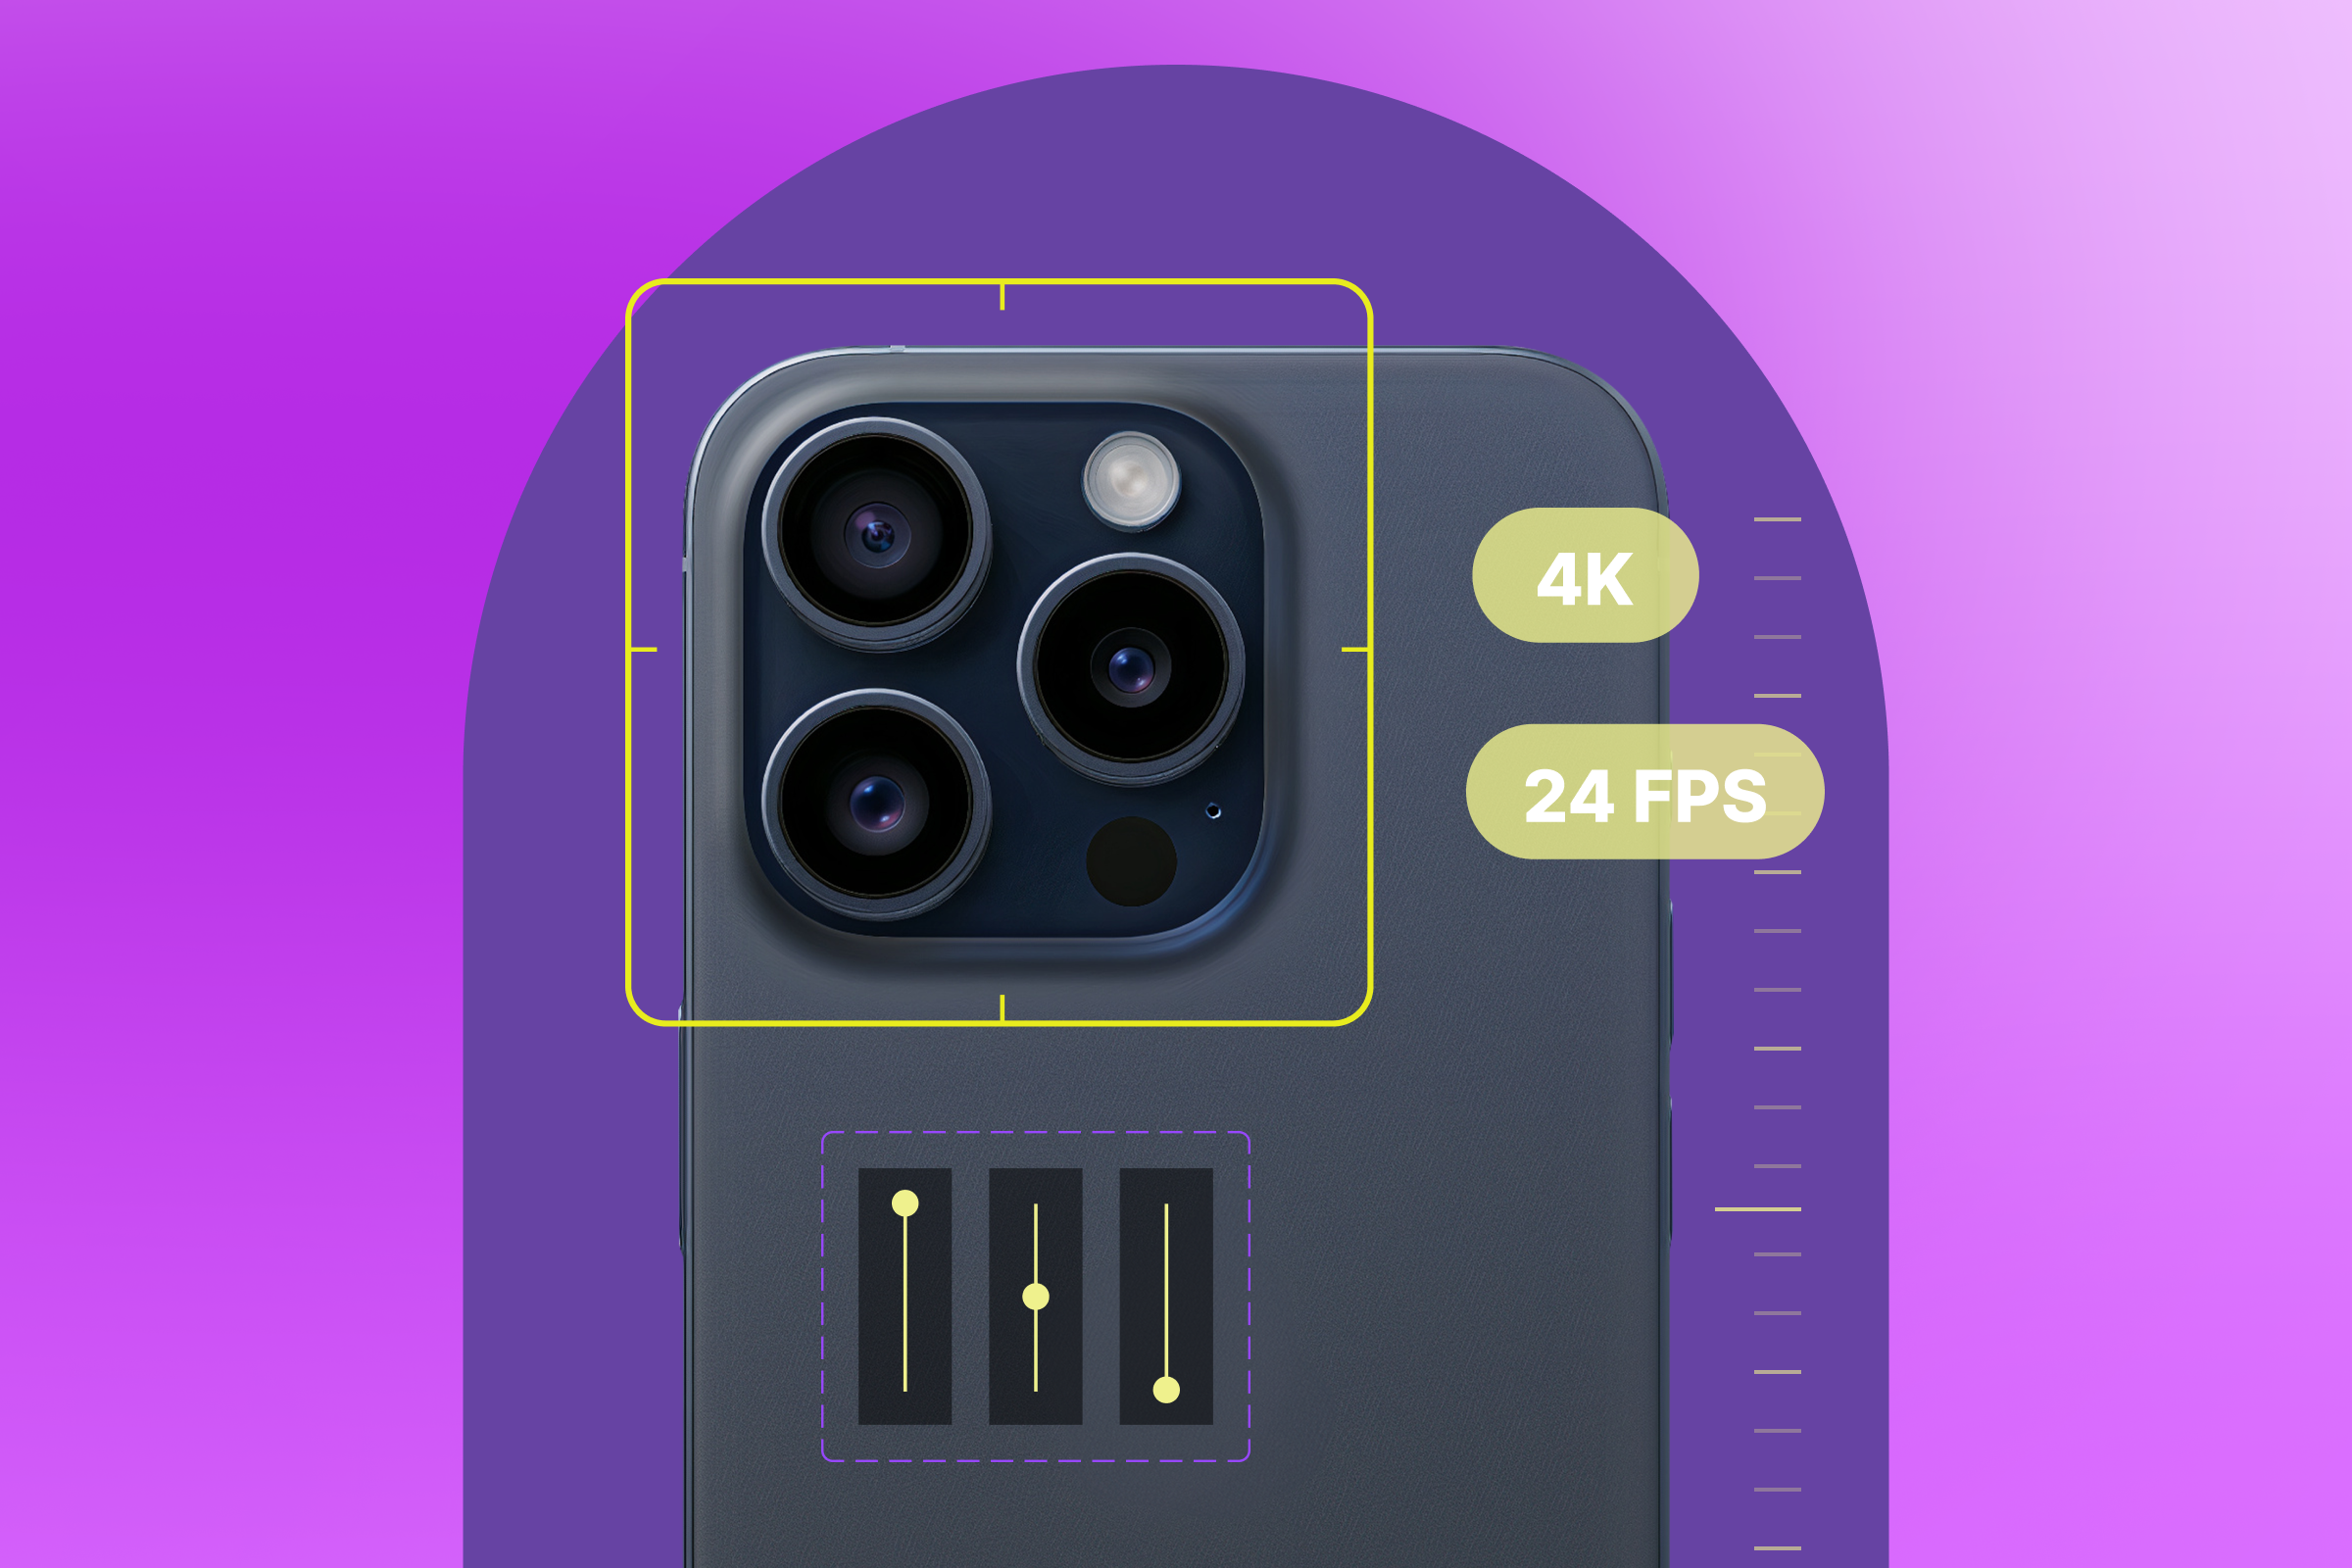
1. Switch to 4K resolution
Shooting in 4K resolution will instantly boost the quality of your videos, but keep in mind that your video file sizes will be a bit larger.
To see what 4K options your iPhone has, tap into the Record Video menu. FYI: Only iPhone 6s and up support 4K video.
2. Set the default frame rate at 24 fps
Your iPhone comes with several frame rate options, each with a different use case.
For example, if you want to capture smooth, realistic motion or footage you plan to slow down slightly in post-production, 60 frames per second (fps) is your best bet.
We highly recommend setting your default frame rate to 24 fps. It gives your footage that cinematic look you’d expect from professional cameras. Each minute of video is about 350 MB, so watch out if you’re going for those long Kubrick-style takes!
3. Decide whether to turn HDR on or off
In the Record Video menu, scroll down and look for HDR Video. This can help capture a higher range of highlights and shadows, which works well in colorful or high-contrast scenes.
But there are a few reasons you might want to turn it off:
- It can make video editing more difficult if your software doesn’t fully support HDR.
- Mixing HDR and SDR clips in one project can lead to color and brightness inconsistencies.
- HDR sometimes makes skin tones look a little off, especially in indoor lighting.
This setting is usually turned on by default if you’re using a newer iPhone, so decide whether you want to commit to using HDR from the start.
4. Turn on the grid
Head back to the main camera settings and toggle Grid on.
You’ll see faint lines across your screen that follow the rule of thirds, divided into nine equal squares. It’s a simple tool that helps you balance your shot, keep horizons level, and frame subjects more creatively (like lining up their eyes along the top third).
5. Turn off the preview outside your frame
By default, the camera app shows the area outside of the actual frame you’re filming. Helpful in theory, but it can be distracting when you’re trying to compose a shot.
Scroll down some more in the main camera settings, turn View Outside Frame off, and you’ll only see exactly what you’re recording.
6. Turn on macro control
If you have a Pro iPhone model, you can film things extremely close up in macro mode.
This mode includes a feature called macro control, which gives you a toggle to switch between regular and macro modes. That way, you control when to use macro mode instead of letting your phone do it automatically.
7. Pick the video format
Open the Formats menu, and you’ll see two options:
- High Efficiency (HEVC) saves space by compressing your videos more efficiently. It’s great if you’re recording a lot of footage and want to keep file sizes small.
- Most Compatible uses a more widely supported format (H.264), which can make your videos easier to upload and edit across older platforms and software.
If you’re editing your own video or using older software, Most Compatible is your safest bet. But if you’re uploading videos straight to platforms like Wistia, YouTube, or Instagram and want to save space, High Efficiency is the way to go.
