How to Screen Record on Mac and Windows
Learn how to record your screen on a Mac or Windows computer.
June 29, 2023
Topic tags

Want to start recording your computer screen like a pro? It’s easier than you might think!
Your Mac or PC already has built-in tools that can get the job done. And there are some browser-based tools, like Wistia’s screen and webcam recorder, that can help you create higher-quality, professional-looking screen recordings.
If you’re ready to learn the ins and outs of your computer’s built-in screen recording tools and Wistia’s screen and webcam recorder, let’s dig in!
How to record your screen and webcam on any computer
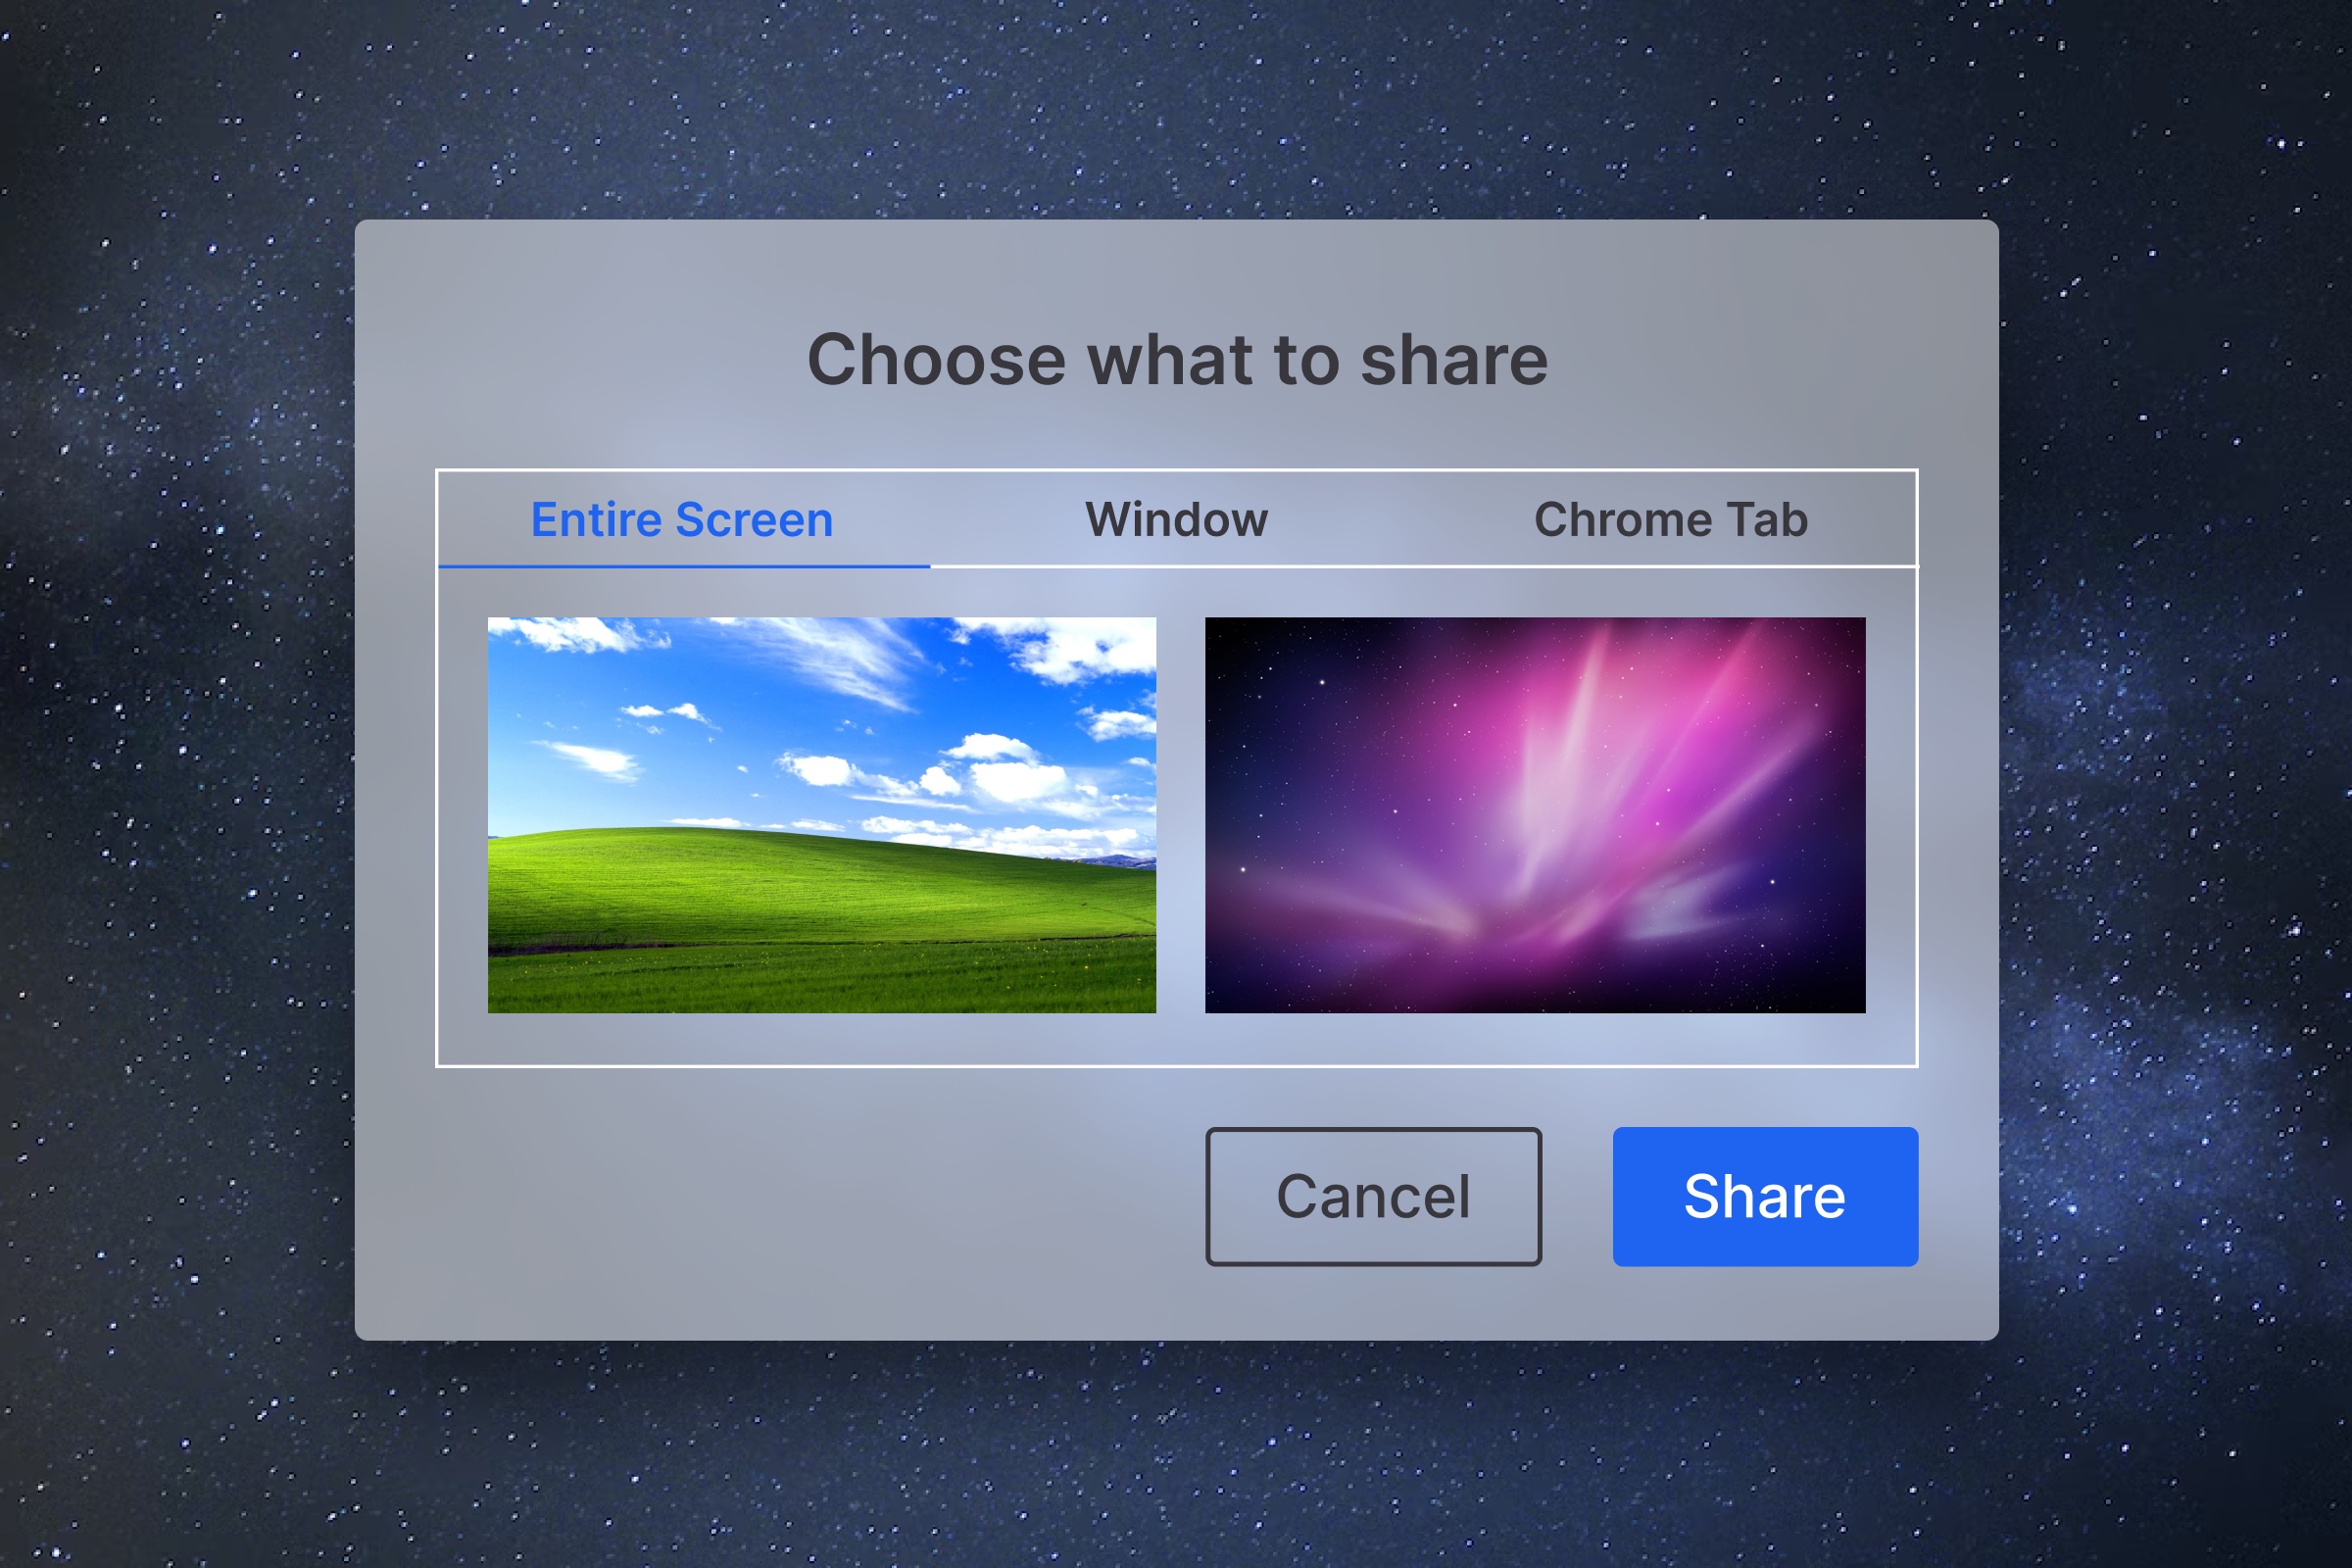
Wistia’s screen and webcam recorder makes it super easy to create high-quality screen recordings and turn them into engaging marketing assets. Here’s how:
- If you’re a Wistia user, head over to the Studio to start a new recording. If you don’t have an account with us, no worries! You can still try it out. All you have to do is go to the Wistia video recorder and press “Get instant access.”
- Choose your screen, webcam, and mic settings.
- Hit the “Start Recording” button at the bottom right of your screen.
- Wait for the three-second countdown … and record your screen!
Once you’re done with your recording, it’s automatically saved to your Wistia account. That means you can dive right into the editing process as soon as you stop recording. If you don’t have a Wistia account yet, go ahead and create one if you want to save and edit your recording.
How to screen record on a Mac
Your Mac comes with QuickTime Player, a multimedia player that offers screen recording capabilities. To activate it, press Shift+Command+5. When the video recorder bar appears, choose your settings and then select “Record Entire Screen” or “Record Selected Portion.”
QuickTime can be convenient for quick screen captures, but it has a few limitations. The screen recorder cannot record your screen and webcam simultaneously, it can only save your recordings as .mov files, and you can only trim your recordings.
How to screen record on Windows
A Windows PC offers a built-in screen recording tool called the Snipping Tool. Simply open the Snipping Tool, choose the camera icon, select “New,” set your recording area, and press “Start” to start recording. Don’t forget to hit “Save” when you’re done!
While the Snipping Tool’s screen recording feature is good enough for quick captures on a Windows PC, it comes with some limitations. For starters, you can’t record your screen and webcam at the same time. And there isn’t much as far as editing features go. The video quality isn’t that great, either.
How to edit your screen recordings
Whether you record your screen with Wistia or locally on a Mac or Windows computer, the Wistia editor makes trimming your recordings a breeze.
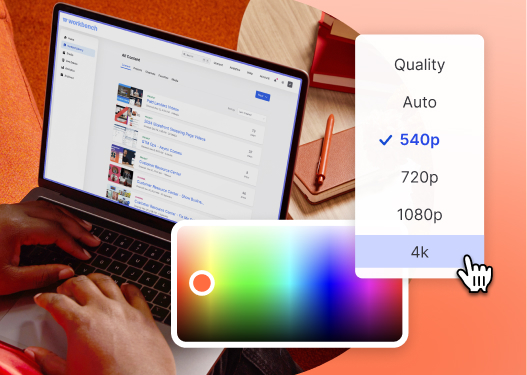
Open the recording in the Wistia editor. Here you can split, trim, stitch, and add transitions and background music to polish up your video in a snap. If you want to dive deeper into how to edit videos with Wistia, we’ve got you covered!

All-in-one Video Platform
Create, Edit, And Host Videos
Track the engagement of your recording
Once you share your recording with the world, you can use Wistia’s built-in video analytics to track its performance and adjust your video marketing strategy if needed. Wistia shows statistics like play rate and engagement rate.
Improve the engagement of your screen recordings
Wondering how to improve the way folks engage with your screen recordings? Try these tips!
- A/B test different thumbnails for the same video to see which one performs best.
- Customize the player to increase the play rate.
- Place a Call to Action in your recording and experiment with its placement throughout the video.
- Add an email collector form to convert viewers into customers.
- Adjust your content or recording length to help with engagement.


