How to Video Record Yourself Presenting A PowerPoint
Learn how to record yourself on a webcam presenting PowerPoint slides using just your laptop.
June 23, 2023
Topic tags
Looking for an easy way to record yourself delivering a rockstar PowerPoint presentation? While PowerPoint lets you record your slide show and your voice at the same time, it doesn’t capture webcam footage. But we have good news: Wistia’s online video recorder can capture your screen, microphone, and webcam at the same time.
That means you can record yourself and your slides in full, high definition video and audio. And when you’re done recording your presentation, you can use Wistia’s suite of other built-in features (like the video editor and analytics) to polish it up, share it, and track its engagement.
How to record a PowerPoint presentation video
Want to try recording your presentation with our screen and webcam recorder? Follow these steps:
1. Prepare your PowerPoint for video
A successful presentation video is one where viewers can soak up all the information without having to hit the pause button. So it’s worth taking the time to make sure your slides are easy to follow on video. Here are a few tips:
- Use high-contrast colors for text
- Add speaker notes
- Make the content accessible
Once your presentation is ready to go, we recommend that you put the slide show in full-screen presentation mode so that the PowerPoint slides fill out the screen recording and you can still see your notes.
2. Prepare yourself for the camera
When you record yourself presenting a PowerPoint, you’ll want to look professional. We’ve got some quick ways to improve how you look on camera and some handy tips on how to fix up your lighting, microphone, and webcam setup.
3. Start recording in Wistia
Now that you’re all set up and ready to go, it’s time to present using the screen and webcam recorder.
- Open up the Studio tab in your Wistia dashboard.
- Hit the “Create” button.
- Select the “New Recording” option
- Click Record My … and select Camera & Screen.
Check your setup and ensure your mic, webcam, and screenshare are looking great!
- When ready, select Start Recording.
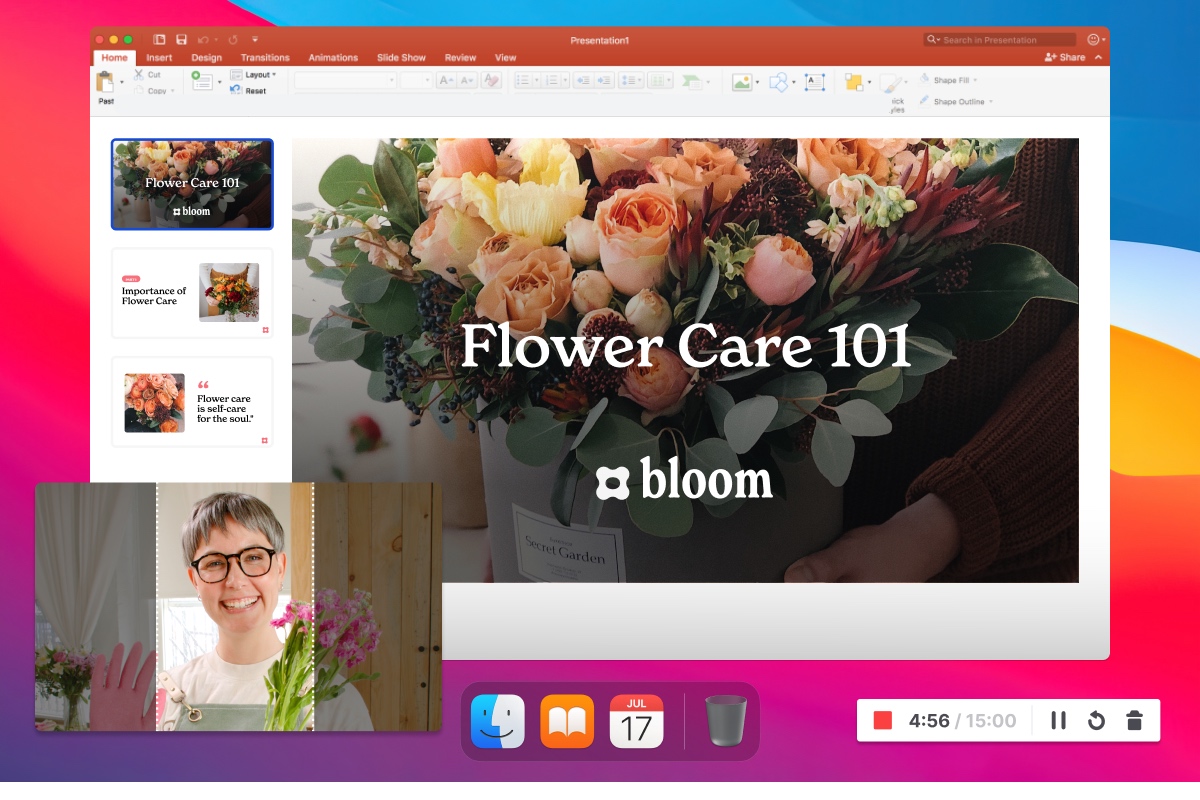
FYI: There’s a pause button for when you need a breather — and a restart button if you’ve got a furry pal that likes to challenge the mail carrier to a barking contest mid-recording.
As soon as you press the Stop button, your recording is automatically saved to your Wistia account.
How to edit your PowerPoint recording
Once you’ve nailed your presentation, take it up a notch with Wistia’s video editor. Just hop on over to the Studio, select your recording, and choose “Edit Media.”
Check out some of the things you can do when editing videos online in Wistia:
- Split footage
- Stitch in other clips
- Cut out any awkward silences
- Create stylized transitions
- Extract clips for social media
- Trim off the beginning or end of your presentation
When all of your edits are in place, you can export and save a copy of your new video in your Wistia account. Just hit the “Export Video” button at the top right corner of the editor, give it a title, and then choose a Project folder to save it in.
Get the most from your presentation recordings
Wistia has all the tools you need to record, edit, share, and track your PowerPoint presentations all in one place.
So whether you’re into pre-recorded presentations or live events (or both), Wistia is here to help you get the most mileage out of your presentation recordings.
