Video Production
Get practical tips for making great videos, whether you’ve never touched a camera or you’ve been doing this for years.
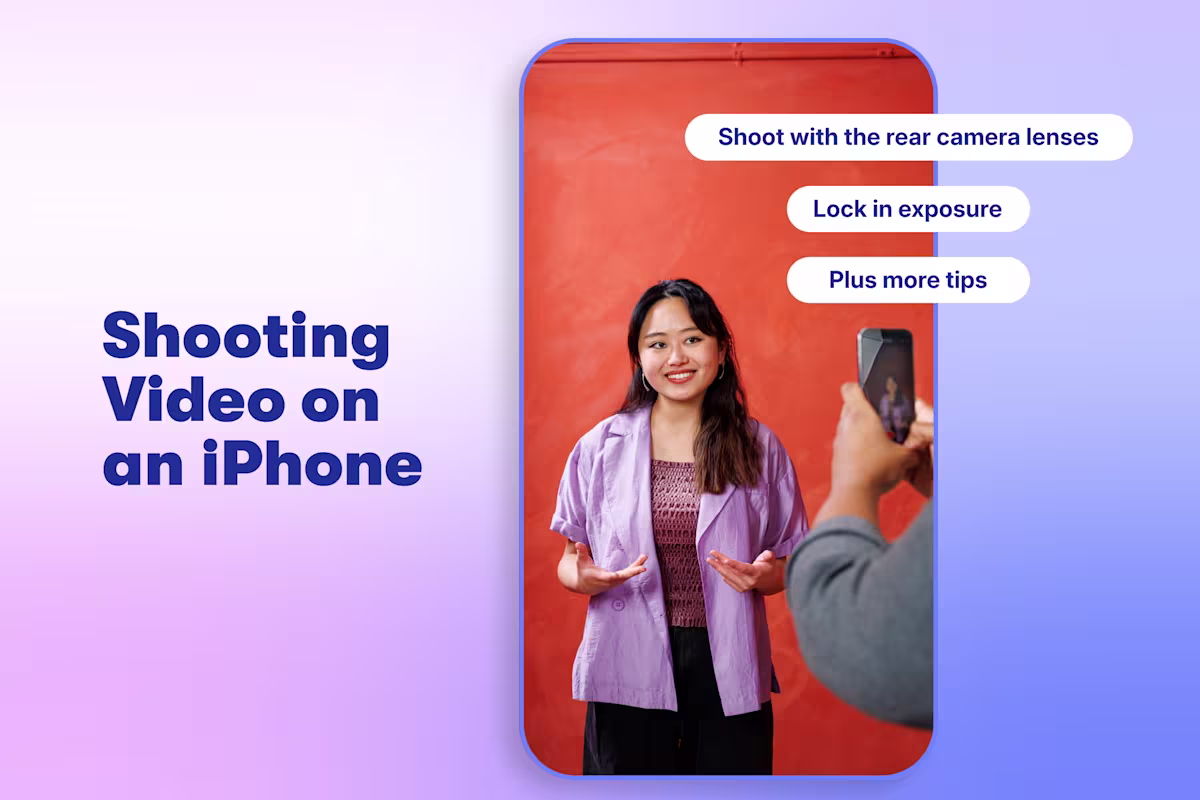
How to Shoot Professional Videos on Your iPhone
Get nine easy tips for capturing great footage with an iPhone.
Chris Lavigne

Fix Your Webcam Setup for Webinars and Video Recordings
Discover the best equipment and tried-and-true engagement techniques to use.
Stephen Petto
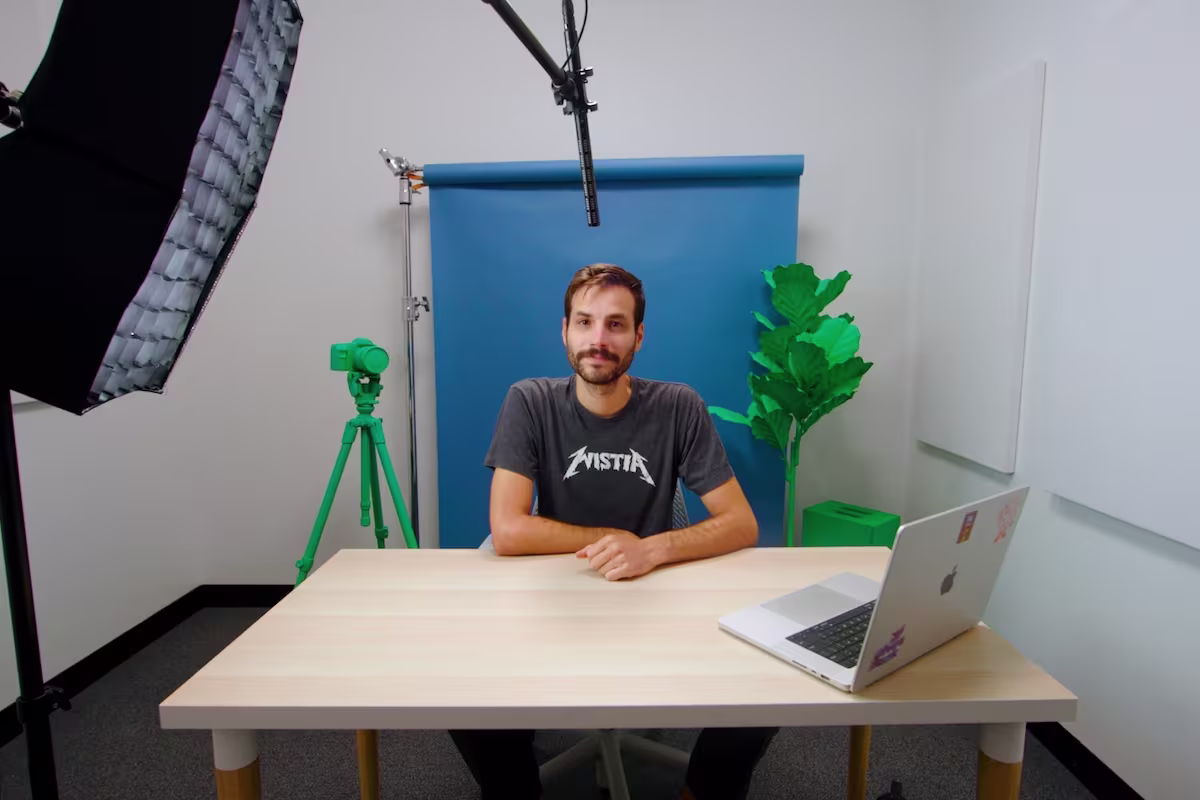
How to Set up a Mini Video Studio for In-Office Recordings
We built a dedicated space with lights, a camera, and a microphone for our teams — and you can, too.
Stephen Petto
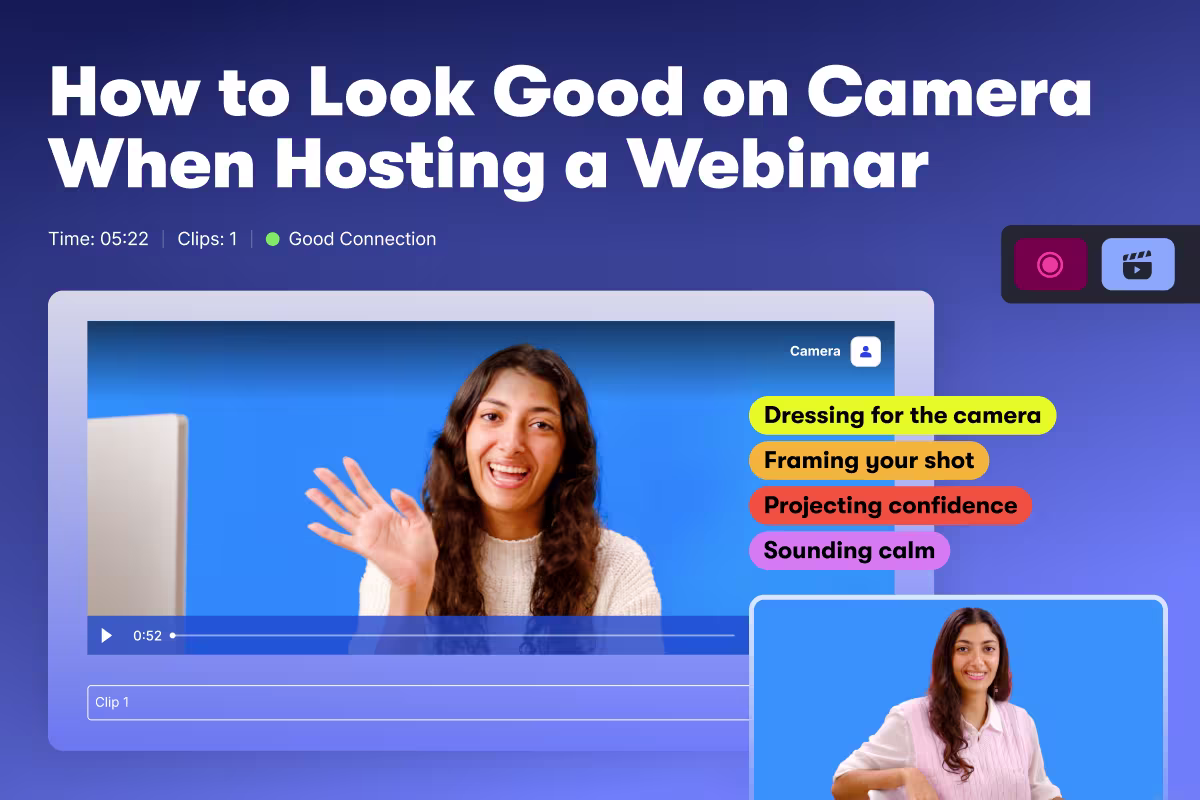
How to Look Good on Camera When Hosting a Webinar
Get easy tips for dressing, framing the camera, and projecting confidence during your next webinar.
Chiara Hoogervorst
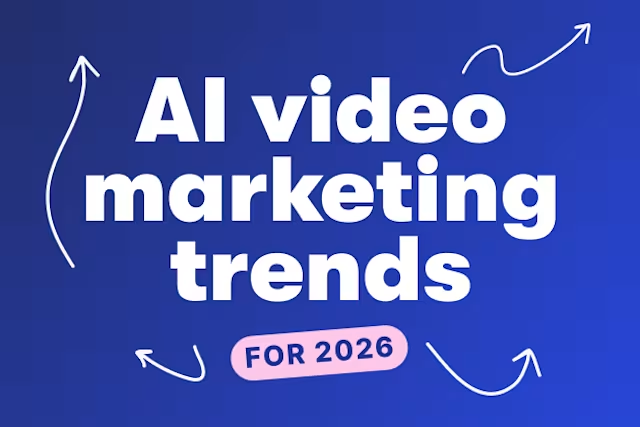
AI Video Marketing Trends
See how teams like yours use AI to produce better videos faster.
Download the report
All Articles

The 2-Hour Video Workflow That Actually Gets Done
Skip the analysis paralysis and ship that video in just six steps. No big budget needed.
Chris Lavigne
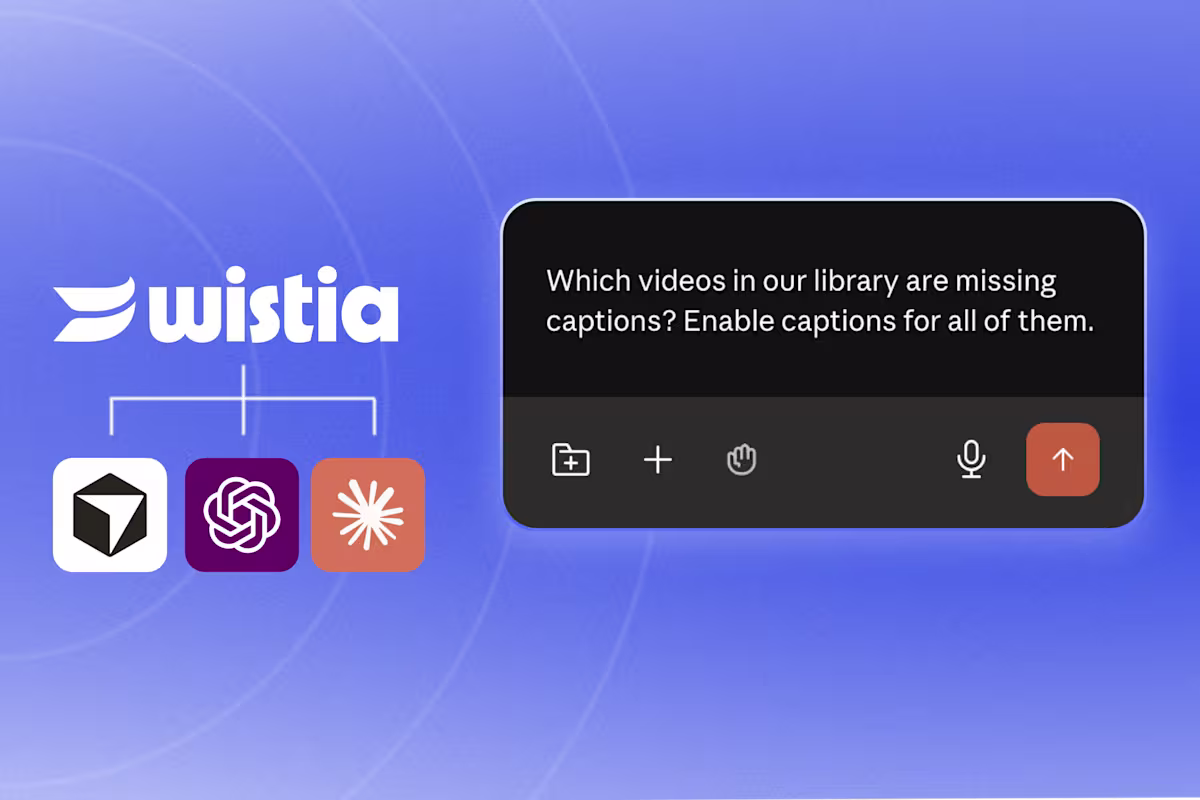
Video MCP, Explained: How to Turn Your AI Agent into a Video Assistant
A video MCP connects your AI agent to your video library so you can prompt it to manage your videos, report on performance, and more. See what you can do with Wistia’s video MCP.
Sam Balter
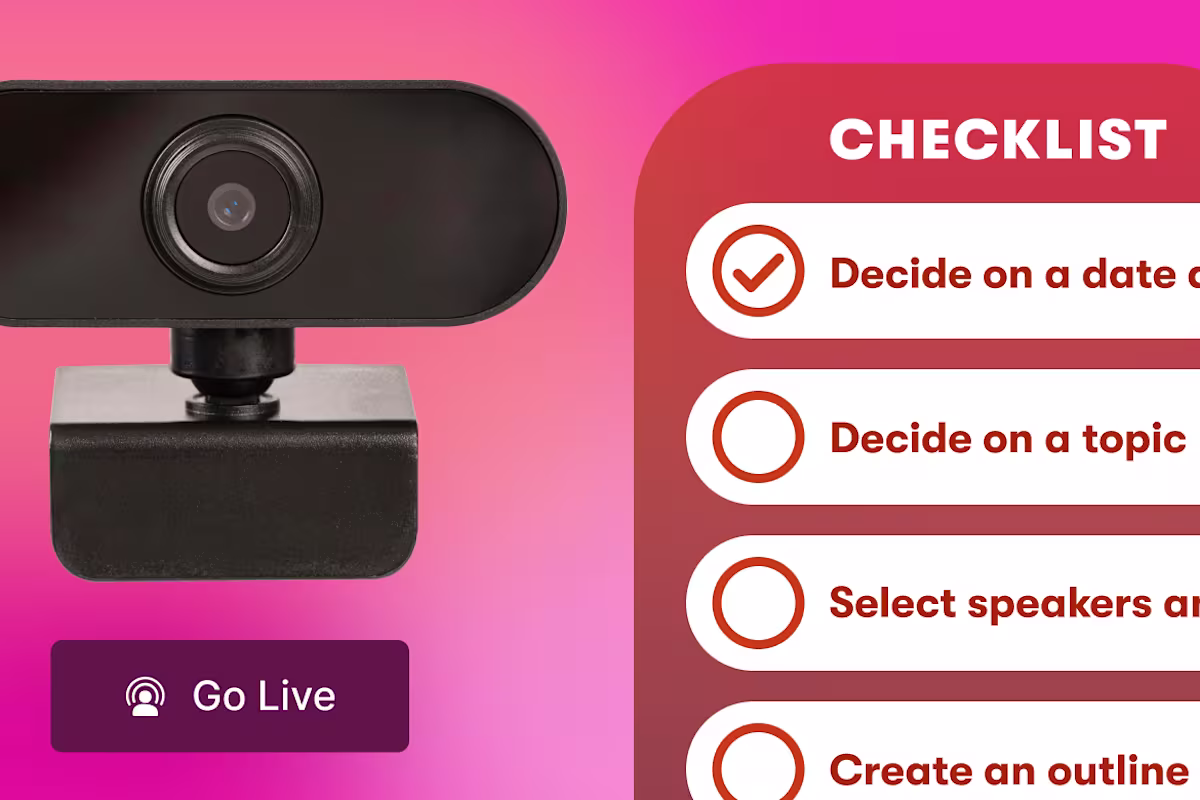
Webinar Checklist: How to Plan, Host & Follow Up on a Successful Webinar
A week-by-week webinar checklist covering planning, promotion, going live, and post-event follow-up.
Lisa Marinelli
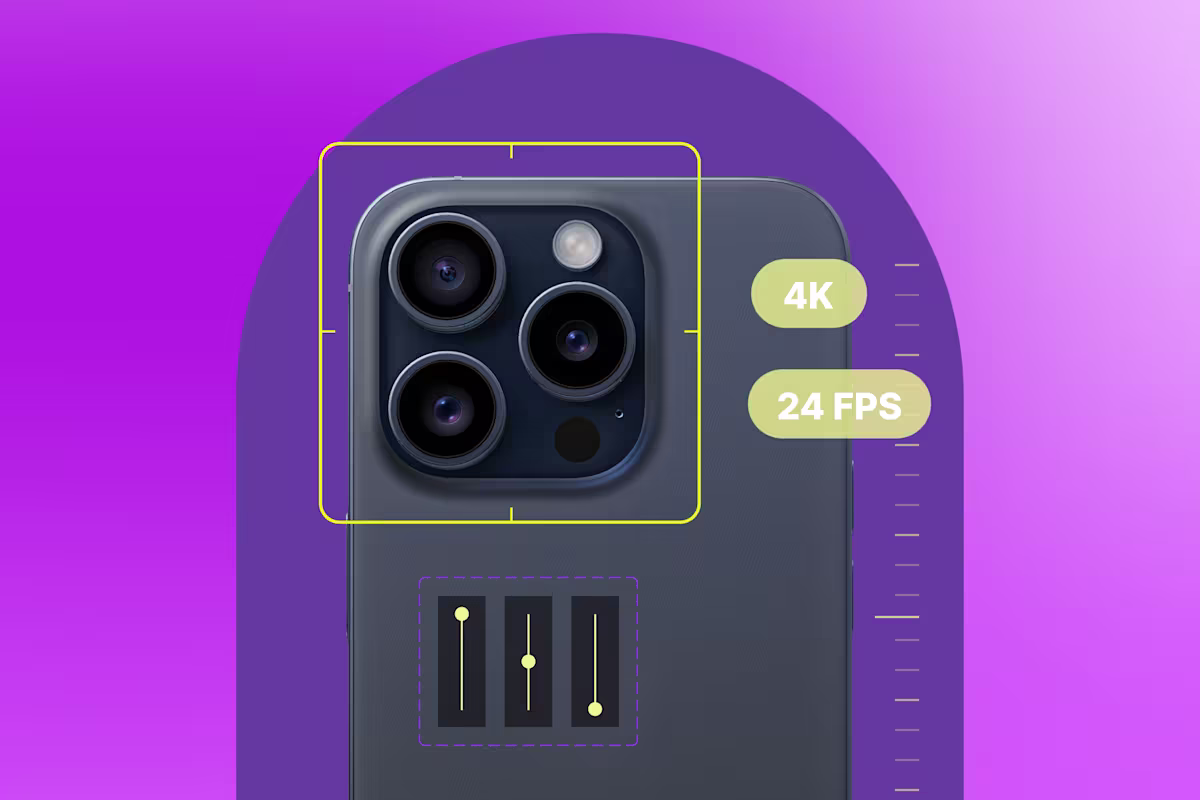
The Best iPhone Camera Settings for Video
Walk through all the settings to adjust on your iPhone for high-quality footage.
Chris Lavigne
How to Shoot Professional Videos on Your iPhone
Get nine easy tips for capturing great footage with an iPhone.
Chris Lavigne
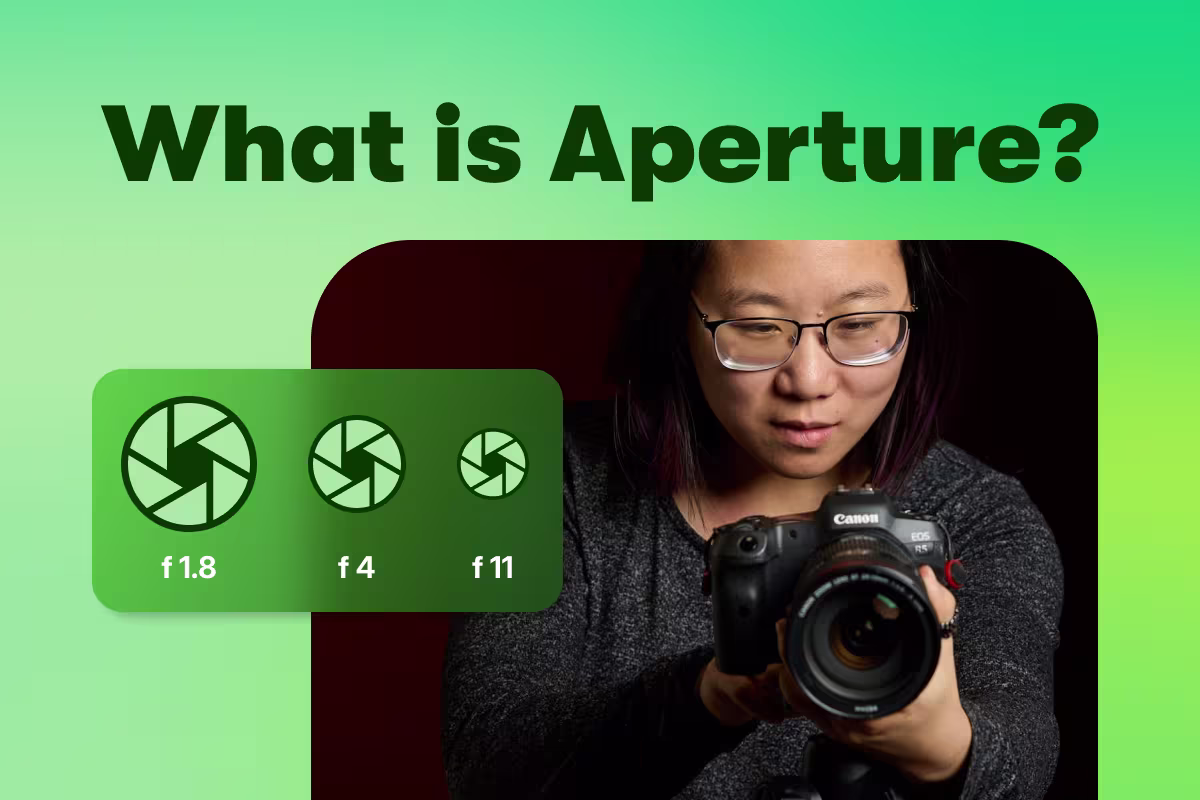
What Is an Aperture on a Camera?
Aperture controls the amount of light that reaches the sensor in photography and video. Find out how aperture affects and image and which settings to use in different circumstances.
Trevor Holmes
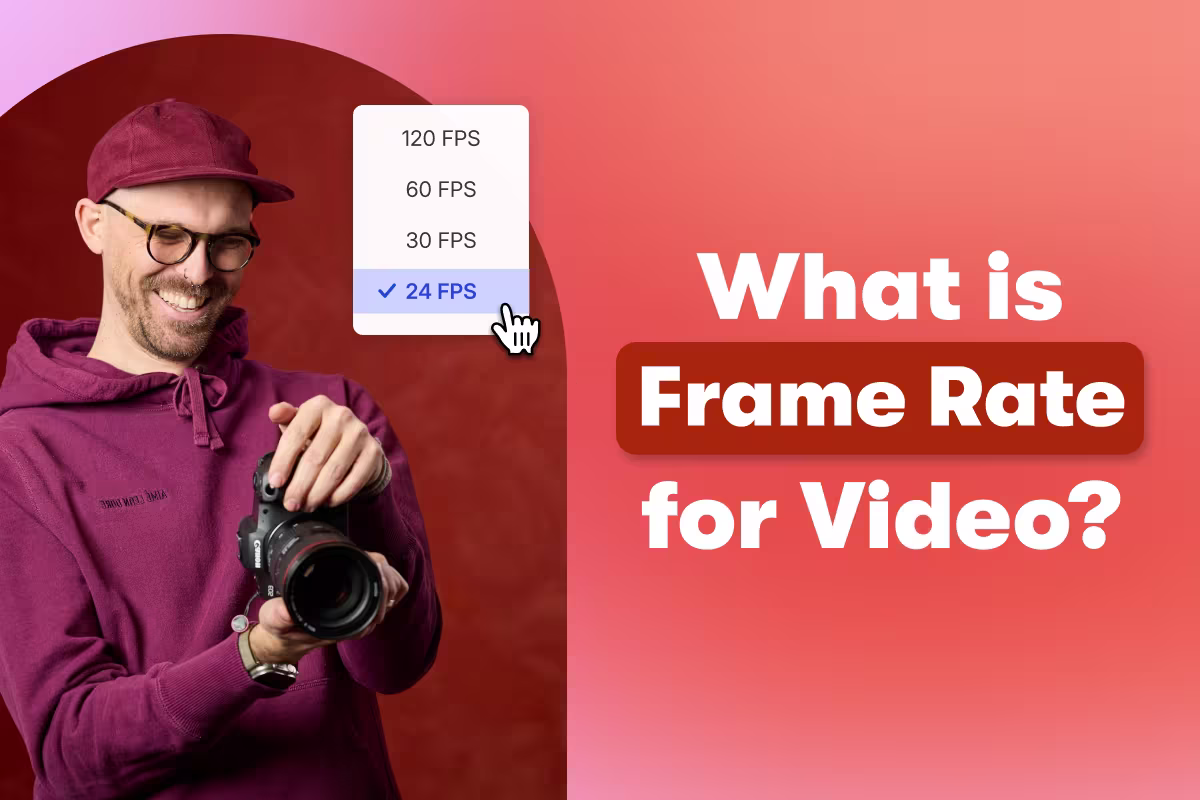
What Is a Video Frame Rate?
Find out more about frame rates and how to pick the best one for your shot.
Trevor Holmes
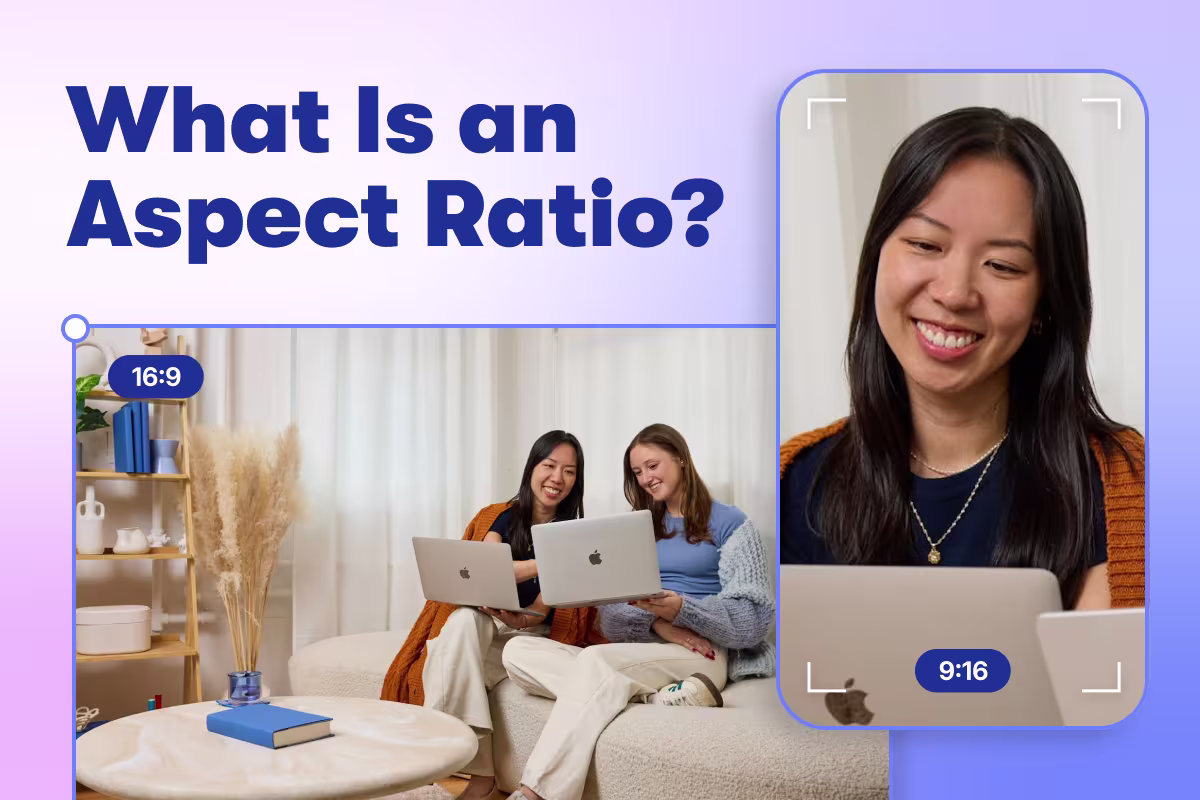
What Is an Aspect Ratio?
Aspect ratio is the proportion between the width and height of your video. Find out how aspect ratios affect your shot and which one to use in different circumstances.
Trevor Holmes
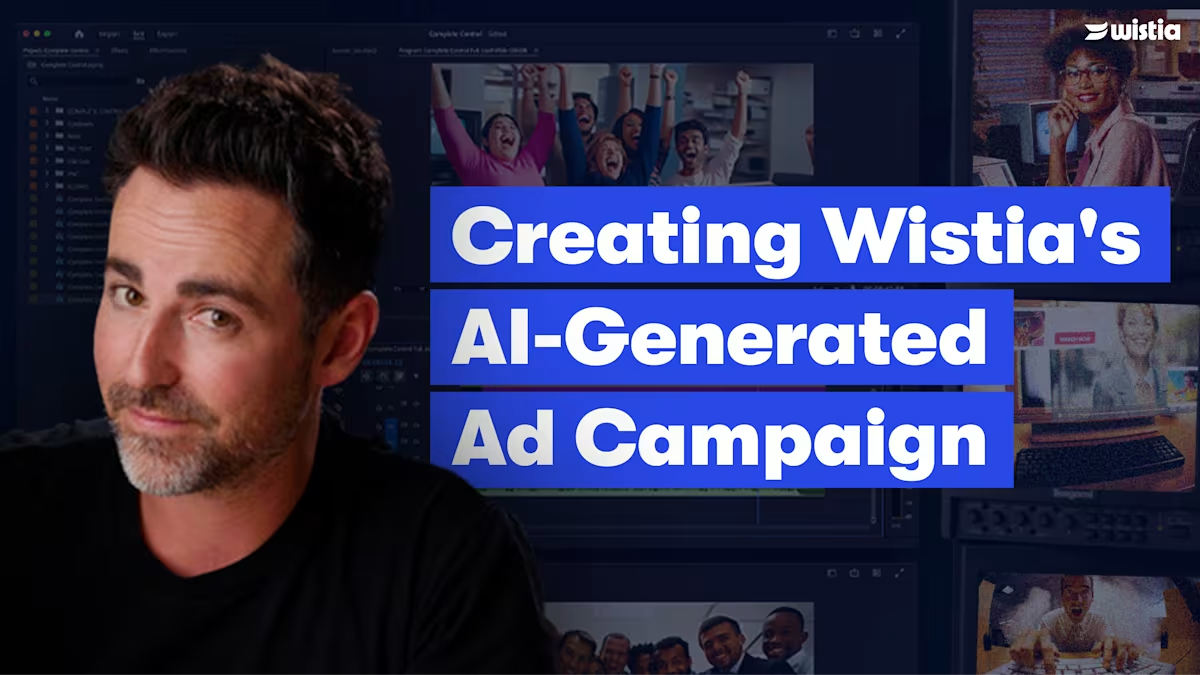
Our First AI Video Ad: How We Made It and What We Learned
See how Wistia built a complete video ad with AI for under $10K—process, tools, and lessons inside.
Meg Dalessandro
How to Look Good on Camera When Hosting a Webinar
Get easy tips for dressing, framing the camera, and projecting confidence during your next webinar.
Chiara Hoogervorst
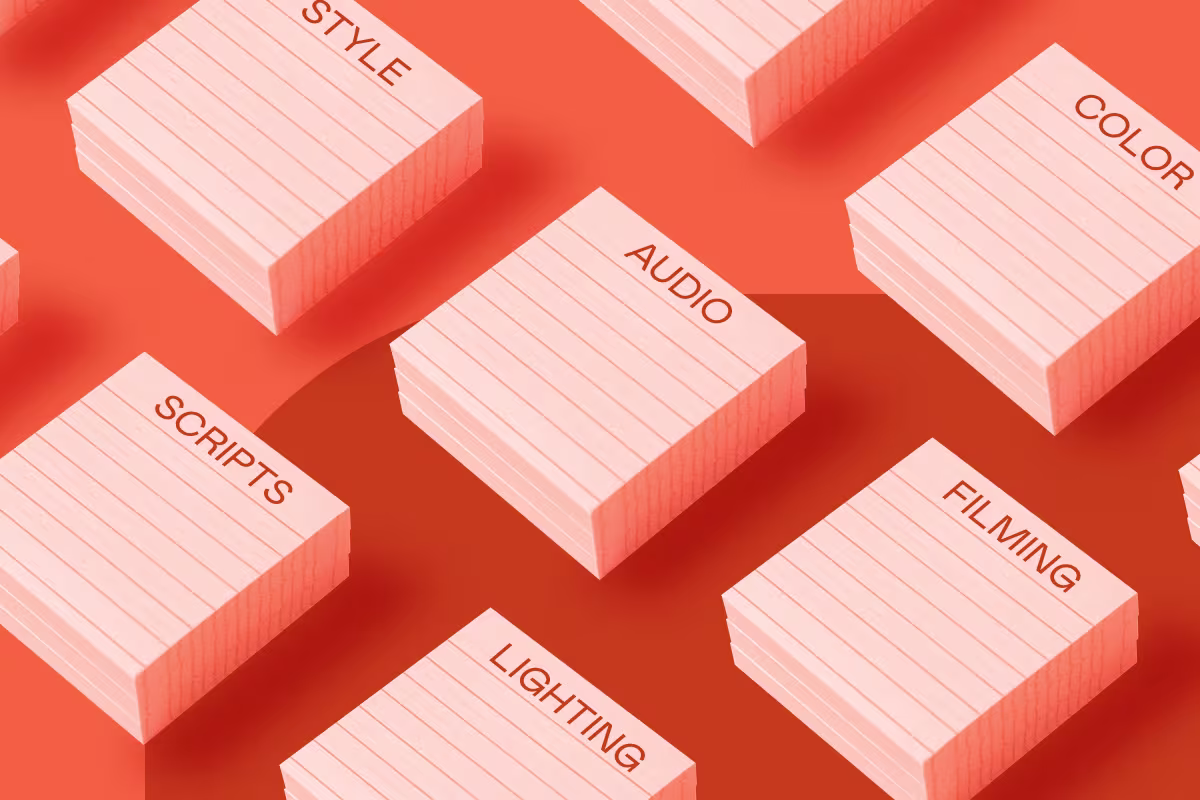
The Definitive Video Production Glossary of Terms
Learn all the terms you need to know for every stage of video production.
Chiara Hoogervorst
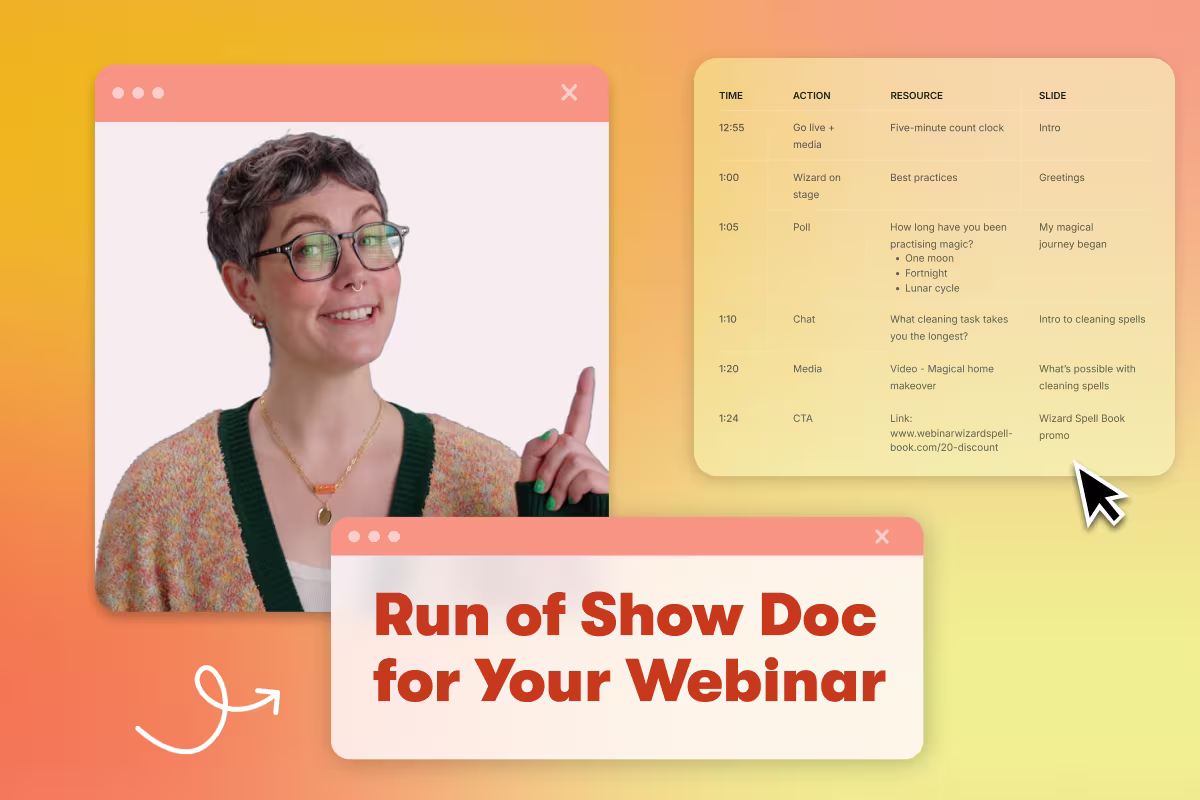
Why You Need a Run of Show for Your Webinar
Learn why a run of show will help you run a smooth webinar and keep everyone involved behind the scenes on the same page.
Lisa Marinelli
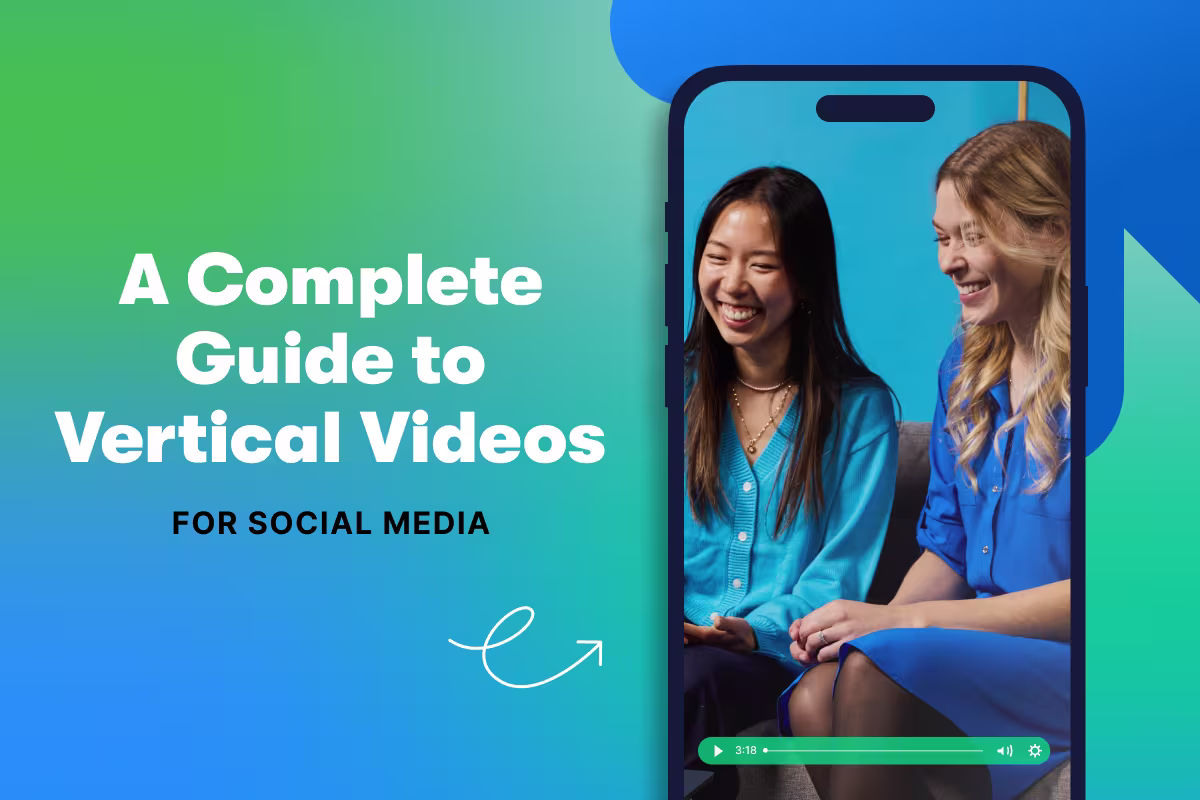
Vertical Video Guide: Sizes, Dimensions & How to Resize for Social Media
Get vertical video dimensions for every social platform, plus how to resize a horizontal video to 9:16 in one click. Free editor included.
Chiara Hoogervorst
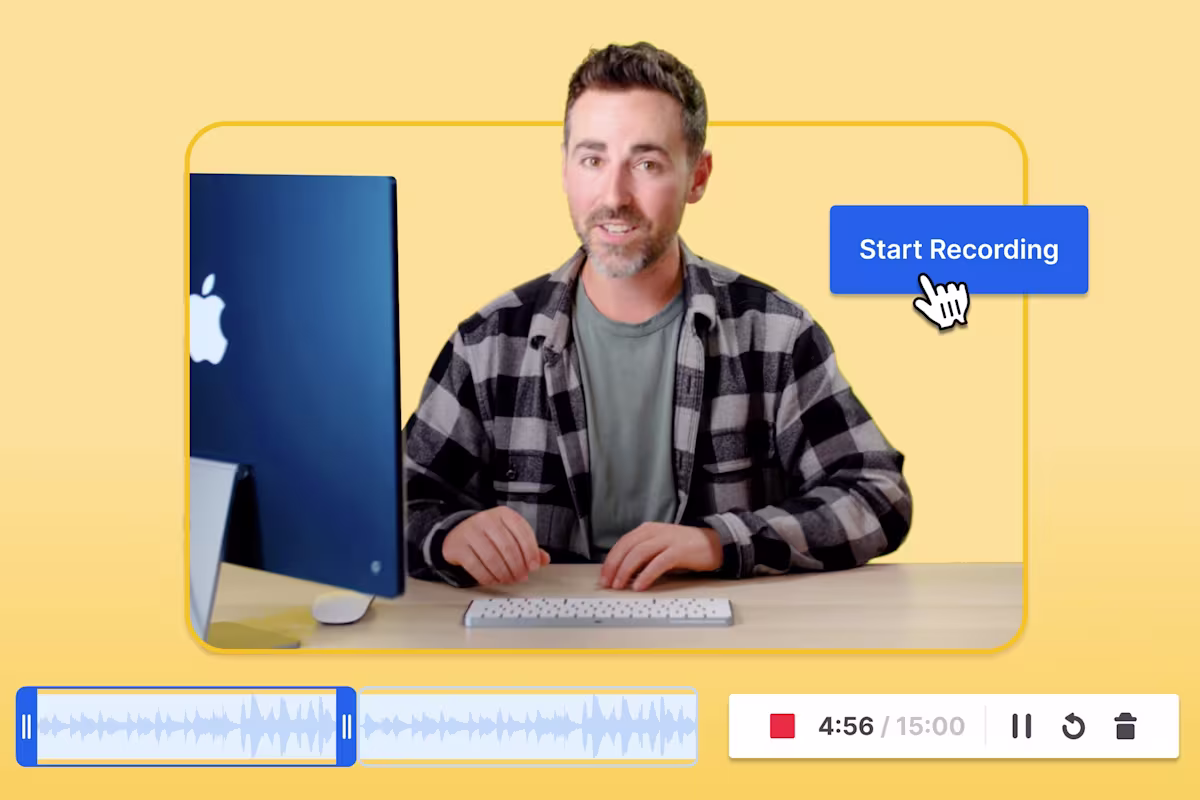
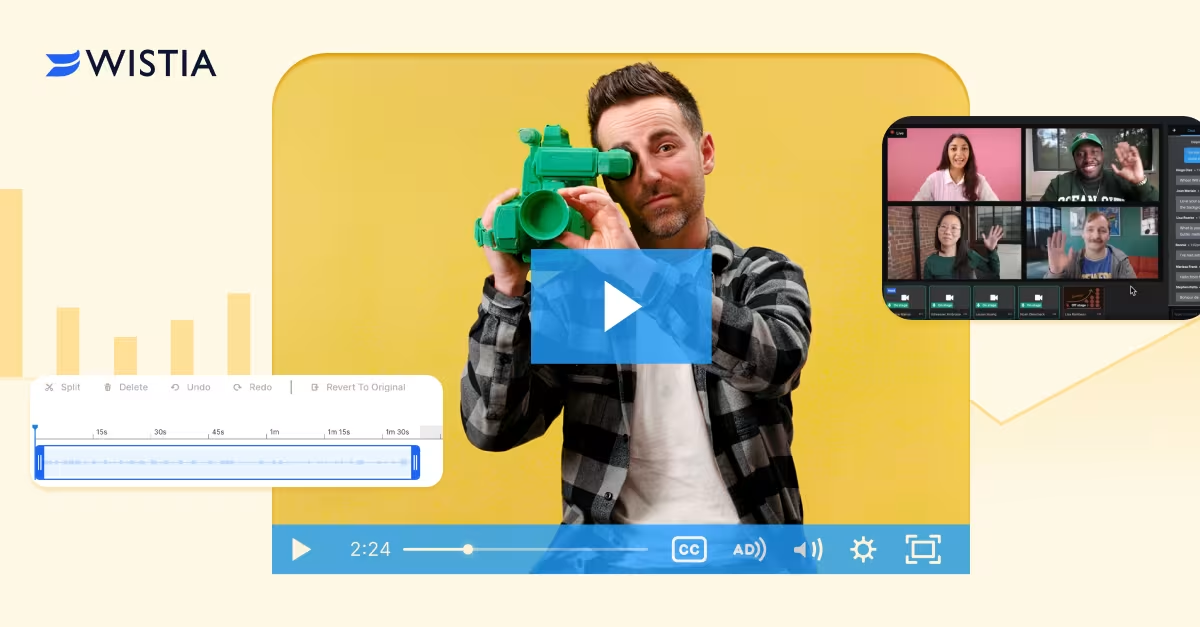
Make A Great Presentation Video With A Screen Recorder
Learn how to record your next presentation video with Wistia.
Chris Lavigne
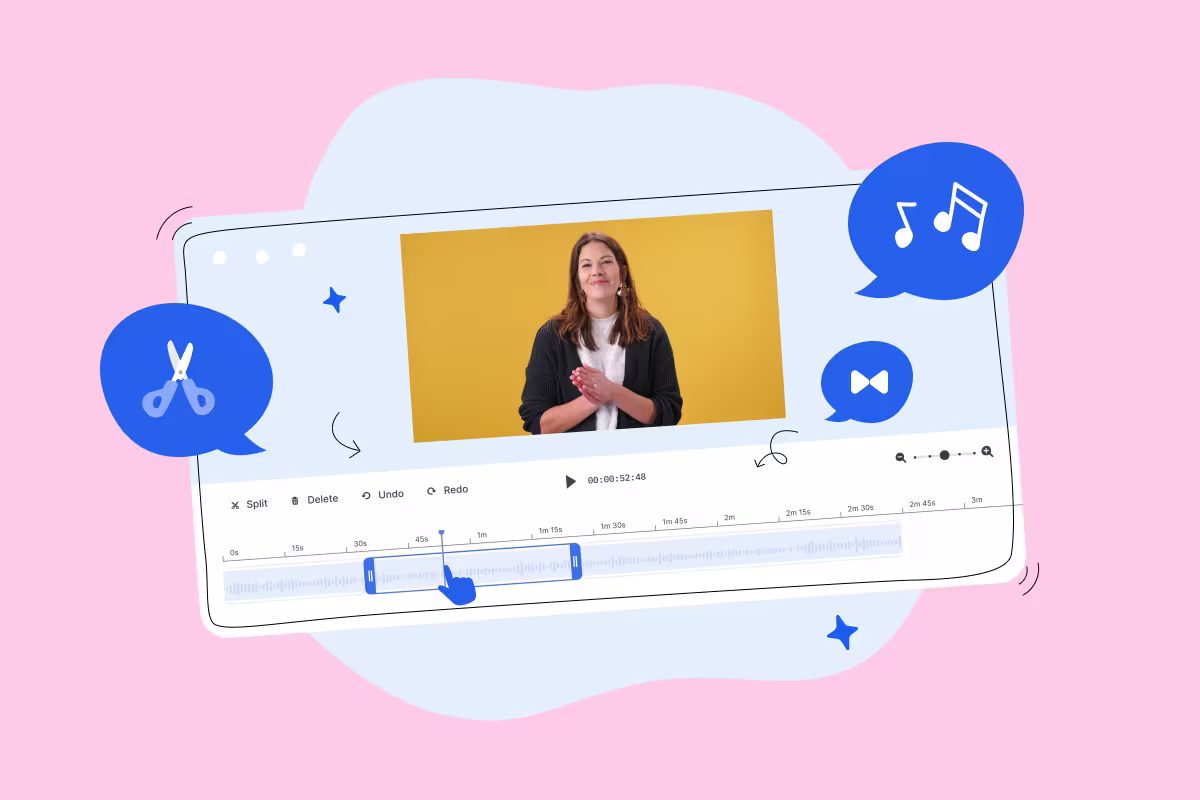
4 Best Video Editing Software For In-House Editors
We've picked out the best video editing software for your post-production needs.
Austin Canary

The Best Webcam of 2024 for Recording Videos and Webinars
Learn why you don’t need a professional webcam setup to capture high-quality footage and why the iPhone is our choice for the best webcam for 2024.
Stephen Petto

Boost Collaboration with Wistia's Time-Coded Comments
Give and receive feedback on your video exactly where you need it with Wistia's time-coded commenting feature.
Courtney Lefferts

How to Make A Training Video for Your Business
Create training videos that will teach your viewers what they need to know to succeed. Here's what a training video is and how to make one.
Austin Canary
How to Make A Talking Head Video Of Subject Matter Experts
What is a talking head video and how do you make one? Learn how to make videos where your SME speaks directly to the camera.
Austin Canary
9 Best Online Video Editors For Creating Great Marketing Videos
When looking for an online video editor, you might be wondering which ones are the best. Lucky for you, we rounded up some of our top picks. Take a look!
Austin Canary
What's a Panel Discussion? How to Bring Experts to the Stage
A panel discussion is a great way to bring experts together for a live event.
Austin Canary
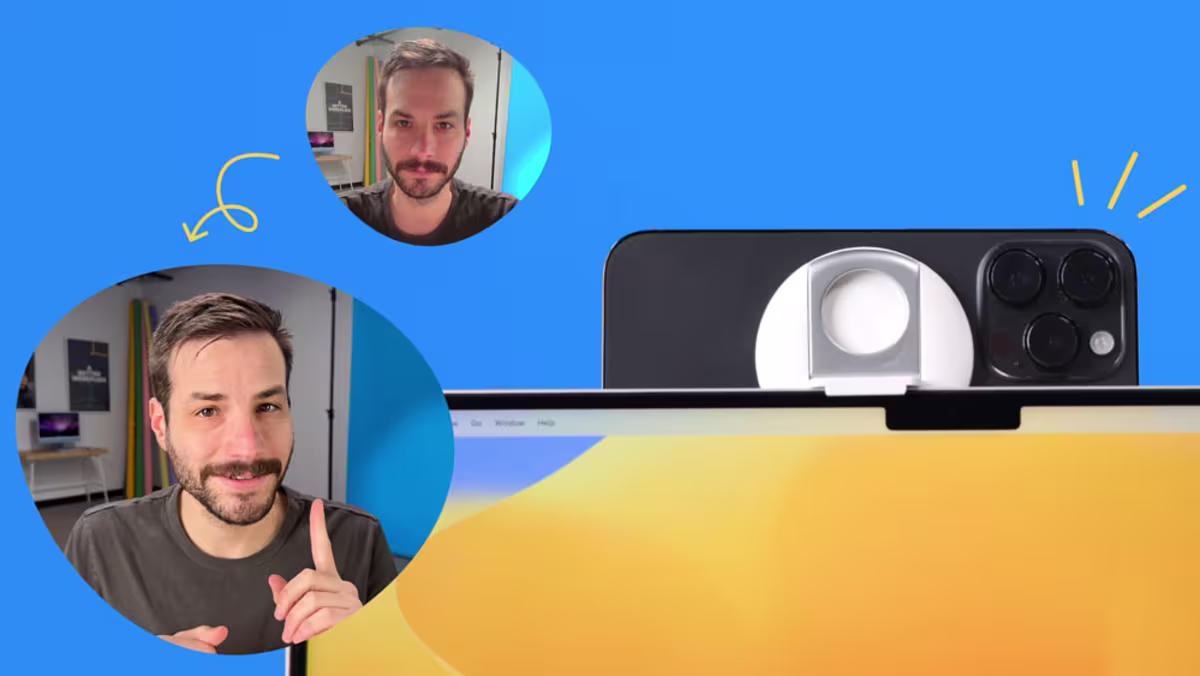
How to Use Continuity Camera: Make Your iPhone a Webcam for Your Mac
Get set up with Continuity Camera and start creating high-quality webinars and self-recordings using your iPhone as a webcam.
Stephen Petto
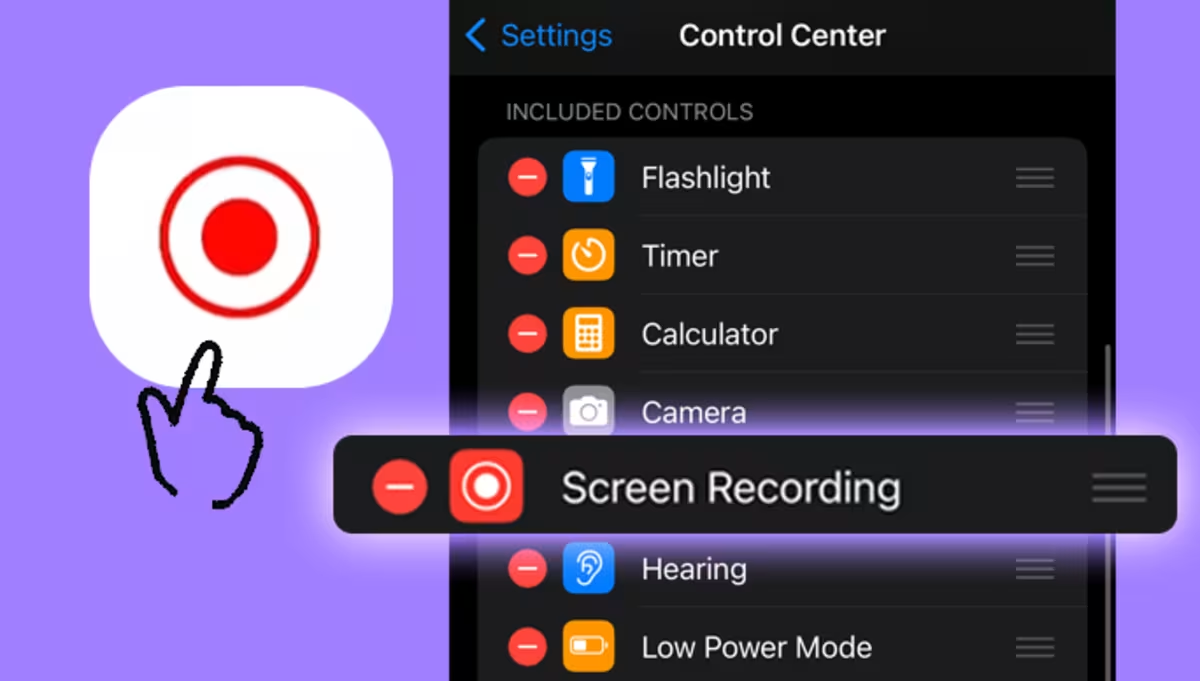
How to Record Your iPhone Screen Like A Pro in 2023
You can record a video of your iPhone screen with nothing more than an iPhone!
Chris Lavigne
Video Production Guide: How to Make Videos For Business
Learn how to make a video for your business with this comprehensive marketing video production guide.
Austin Canary