Posts in the Production category, page 1
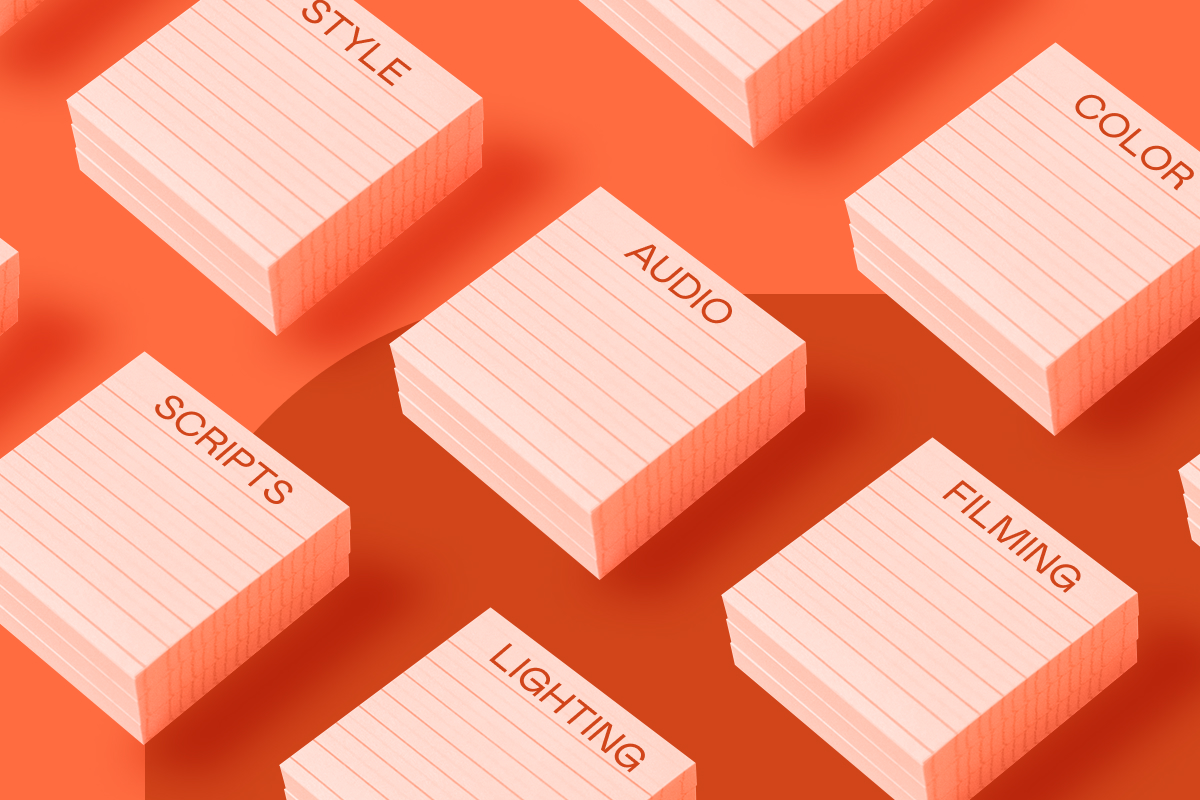
Production (posts 1–24)
Peep these production tips and tricks and get rolling with video.
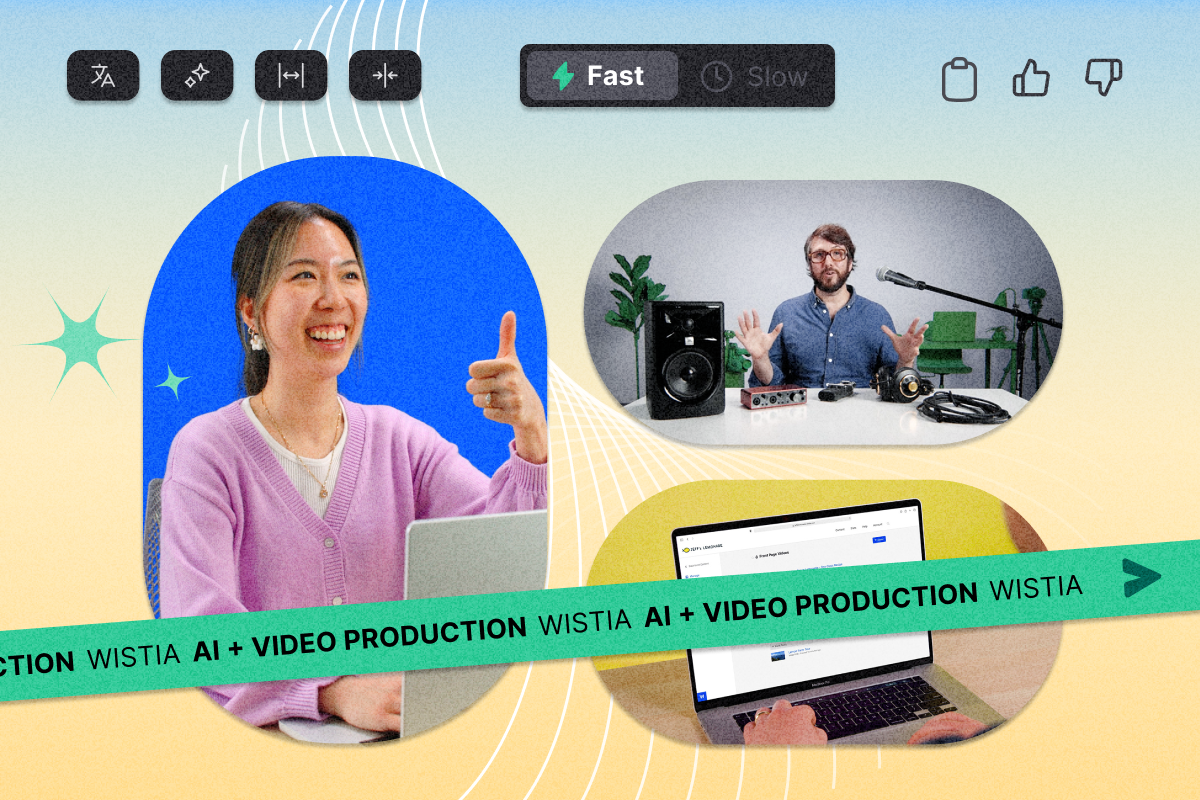
- AI Video Creation Guide: How to Use AI to Create Videos
Here’s how to use AI tools to create videos for your business.
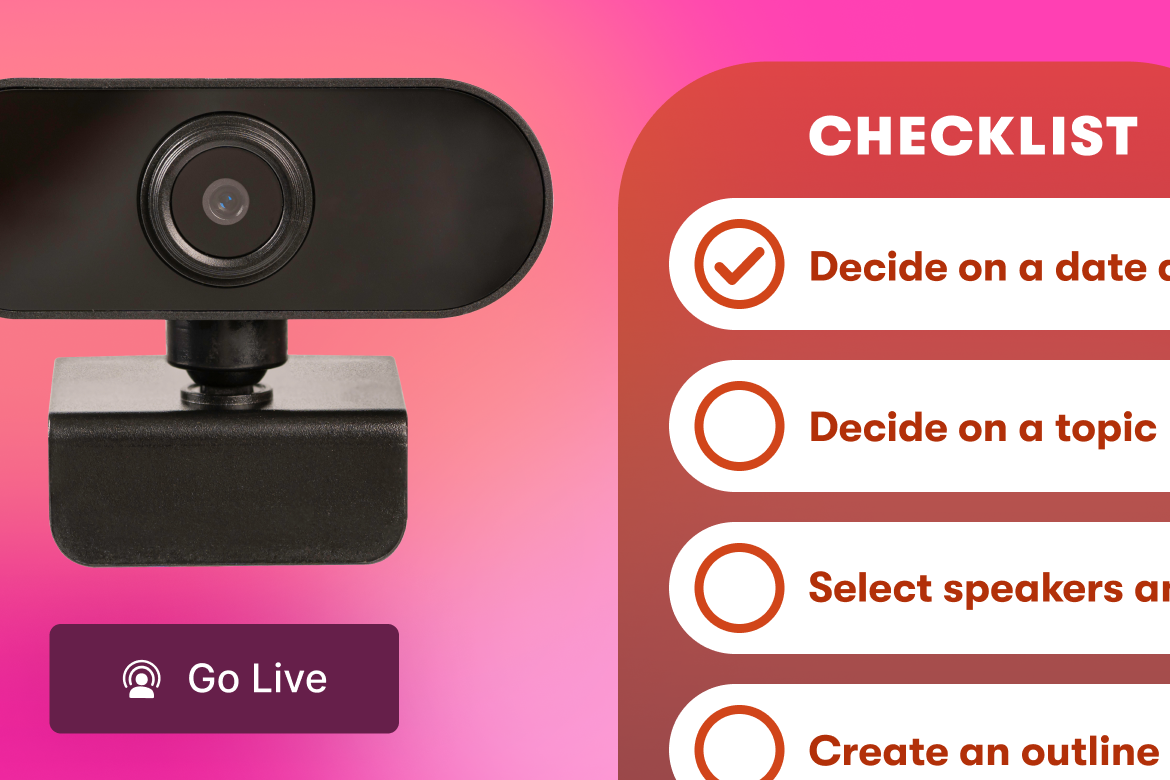
- How to Host a Webinar: The Ultimate Checklist
Run through all the things you need to do to pull off a successful live webinar.
- How We Made A Fully Animated Short with AI and the Nuances of AI Video Generation
Learn how we reimagined an old video from our archive into a brand-new AI-generated animated short in a week.
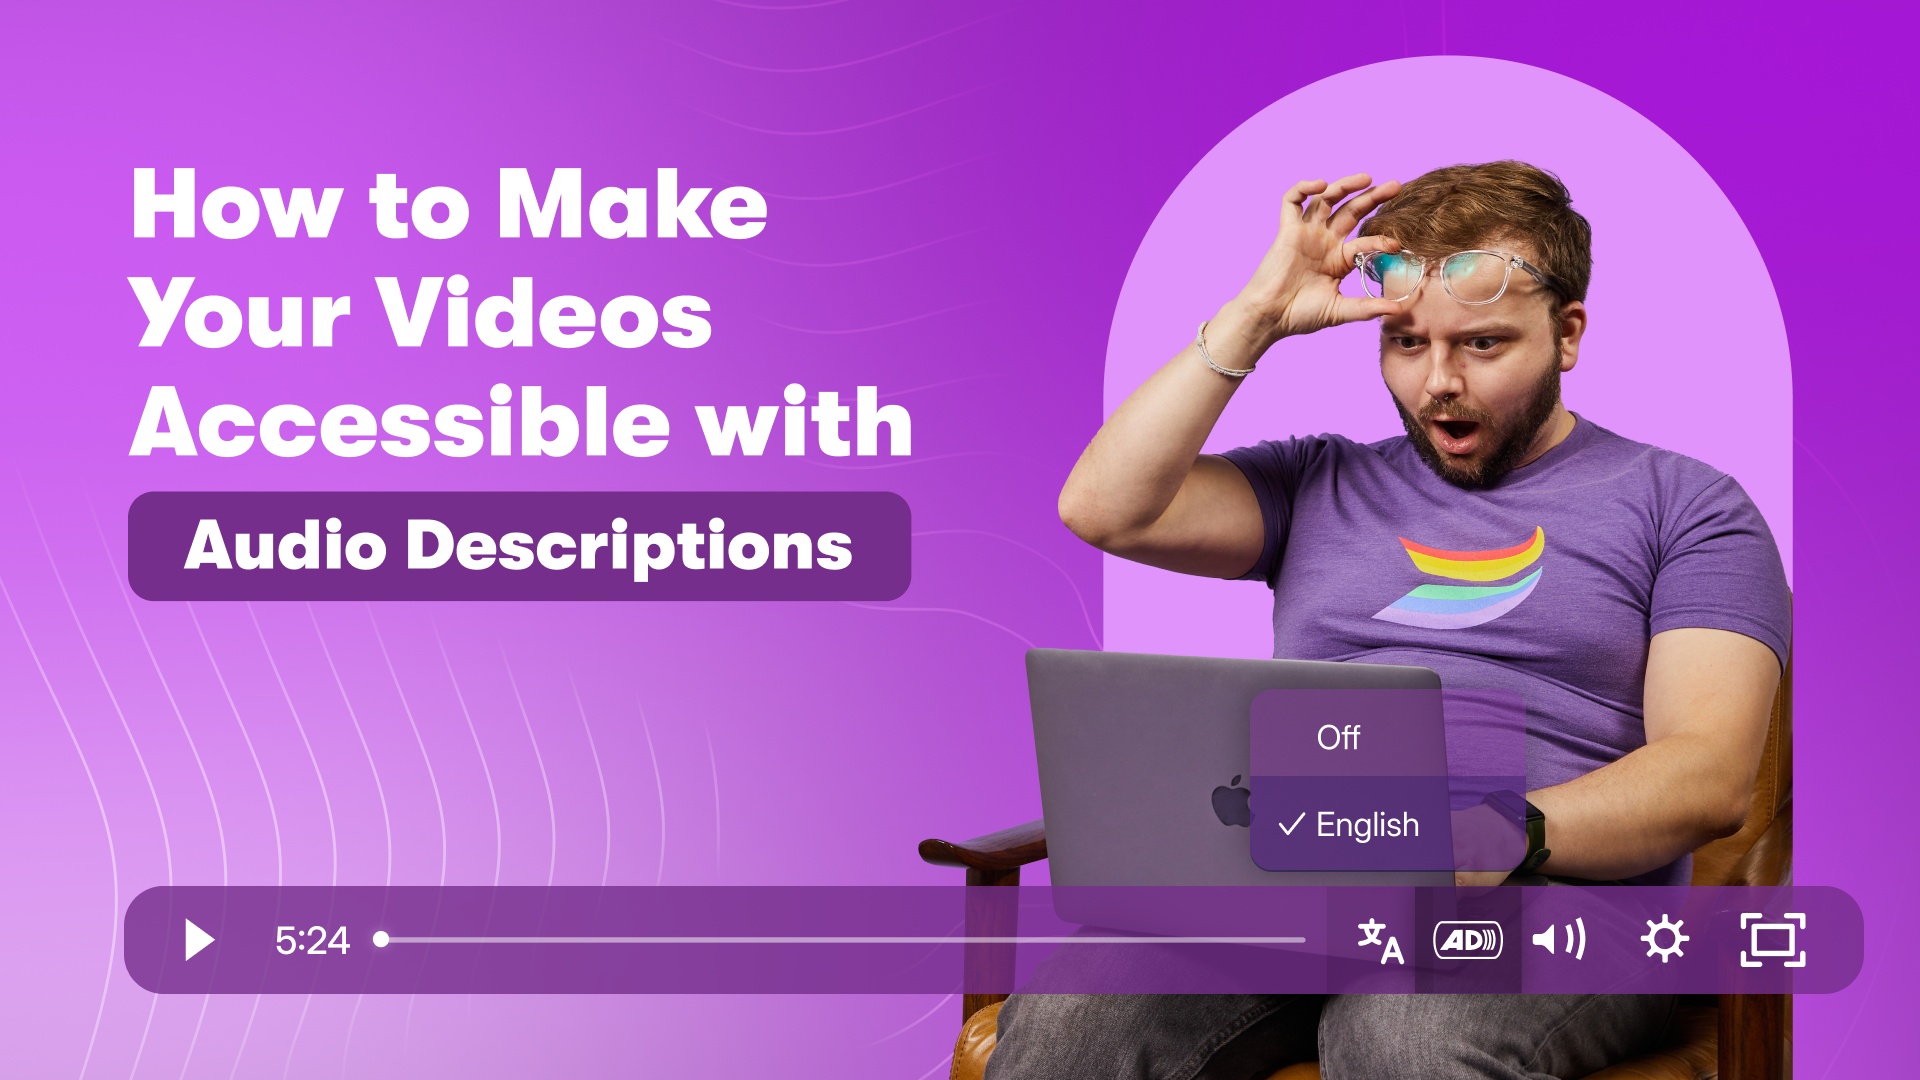
- How to Make Your Videos Accessible with Audio Descriptions
Check out this guide for creating great audio descriptions that'll make your videos more accessible.
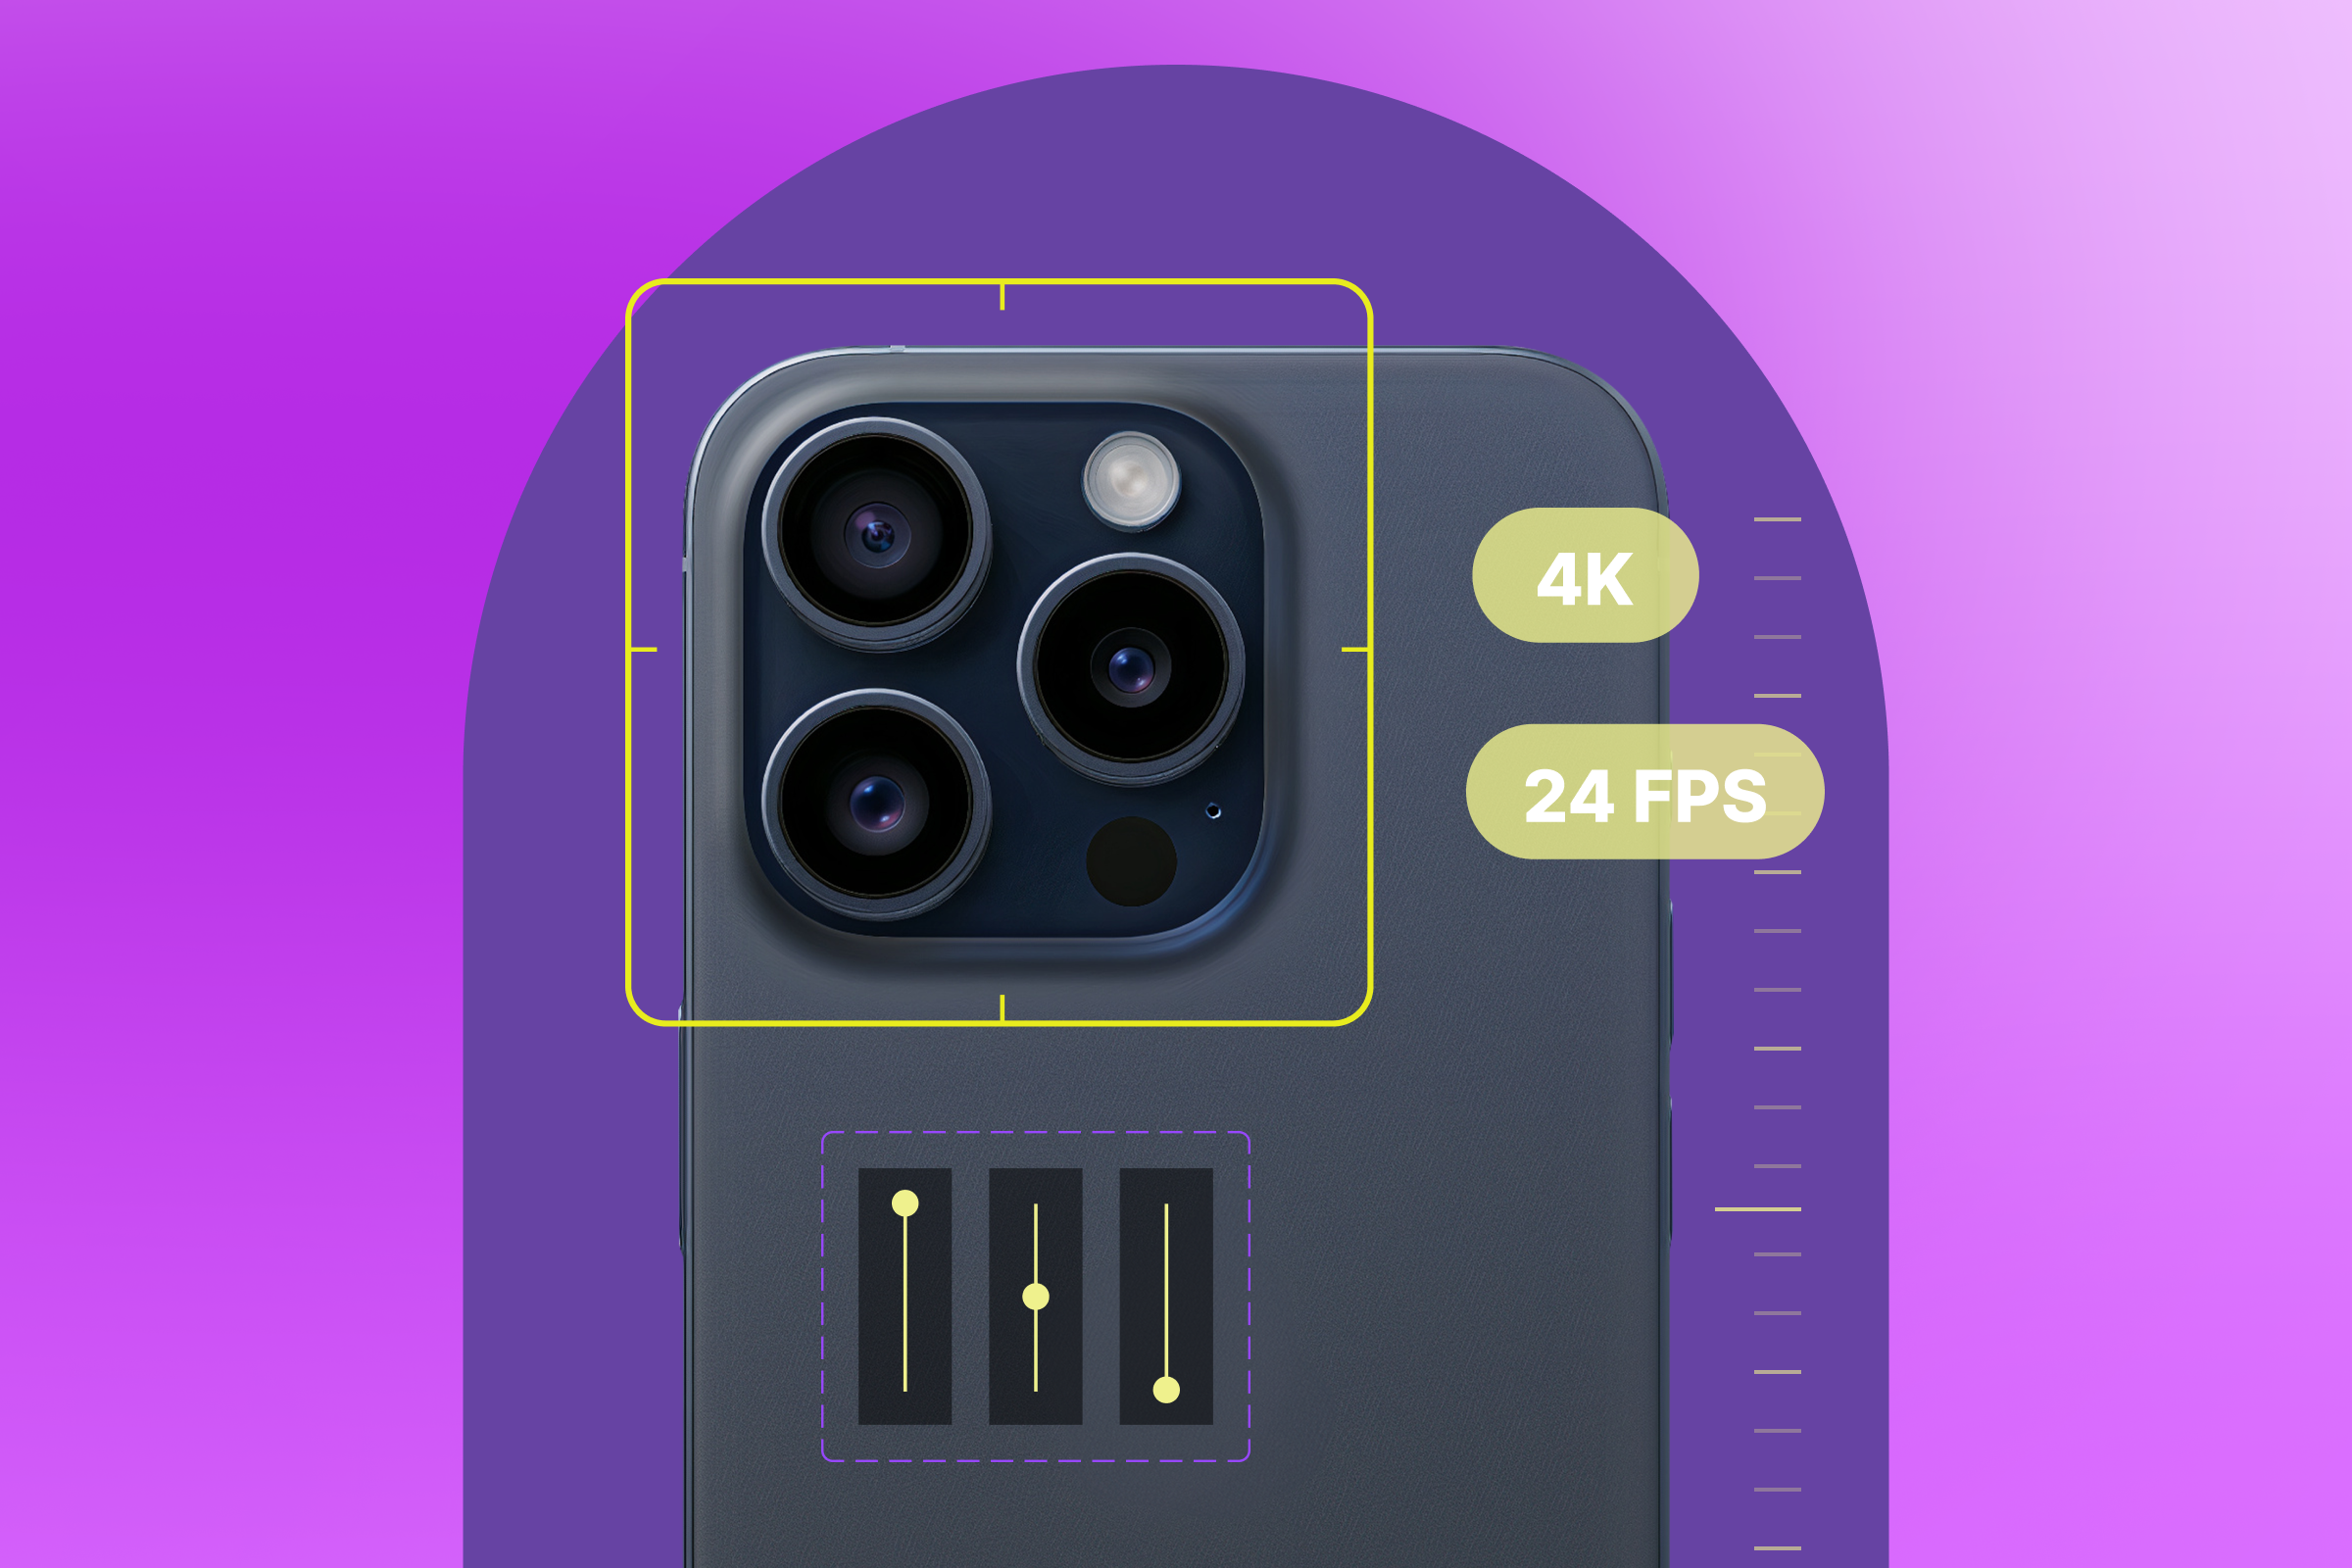
- The Best iPhone Camera Settings for Video
Walk through all the settings to adjust on your iPhone to get high-quality footage.
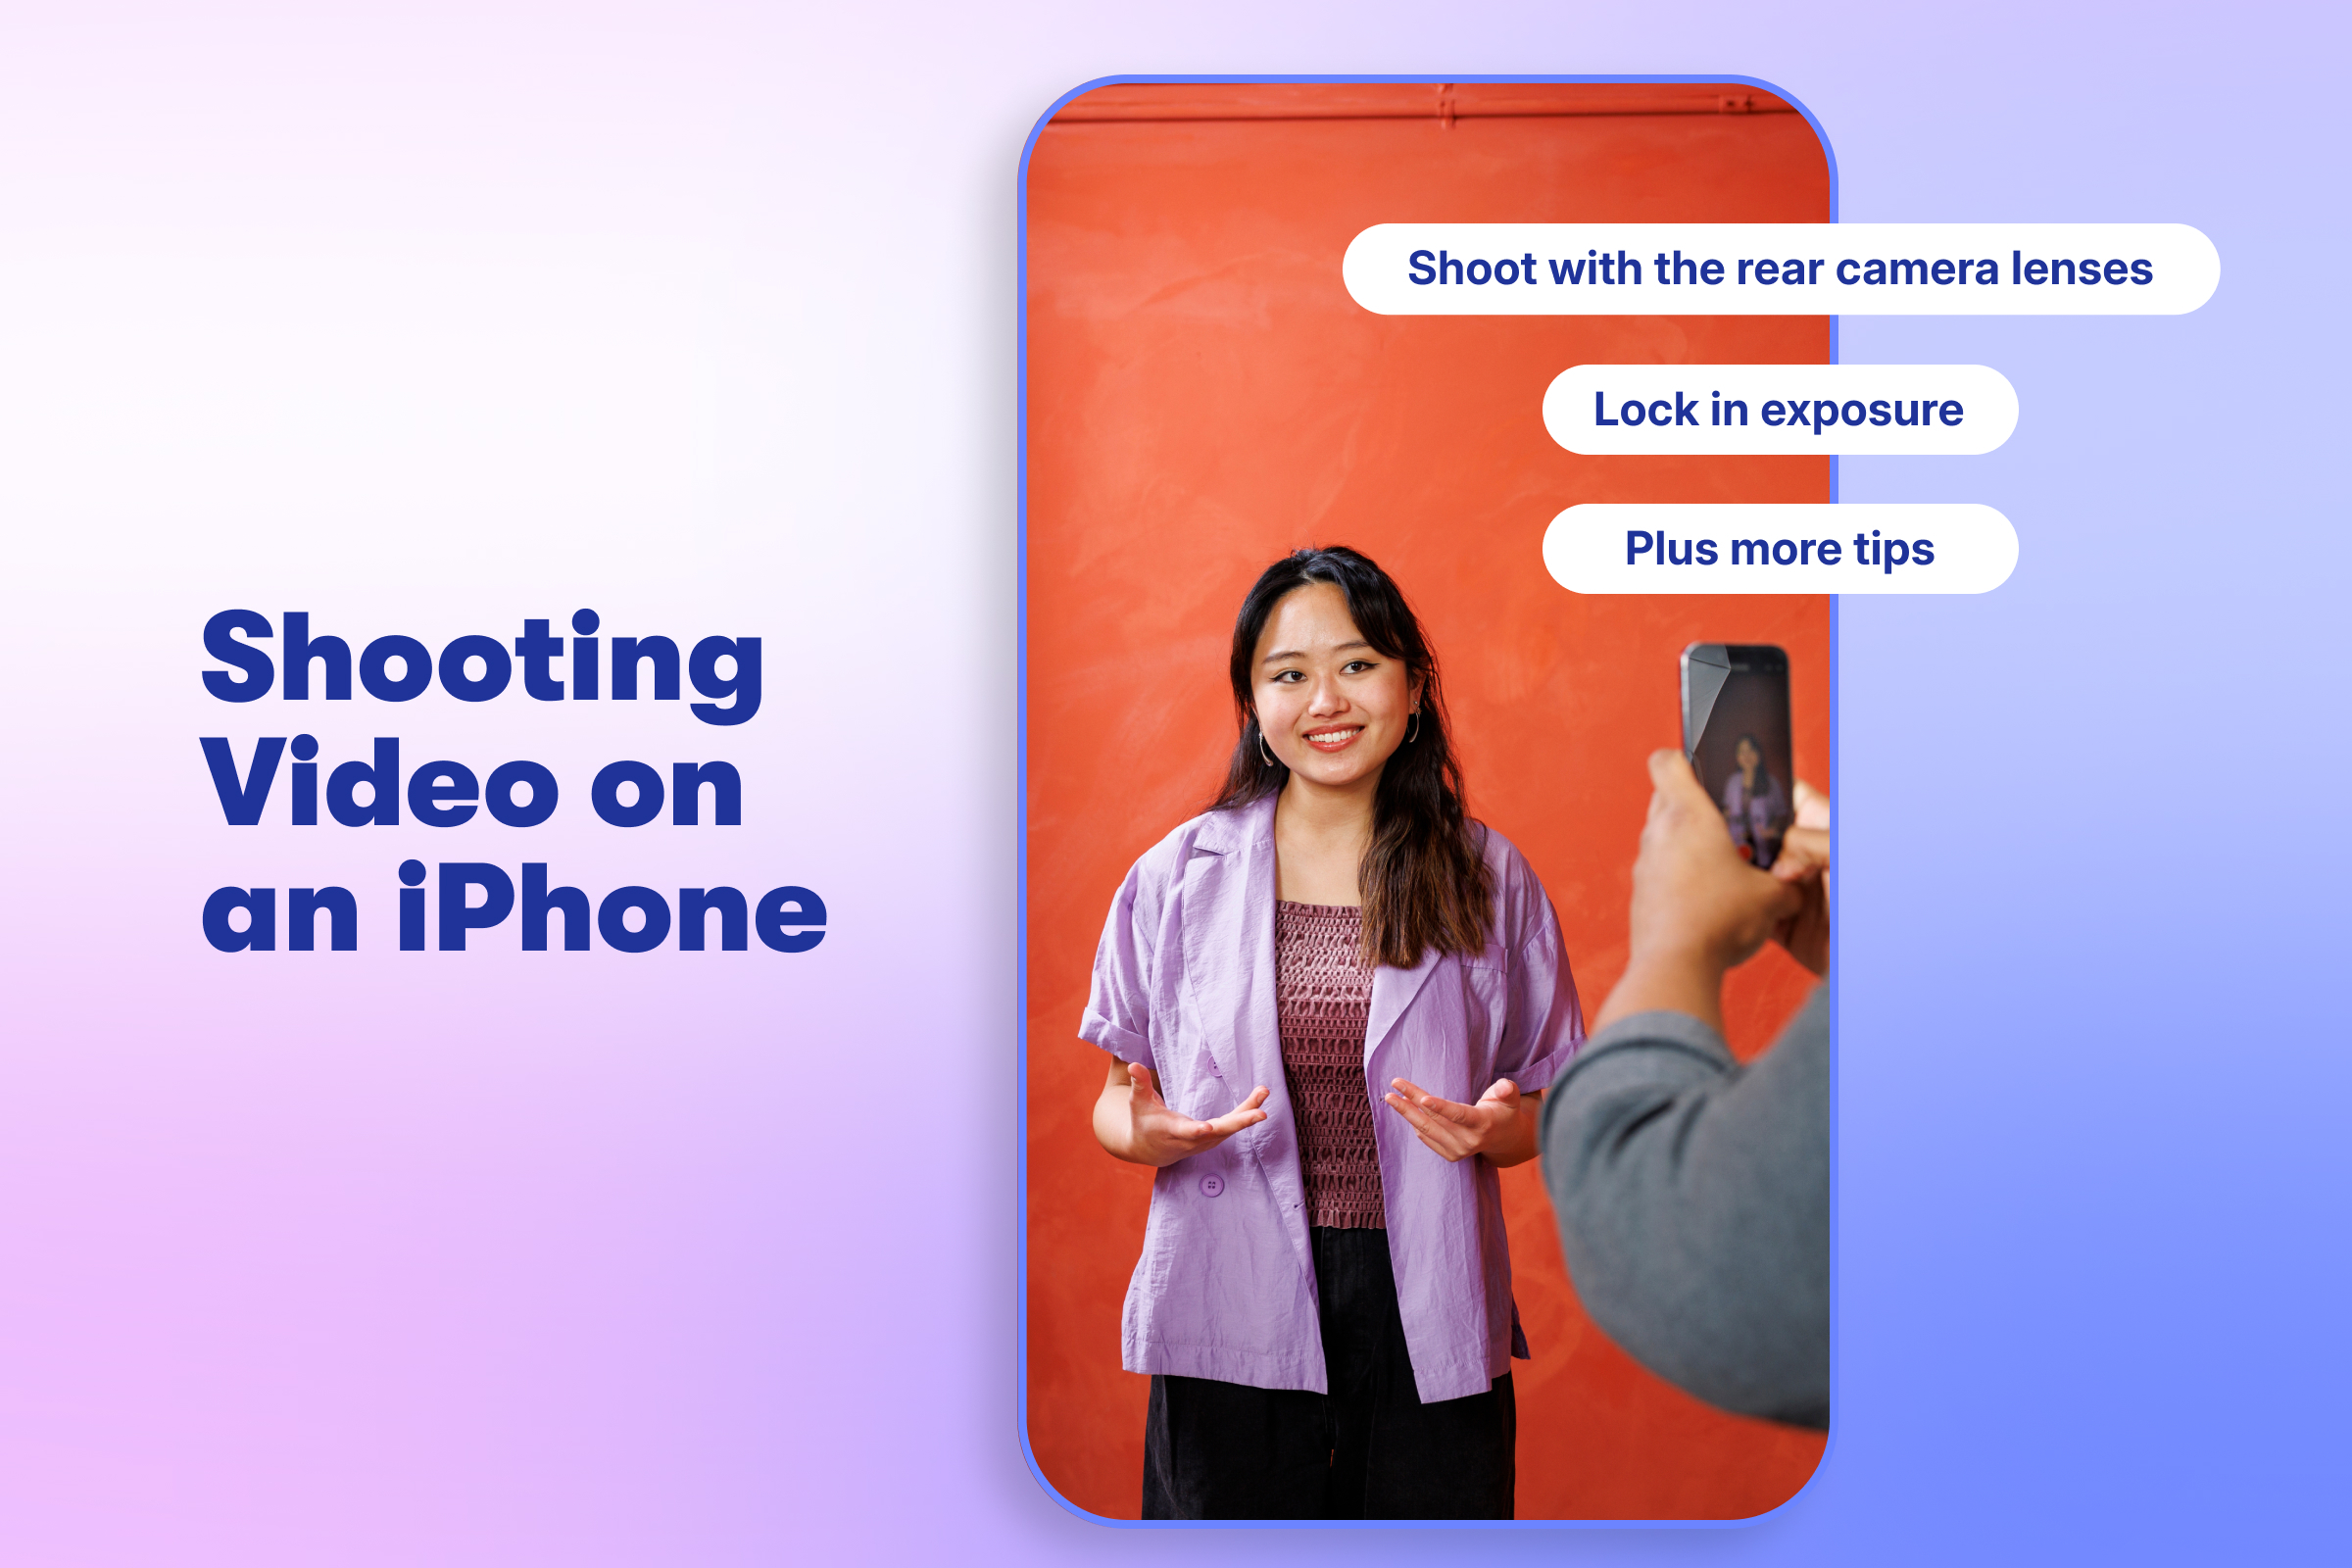
- How to Shoot Professional Videos on Your iPhone
Get nine easy tips for capturing great footage with the phone in your pocket.
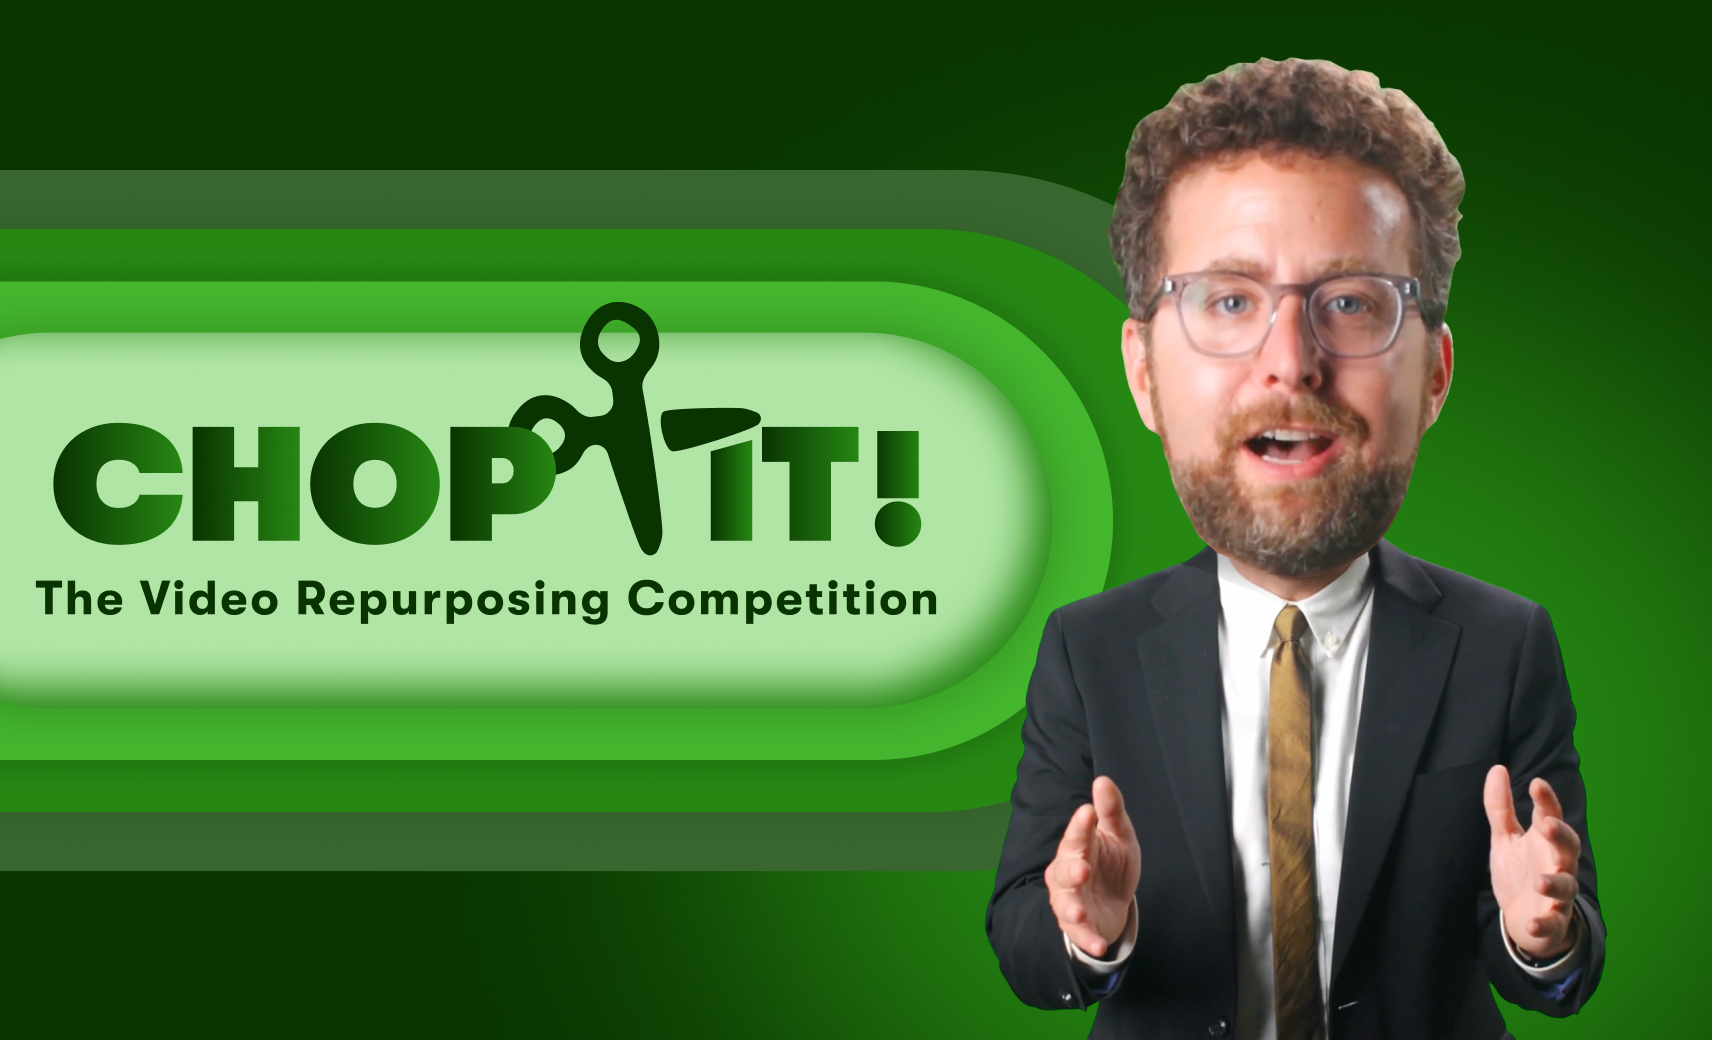
- Introducing Chop It: The Video Repurposing Game Show
Watch real marketers race the clock to chop videos into a bunch of useful assets for their business.
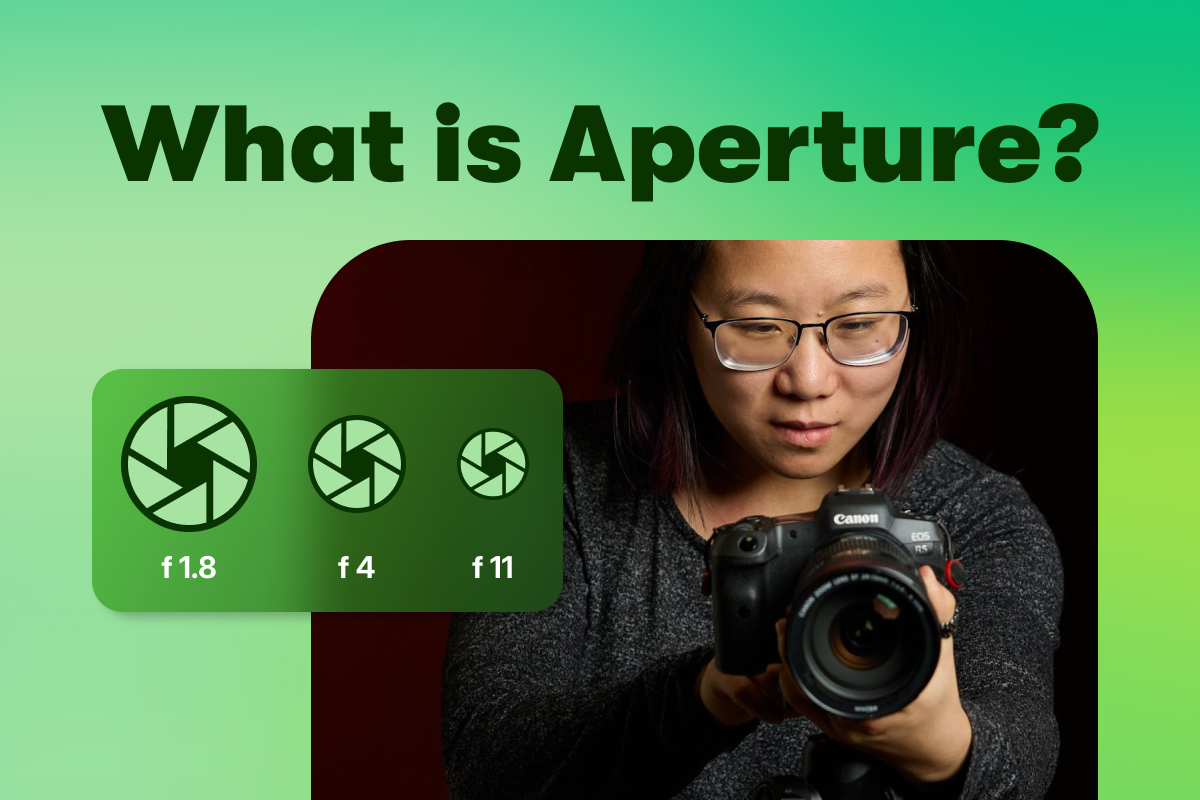
- What Is an Aperture on a Camera?
Learn more about apertures and how to pick the best one for your shot.
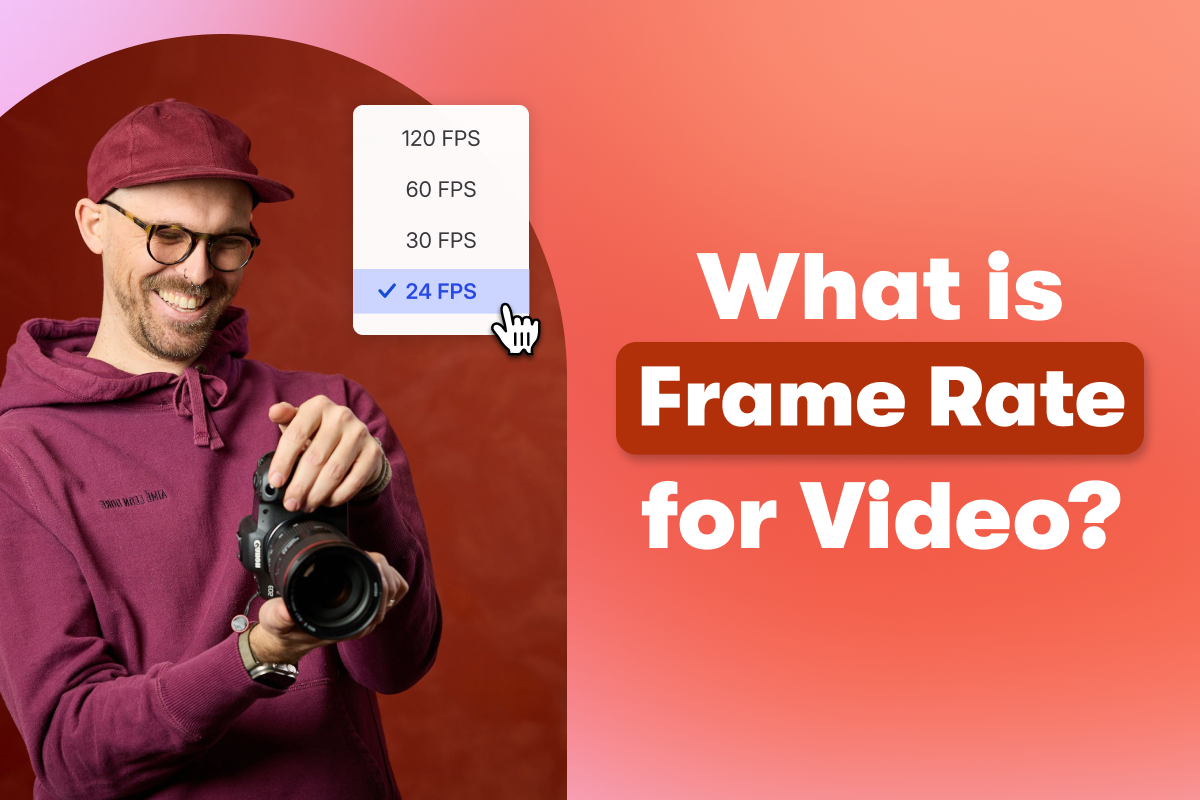
- What Is a Video Frame Rate?
Find out more about frame rates and how to pick the best one for your shot.
- What Is an Aspect Ratio?
Explore different aspect ratios and how each one impacts the look and feel of your videos.
- Our First AI Video Ad: How We Made It and What We Learned
See how Wistia built a complete video ad with AI for under $10K — process, tools, and lessons inside.
- The Definitive Video Production Glossary of Terms
Learn all the terms you need to know for every stage of video production.
- Why You Need a Run of Show for Your Webinar
Learn why a run of show will help you run a smooth webinar and keep everyone involved behind the scenes ...
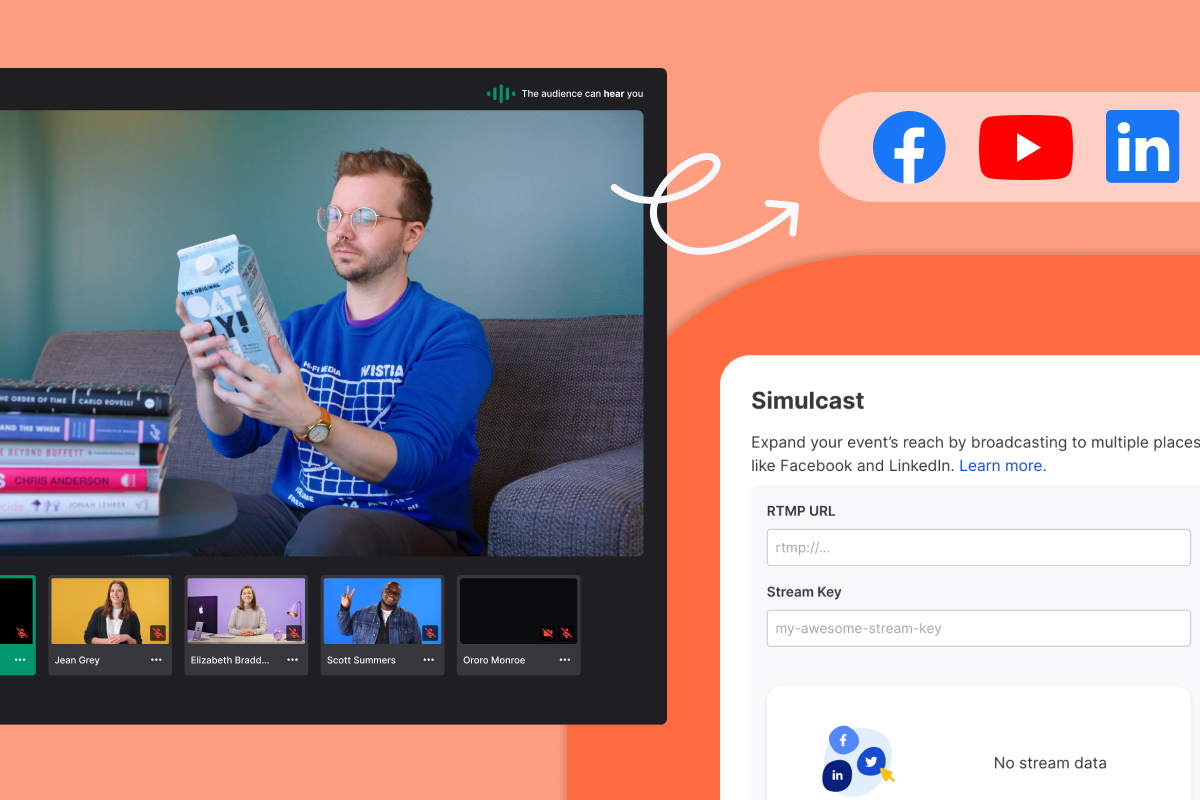
- What Is Simulcasting? How to Live Stream on Multiple Platforms
Learn all about simulcasting and how it can help your live streams reach a wider audience.
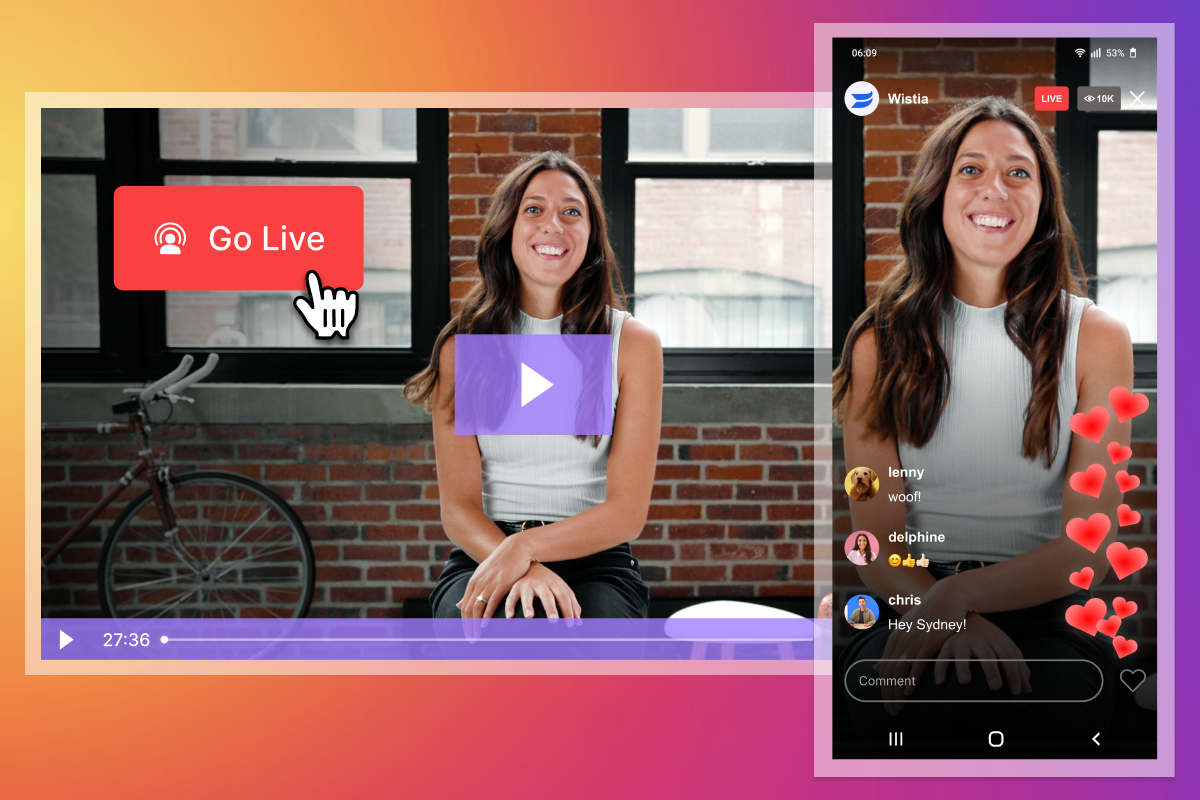
- How to Go Live on Instagram Live Producer
Learn how to go live on Instagram with streaming software.
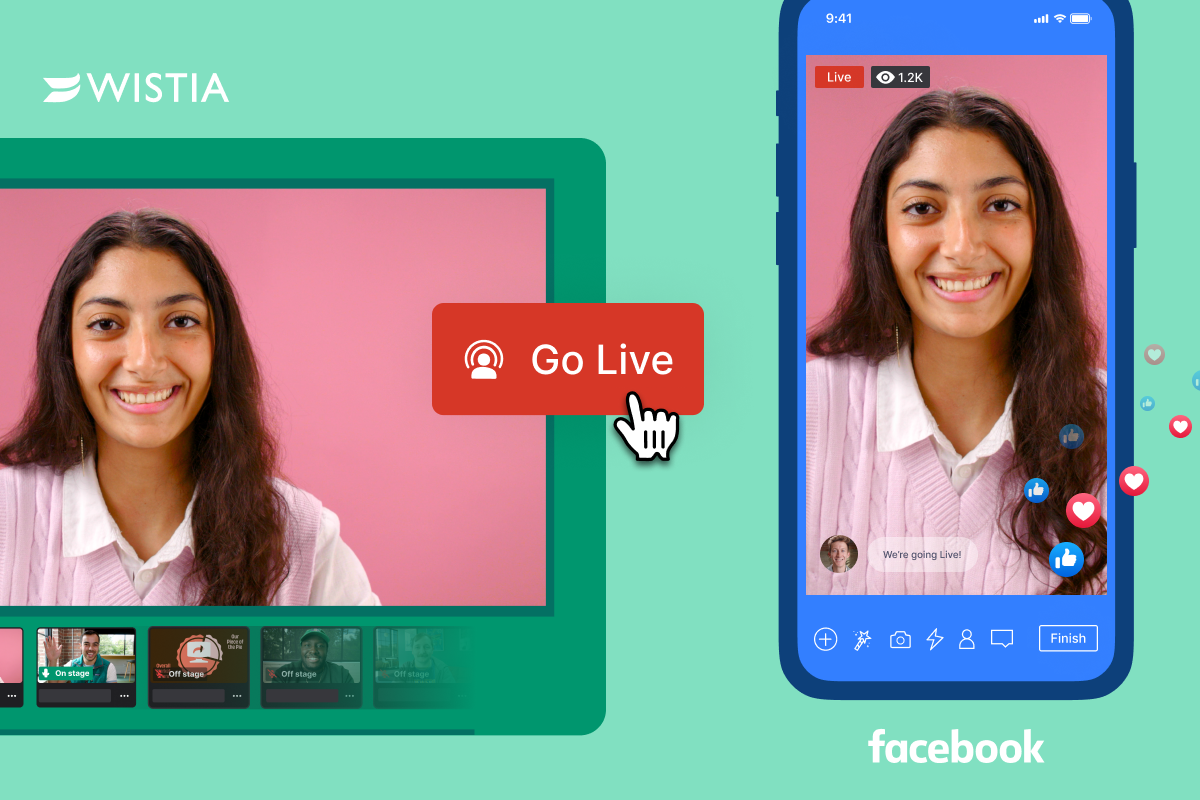
- How to Go Live on Facebook with Your Business Page
Walk through the steps of live streaming on Facebook with streaming software.
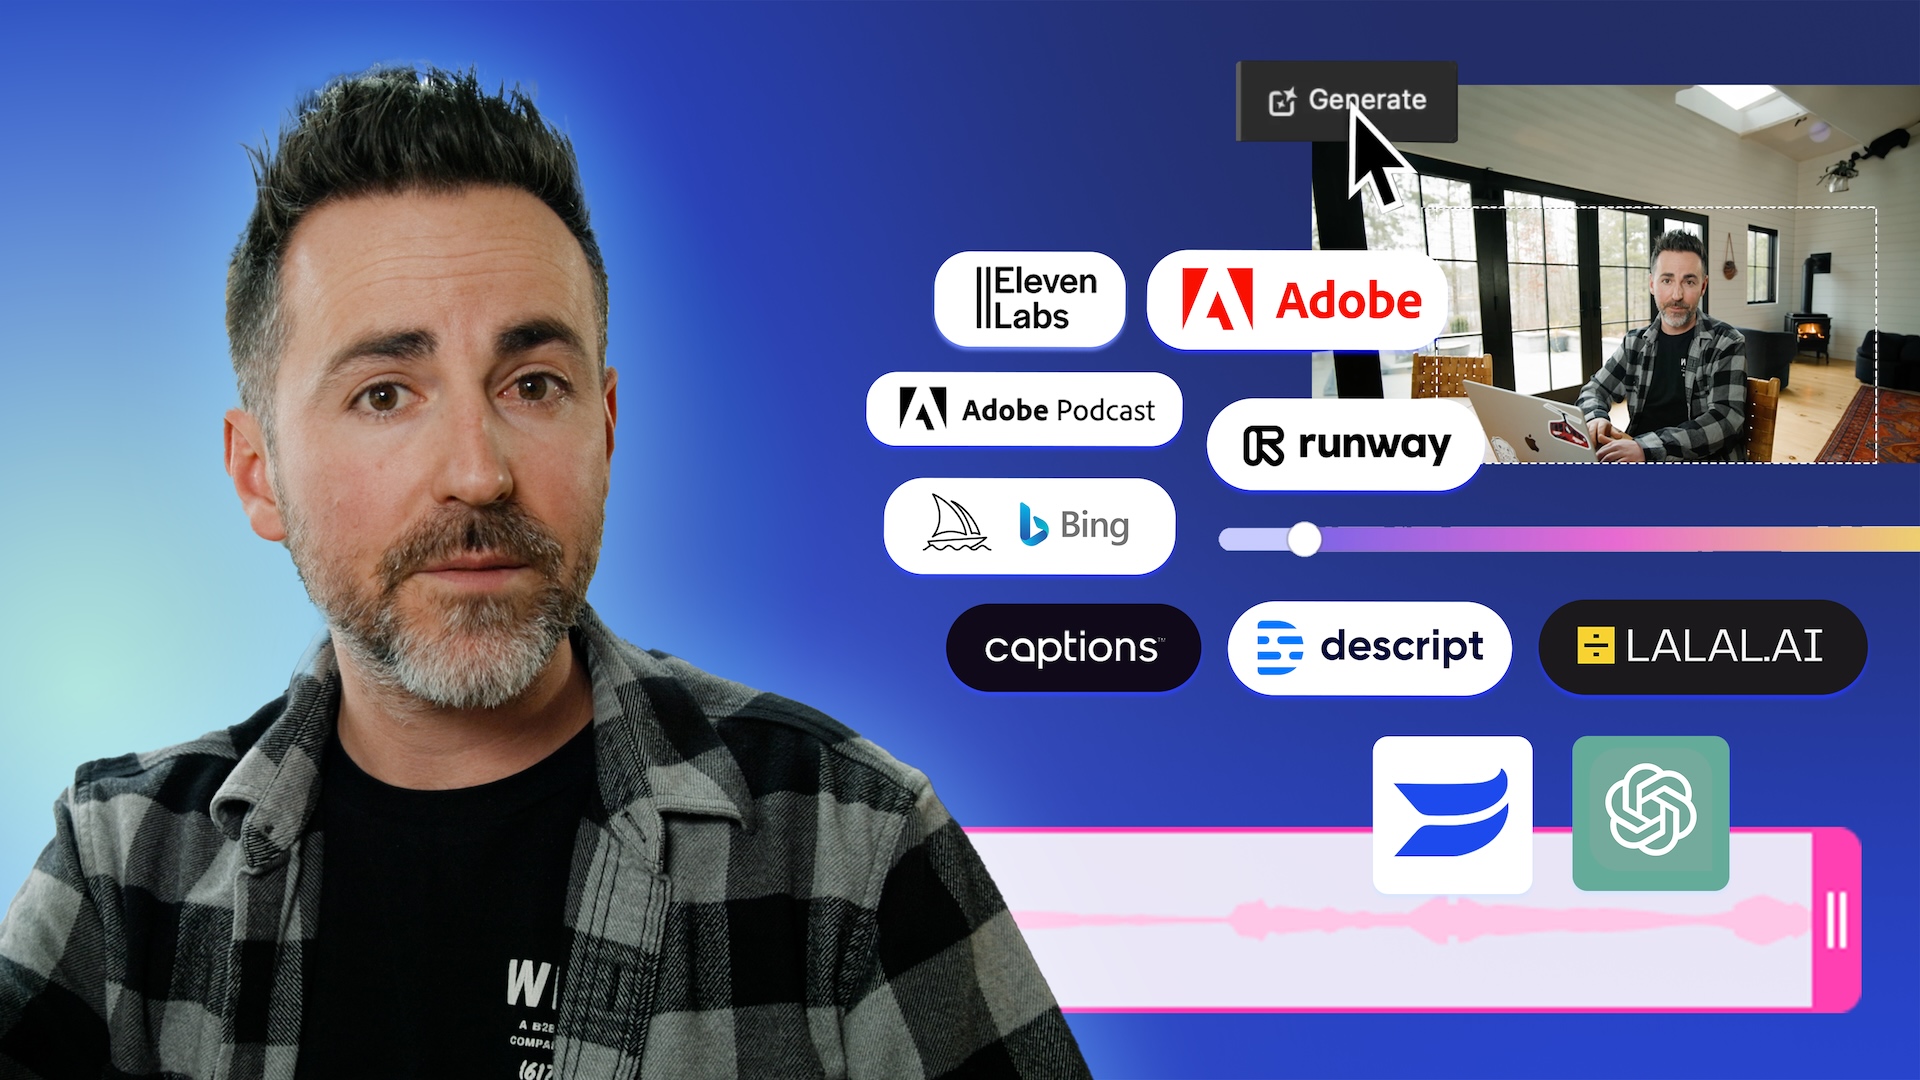
- 10 Best AI Tools for Video Editing and Production
Here are AI tools that make video production easier, faster, and better.
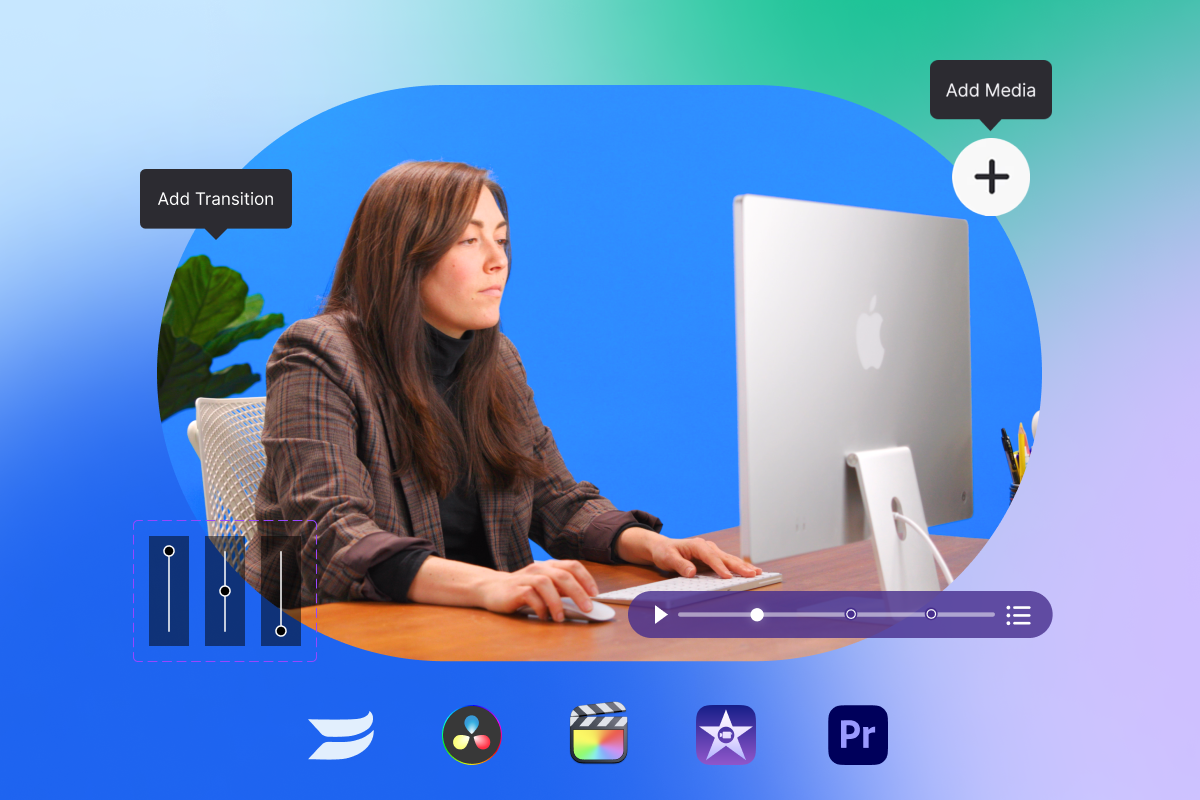
- 4 Best Video Editing Software For In-House Editors
We’ve picked out the best video editing software for your post-production needs.
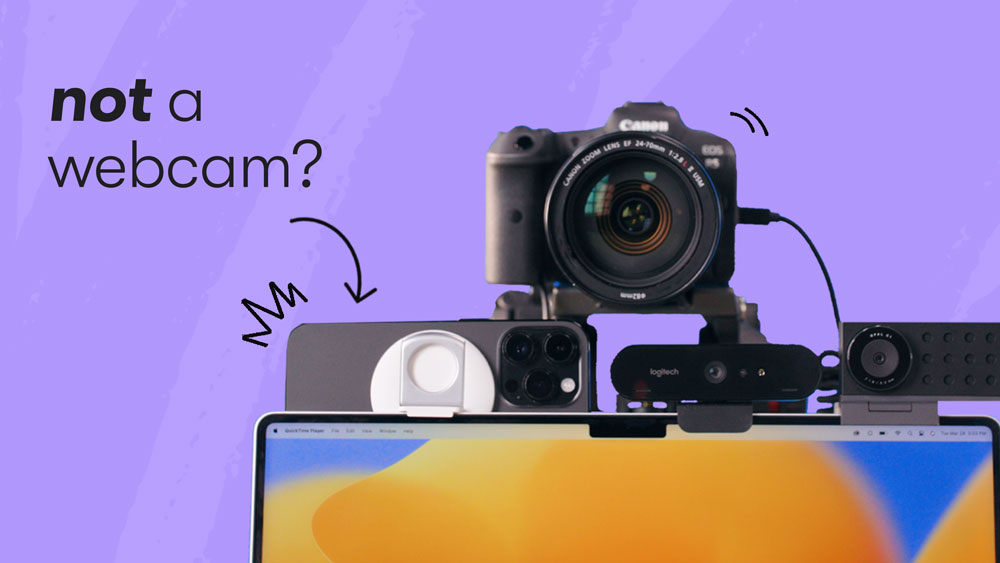
- The Best Webcam of 2024 for Recording Videos and Webinars
Hear what our pick for the best webcam is this year, and see how it stacks up against the rest!
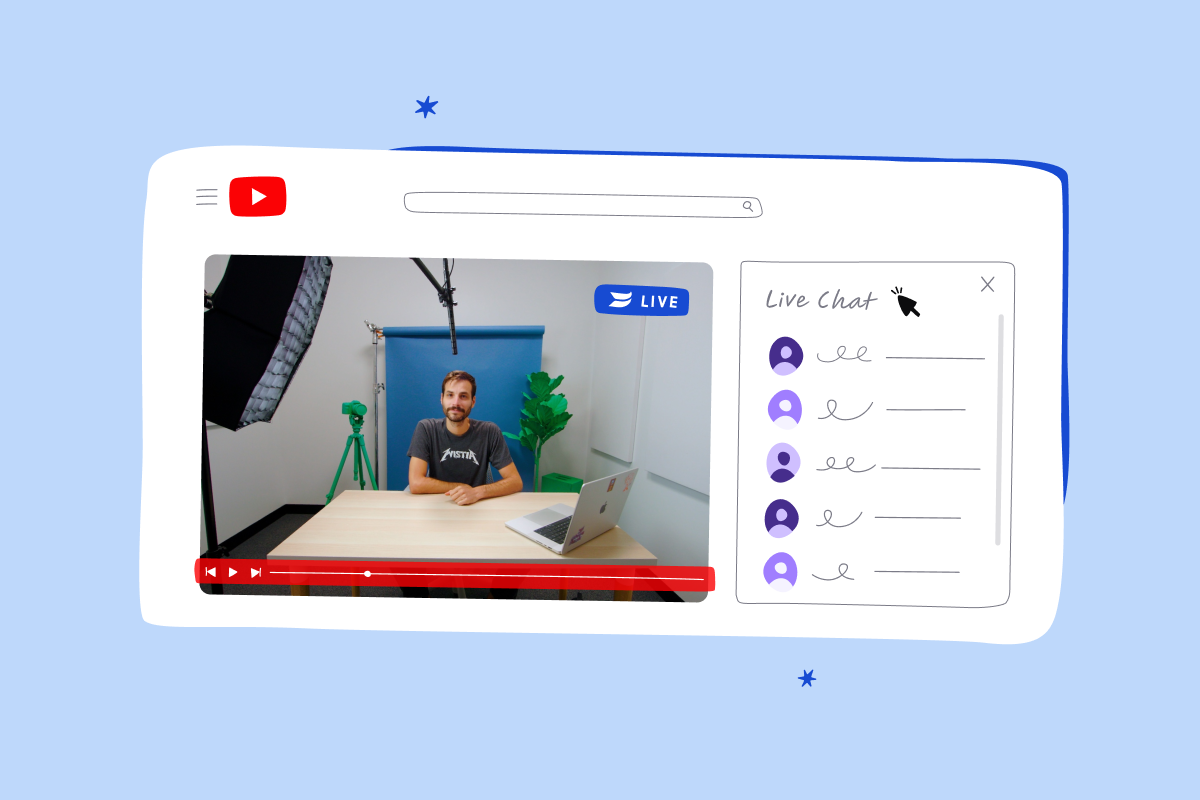
- How to Go Live on YouTube with Your Brand Page
We walk you through how to live stream on YouTube with streaming software.
- How to Go Live on X with Your Twitter Business Page
Learn how you can get your business live streaming on X (Twitter).
- How to Go Live on LinkedIn with Your Business Page
Learn how to go live on LinkedIn with your business page.
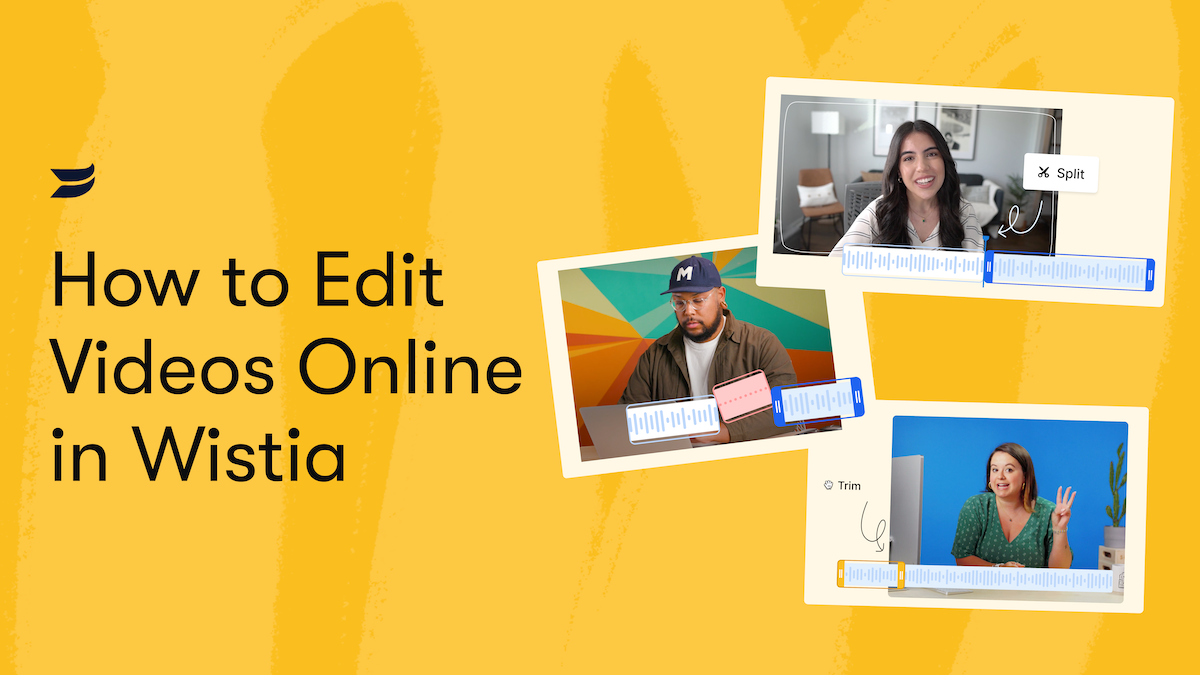
- How to Edit Videos Online in Wistia's Video Editor
Learn how to edit videos online with Wistia’s editing feature that can trim, split, and delete clips. It’s a simple ...
Mailing list sign-up form
We deliver!
Sign up for email updates